Photography

Hiking the Breakneck Ridge Trail, New York

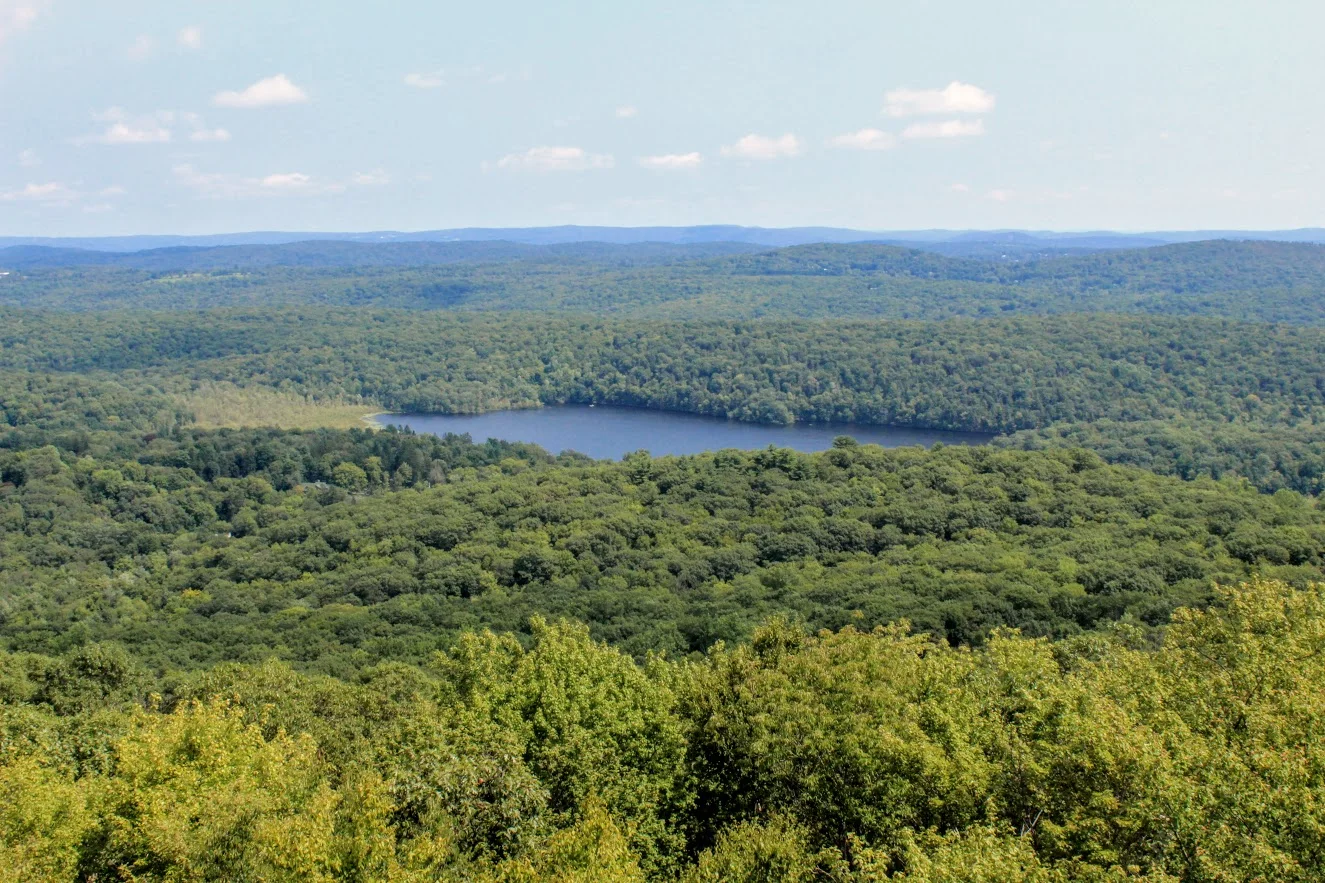
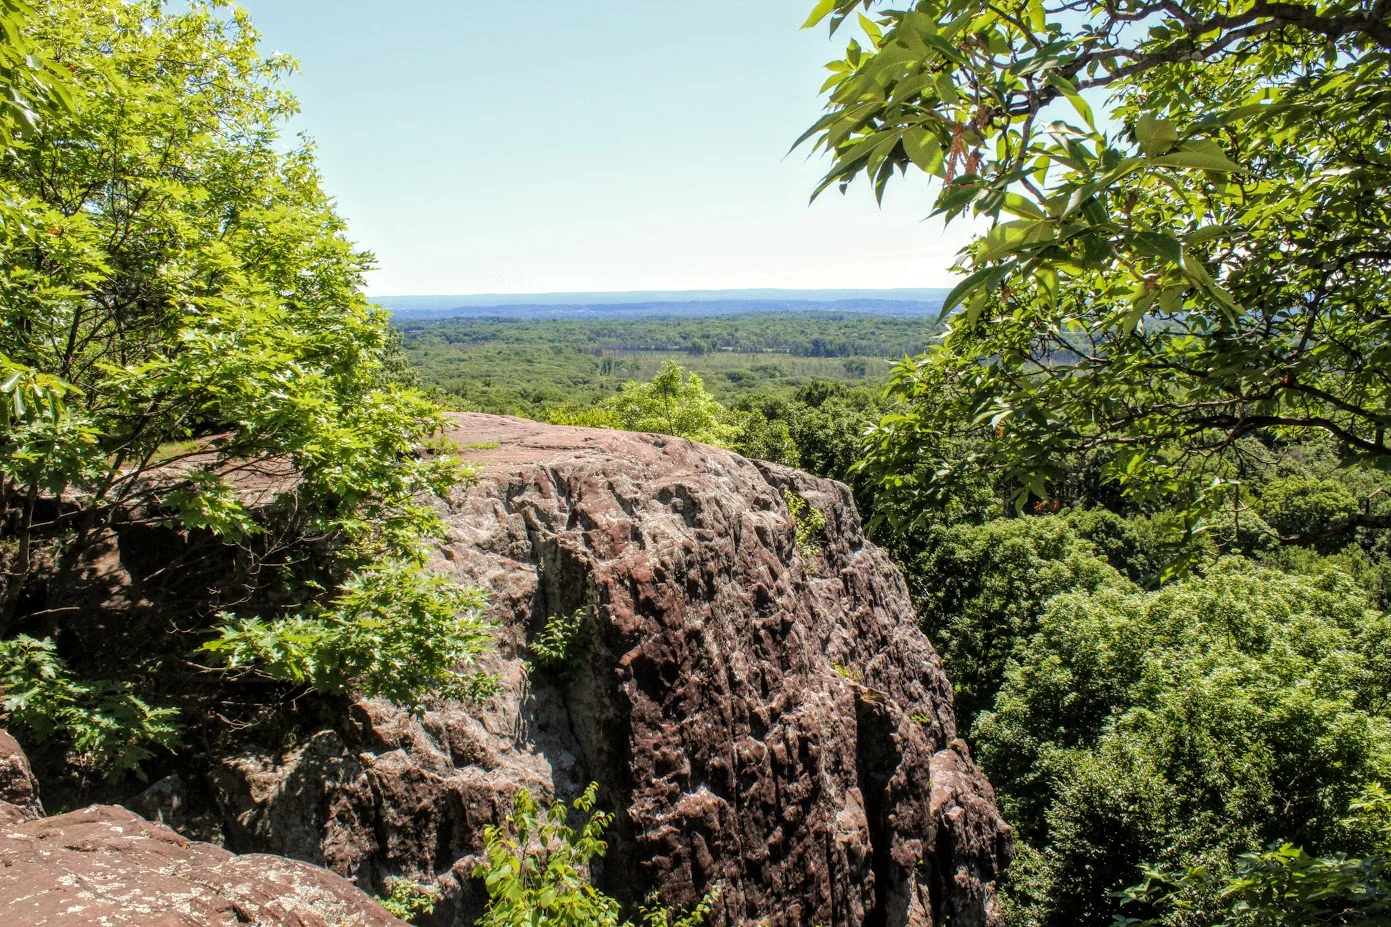
Trail Description: The Breakneck Ridge hike is one of the most challenging trails in the Hudson Valley. The mountain is known for rocky terrain, steep rock scrambling, and beautiful views of the Hudson Valley. This trail is immensely popular due to its easy access.

Trail Info:

Where: Cold Spring, NY Distance: 3.7 miles (3.5-4.5 hours) Difficulty: Strenuous Trail Type: Loop Features: Views, River, Mountains, Rock Scrambling

How to get there:

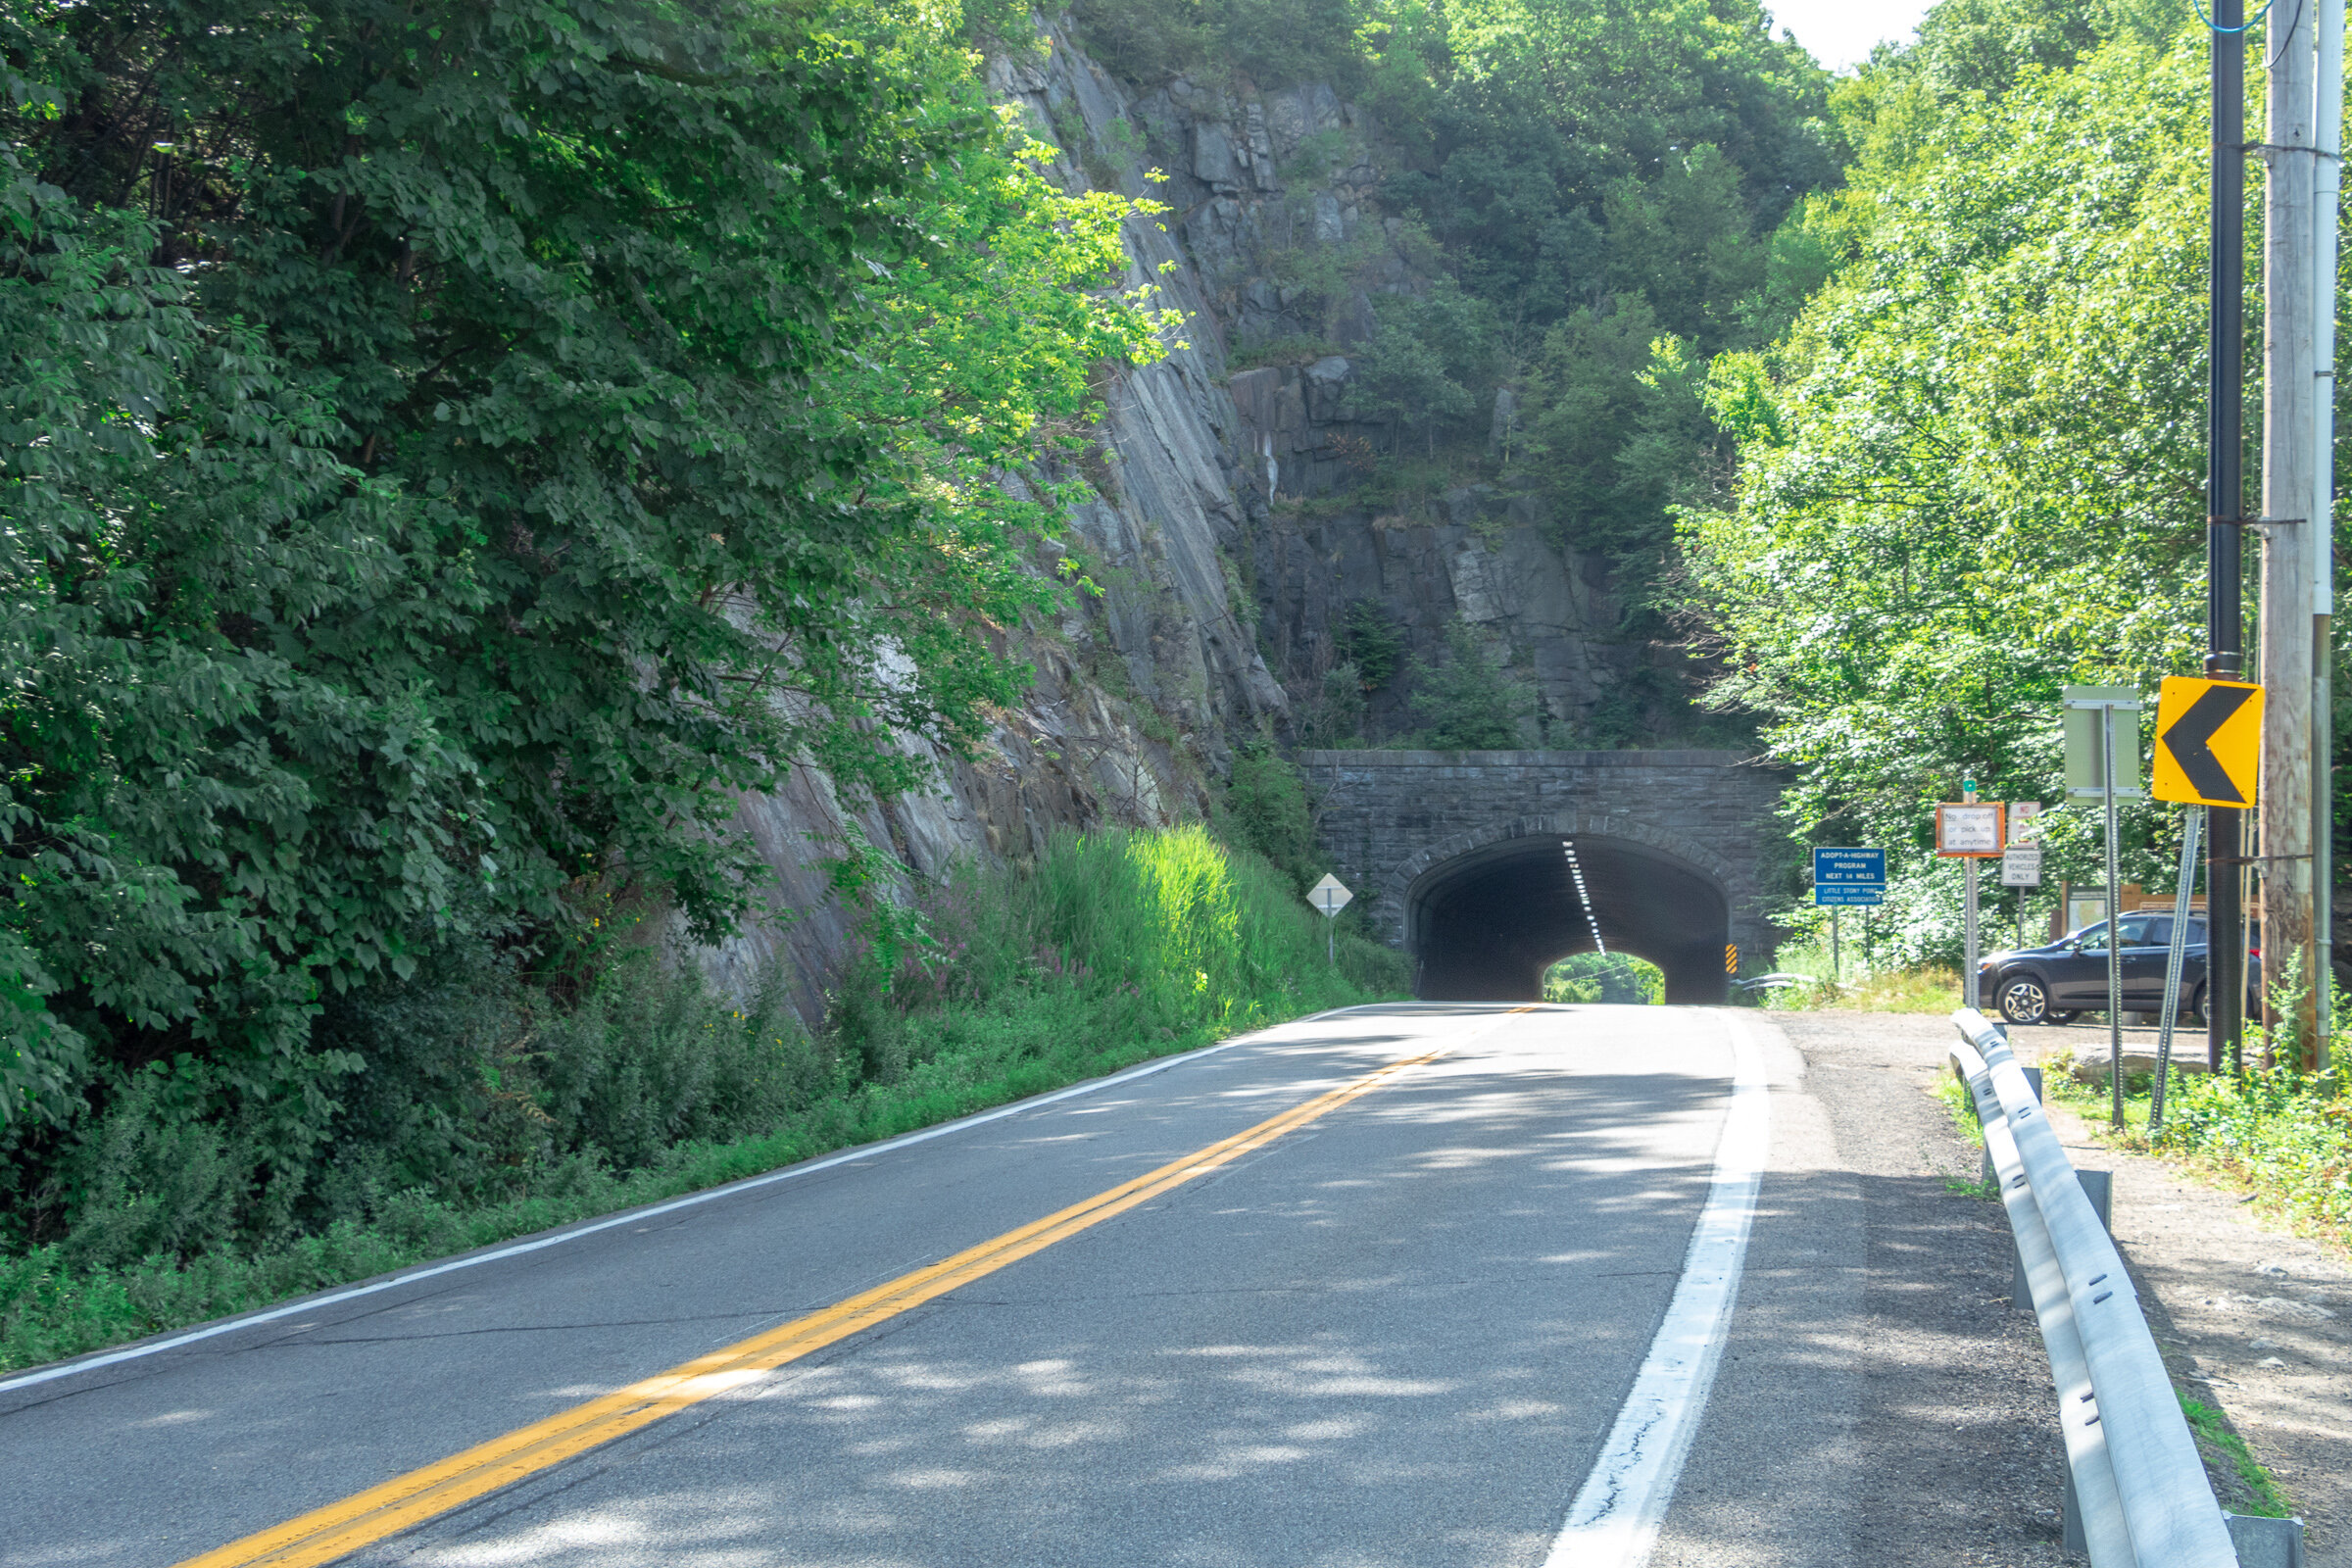
Typing the location “Breakneck Ridge Trailhead” into Google Maps will take you near the parking areas. There are multiple parking spots along State Road 9D, just park where you can north of the tunnel. There is a small lot near the trailhead and a larger lot further down.

Click here for coordinates

For those concerned about parking/driving, this hike is accessible via train. There is a MTA to the Breakneck Ridge train station that is within walking distance to the trail on weekends only.

Hiking Tips

  • Go on a weekday to avoid the crowds, if possible. Go early on weekends. 

  • Be prepared to rock scramble & use your hands to scale the cliff.

  • Not dog friendly (unless small dog that you can carry or your dog is a mountain climber)

The Hike

After parking, make sure you are walking along the right hand side of the road. The trailhead starts to the right of the tunnel, where there is trail signage and maps. 

There are 3 trail route options for Breakneck Ridge. There is a sign explaining this at the beginning of the trail. The options consist of the short loop (2 hours) ,the regular/classic loop (3 hours), or the trail back to Cold Spring (4 hours). This guide will be the option we took which is the full classic loop.

There is a set of rock stairs that will bring you to the sharp ascent. Follow the white trail markers and start climbing! The terrain on the trail is pretty hard right away. There is a very steep ascent and I needed my hands and knees to get me through this portion of the hike. If you did bring hiking poles, I would suggest securing the poles to your backpack here as they will not be helpful. Depending on your level of climbing up, this can be anywhere from 30 minutes to an hour. 

IMG_2114.jpg

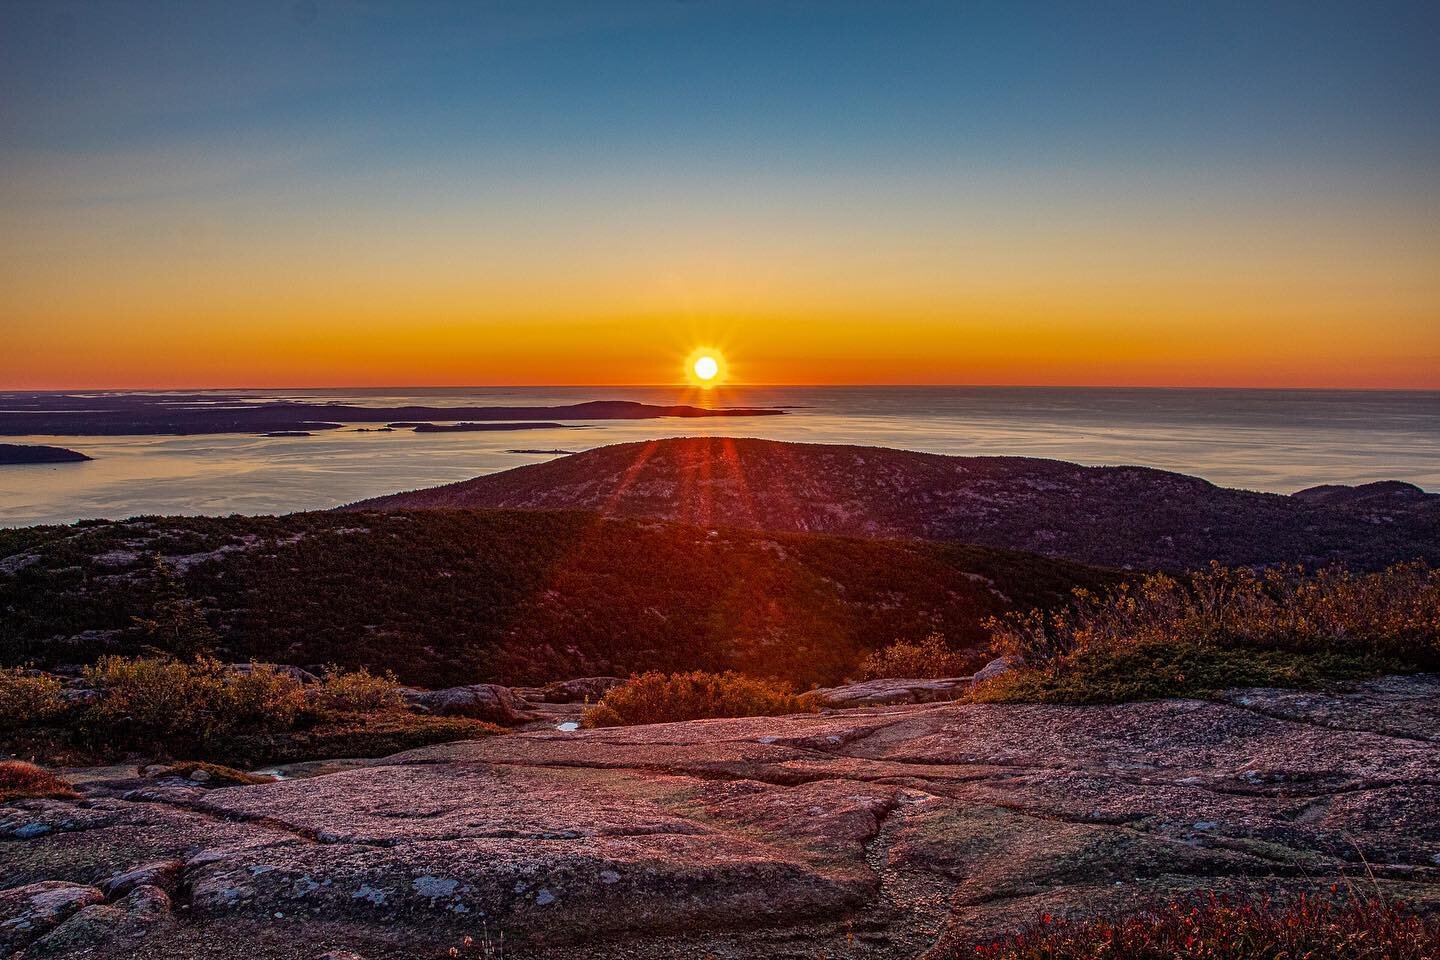
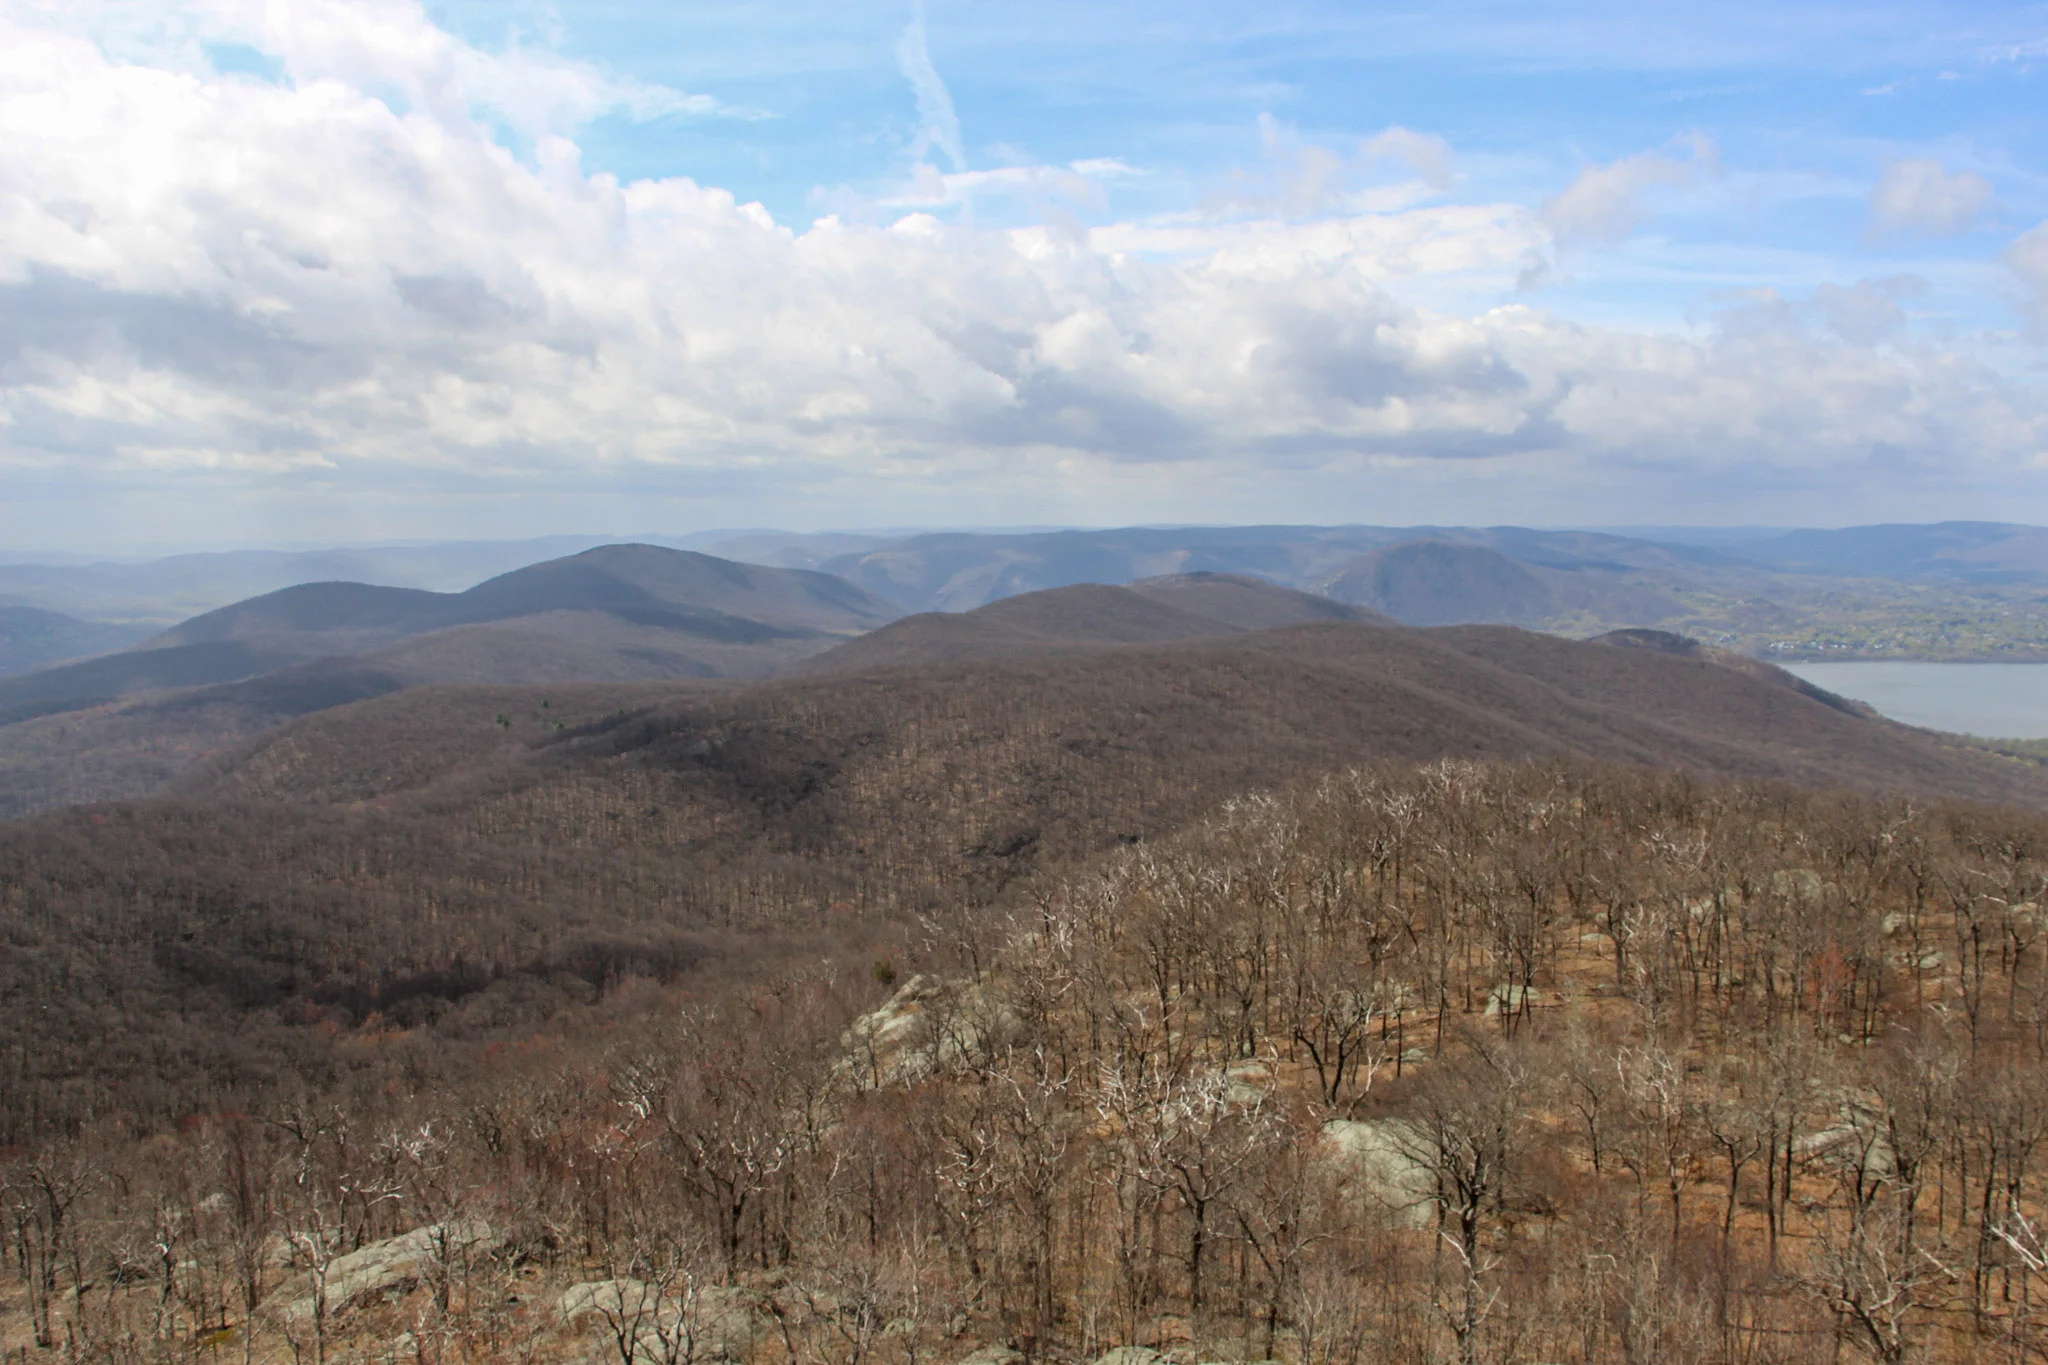
Keep climbing until you reach the flagpole. You will see Pollepel Island with Bannerman’s Castle to your right, along with views of Storm King Mountain straight ahead across the river.

IMG_9565.jpg

After taking in the views and enjoying a break, continue to follow the white markers as the incline continues. This part is less intense but still some rock scrambling. There is an area in the trail where you can choose to go steeper or take the easier ascent marked with X with an arrow pointing left & right. The easier route was definitely welcomed after the steep climb.

IMG_2148.jpg

Continue to climb higher and there is another viewpoint with the flagpole far in the distance from above.

IMG_2172.jpg
IMG_9638.jpg

Keep climbing until there are no more bluffs and cannot continue further.This is where you head into the forest. The next few miles are much, much easier. You could go back down the way you came but it’s a tough way down and you will be greeted with a traffic jam of many hikers ascending up.

Continue on white markers &  ignore the yellow marked trail for now.

There will be a fork eventually. Look for a turn off to the red marked trail (tough to miss red marking on rock). Follow red trail down a gradual descent through woods.

IMG_9659.jpg

Depending on your pace, the red trail will dead end in about 30-60 minutes where you take left onto yellow trail (Wilkinson Memorial Trail) and keep going downhill and follow all the way to the parking area.
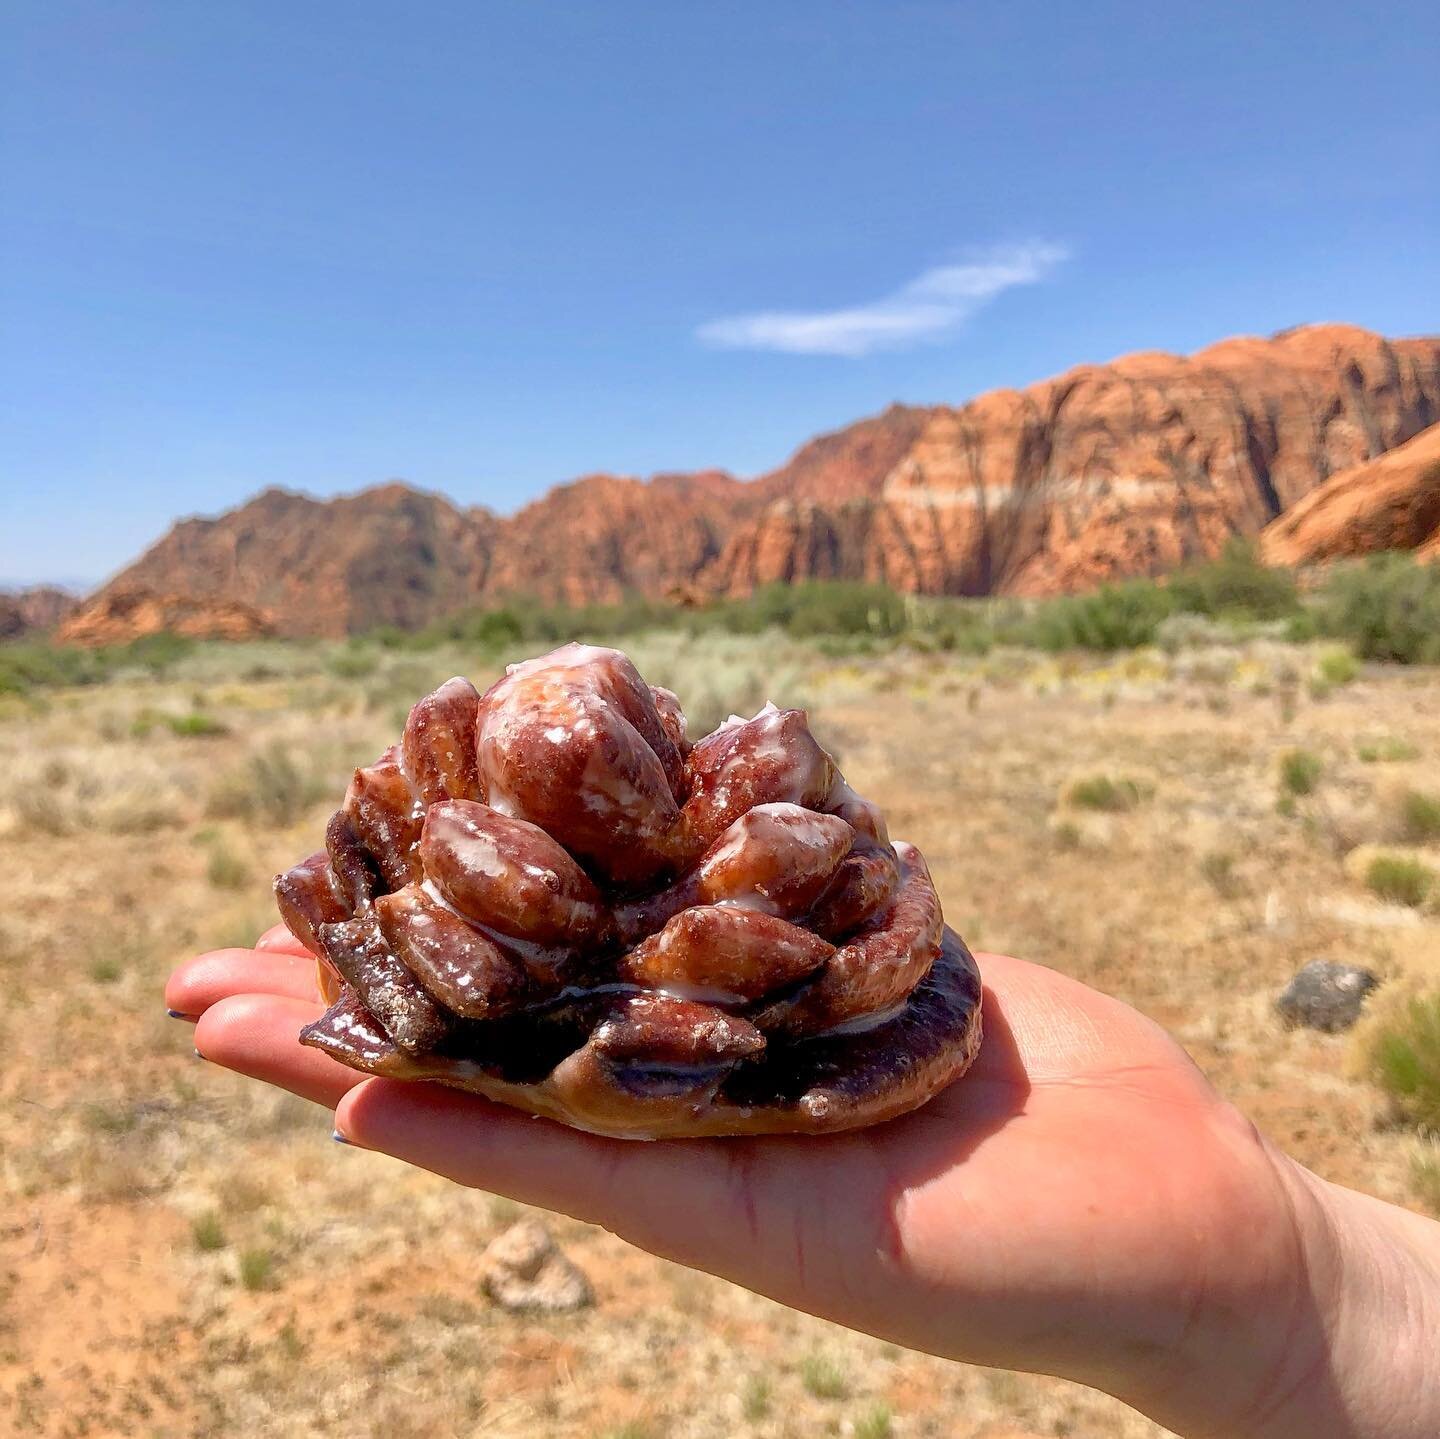
IMG_2203.jpg
IMG_9666.jpg

HIKING FOR DONUTS

Hi, I’m Mark. I live in Connecticut. I take new trips every chance I get. A good trip has a great hike, great food, and something fun to do. My goal is to search out new trips and share them to inspire others to try something new and exciting.

If you are looking for posts in a particular place, search City or State here.

SEE OTHER POSTS IN ARCHIVE

RECOMMENDED POSTS

RECENT POSTS

See the latest on Instagram and follow @HIKINGFORDONUTS

Kaaterskill Falls Trail, The Catskills, New York

Trail Description: The Kaaterskill Falls Trail is short hike to a stunning waterfall in the Catskills.

Trail Info:

Where: Haines Falls, NY Distance: 2.3m (1.5-2 hours) Difficulty: Moderate Trail Type: Out and Back Features: Views, Mountains, Waterfall

How to get there:

Note, you will lose service as you get closer. I put in my GPS:

103 Laurel House Road, Palenville, NY 12463

Depending which direction you are coming from, you will turn onto N Lake Rd off RT 23A and follow up to Laurel House Road. In roughly 2 miles, turn right on Laurel House Road where you will find the upper trail parking lot.

Hiking Tips

  • Start at the upper parking lot.

  • Make sure to check out the views from the platform.

  • Summer water levels may be low and rainy periods may be muddy.

  • Be safe. Multiple people have got hurt jumping in the falls, or worst, fallen off the top of the fall and died.

The Hike

A trip to the Catskill Mountains in New York has been on my immediate bucket list.  The abundance of hikes and mountain peaks to be seen caught my eye. Since this is not a long drive for my fiancé and me, we picked a weekend, laced our boots, and hiked until we couldn’t any longer.  The one obvious choice to hike is the ever popular Kaaterskill Falls Trail.  Being mid-July and not much rain, the fall wasn’t going to be as cool as in the rain season. But this was the only weekend we could go and it was still worth the hike. I always do my research ahead of time and noticed there were multiple parking lots. The more popular lot seems to be the lower which looked like a train wreck. We drove by it. The parking is miserable with tons of cars in the highway on a narrow strip parked in the road. I would be concerned walking back to my car. The better option is the upper falls lot off Laurel House Road, where there is a platform you can see the falls from above. As long you can there before 10-11am on the weekend, there should be enough parking. The other thing in my mind was the crowd. I suggest doing this hike very early on weekends or if you can on a weekday.  The lower falls are popular for swimming in summers. We started this around 9am and it was pretty crowded, especially at the lower trail.

Once we parked in the lot on Laurel House road, there is a gravel path to the kiosk of trail info where the hike begins. From here, we proceeded to take the Yellow Trail on our left.  In short time, the Blue Trail will be on the left. We continued on the Yellow Trail to the right heading to upper platform for views of the falls. This portion of trail was developed and improved in 2016 to make it safer for everyone to hike. While this may be manmade, I think that was essential for this trail. If not for all the new steps and paths, people would get hurt and there is way more to offer on this trail for everyone. And, the platform offers a new perspective with remarkable views of Kaaterskill Falls. I am glad I did not start from the lower trail!

After checking out the platform, we retraced our steps back to find the intersection for the Blue Trail. This will lead to a bridge crossing that will lead to another intersection. From here, turn right toward the Lower Falls. This is where difficulty of the trail increases but not too bad. To proceed along to the Lower Falls, we proceeded to head on the Yellow Trail. There will be more signposts to veer onto other trails if you want to adventure but we just wanted to see the falls. As we descended closer to waterfall, you can hear the crowd of people below as you get closer on this hot summer day.  There was a side trail venturing to our right where the falls are up close. You could actually get in the water and take a picture under them.

We returned back to the fork and proceeded to descend down the steps to lower part of the waterfall. Once we reached the bottom, you can see both sections of Kaaterskill Falls. We climbed up on some rocks to get closer. And, of course I hiked with a donut. Hence, obligatory donut and waterfall shot. We stopped at a local donut shop about 10 minutes away from

The crowd was a lot to deal with. We headed back retracing our steps back onto the Yellow Trail until we reached the bridge again. Then take the path toward the parking lot. As I mentioned previously, this was non-rain season so the fall was not as robust. However, it is one of the must hike locations in the Catkskills. I ensured my first trip included Kaaterskill Falls.

HIKING FOR DONUTS

Hi, I’m Mark. I live in Connecticut. I take new trips every change I get. A good trip has a great hike, great food, and something fun to do. My goal is to search out new trips and share them to inspire others to try something new and exciting.

If you are looking for posts in a particular place, search City or State here.

SEE OTHER POSTS IN ARCHIVE

RECOMMENDED POSTS

RECENT POSTS

See the latest on Instagram and follow @HIKINGFORDONUTS

Minnewaska State Park Reserve

Minnewaska State Park Reserve

Minnewaska State Park Reserve is located in Kerhonkson, NY on the Shawangunk Ridge. The park is full of numerous awesome hiking trails to spend hours exploring. This post will cover Awosting Falls, Lake Minnewaska, and Kempton Ledge. Great picturesque views through out the hiking trails. A great visit visit to Minnewaska State Park reserve. Hiking for Donuts approved.

Ninham Mountain Fire Tower Hike

Ninham Mountain Fire Tower Hike

Hiking Ninham Mountain Fire Tower in NY. Another great Hudson Valley, NY hike. Easy hike, beautiful views.

Rattlesnake Mountain to Pinnacle Rock via Metacomet Trail, Farmington, CT

Rattlesnake Mountain to Pinnacle Rock via Metacomet Trail, Farmington, CT

We headed on the trail to our left toward the Rattlesnake Cliffs. The trail starts out flat then begins to switchback up the side of the mountain. After a half mile in, the trail will ascend uphill and the terrain is rockier. We passed lots of large rock boulders as we got closer to the cliffs. This particular trail was very well-marked. We eventually came across the boulder rock cave known as Will Warren’s Den, which I later found out was a historical site.