


Hiking the Breakneck Ridge Trail, New York
Trail Description: The Breakneck Ridge hike is one of the most challenging trails in the Hudson Valley. The mountain is known for rocky terrain, steep rock scrambling, and beautiful views of the Hudson Valley. This trail is immensely popular due to its easy access.
Trail Info:
Where: Cold Spring, NY Distance: 3.7 miles (3.5-4.5 hours) Difficulty: Strenuous Trail Type: Loop Features: Views, River, Mountains, Rock Scrambling
How to get there:
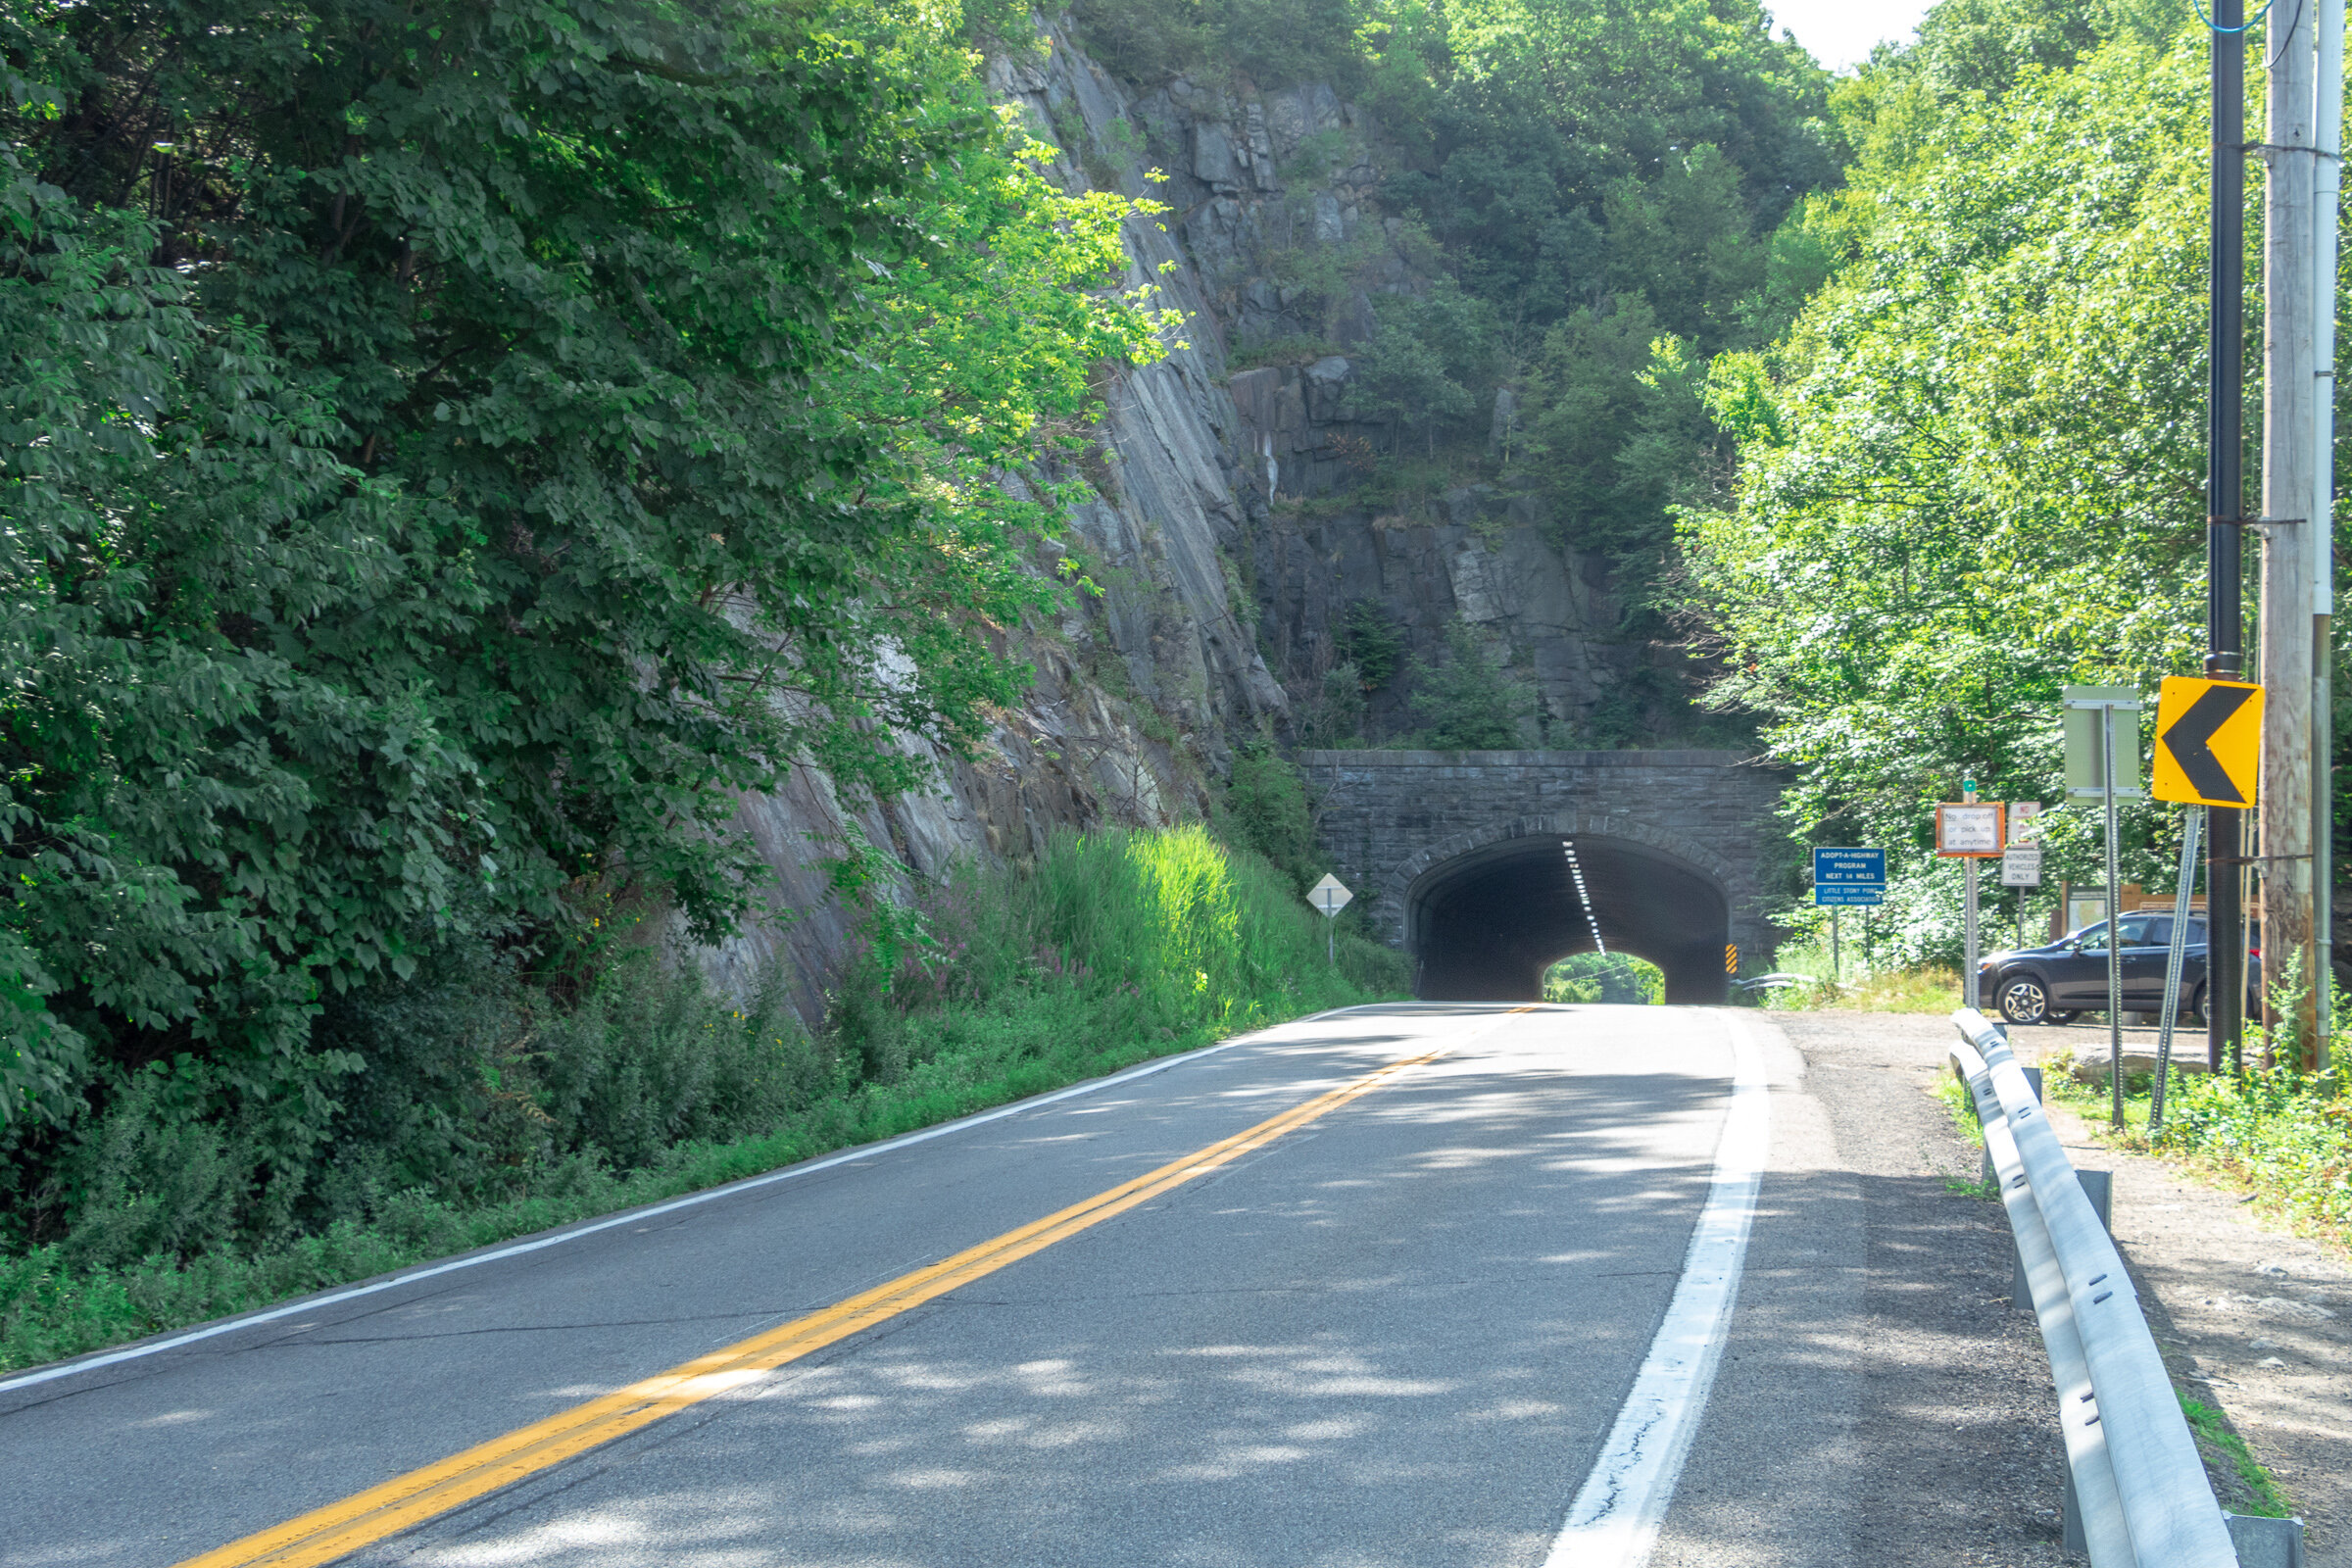
Typing the location “Breakneck Ridge Trailhead” into Google Maps will take you near the parking areas. There are multiple parking spots along State Road 9D, just park where you can north of the tunnel. There is a small lot near the trailhead and a larger lot further down.
For those concerned about parking/driving, this hike is accessible via train. There is a MTA to the Breakneck Ridge train station that is within walking distance to the trail on weekends only.
Hiking Tips
Go on a weekday to avoid the crowds, if possible. Go early on weekends.
Be prepared to rock scramble & use your hands to scale the cliff.
Not dog friendly (unless small dog that you can carry or your dog is a mountain climber)
The Hike
After parking, make sure you are walking along the right hand side of the road. The trailhead starts to the right of the tunnel, where there is trail signage and maps.
There are 3 trail route options for Breakneck Ridge. There is a sign explaining this at the beginning of the trail. The options consist of the short loop (2 hours) ,the regular/classic loop (3 hours), or the trail back to Cold Spring (4 hours). This guide will be the option we took which is the full classic loop.
There is a set of rock stairs that will bring you to the sharp ascent. Follow the white trail markers and start climbing! The terrain on the trail is pretty hard right away. There is a very steep ascent and I needed my hands and knees to get me through this portion of the hike. If you did bring hiking poles, I would suggest securing the poles to your backpack here as they will not be helpful. Depending on your level of climbing up, this can be anywhere from 30 minutes to an hour.

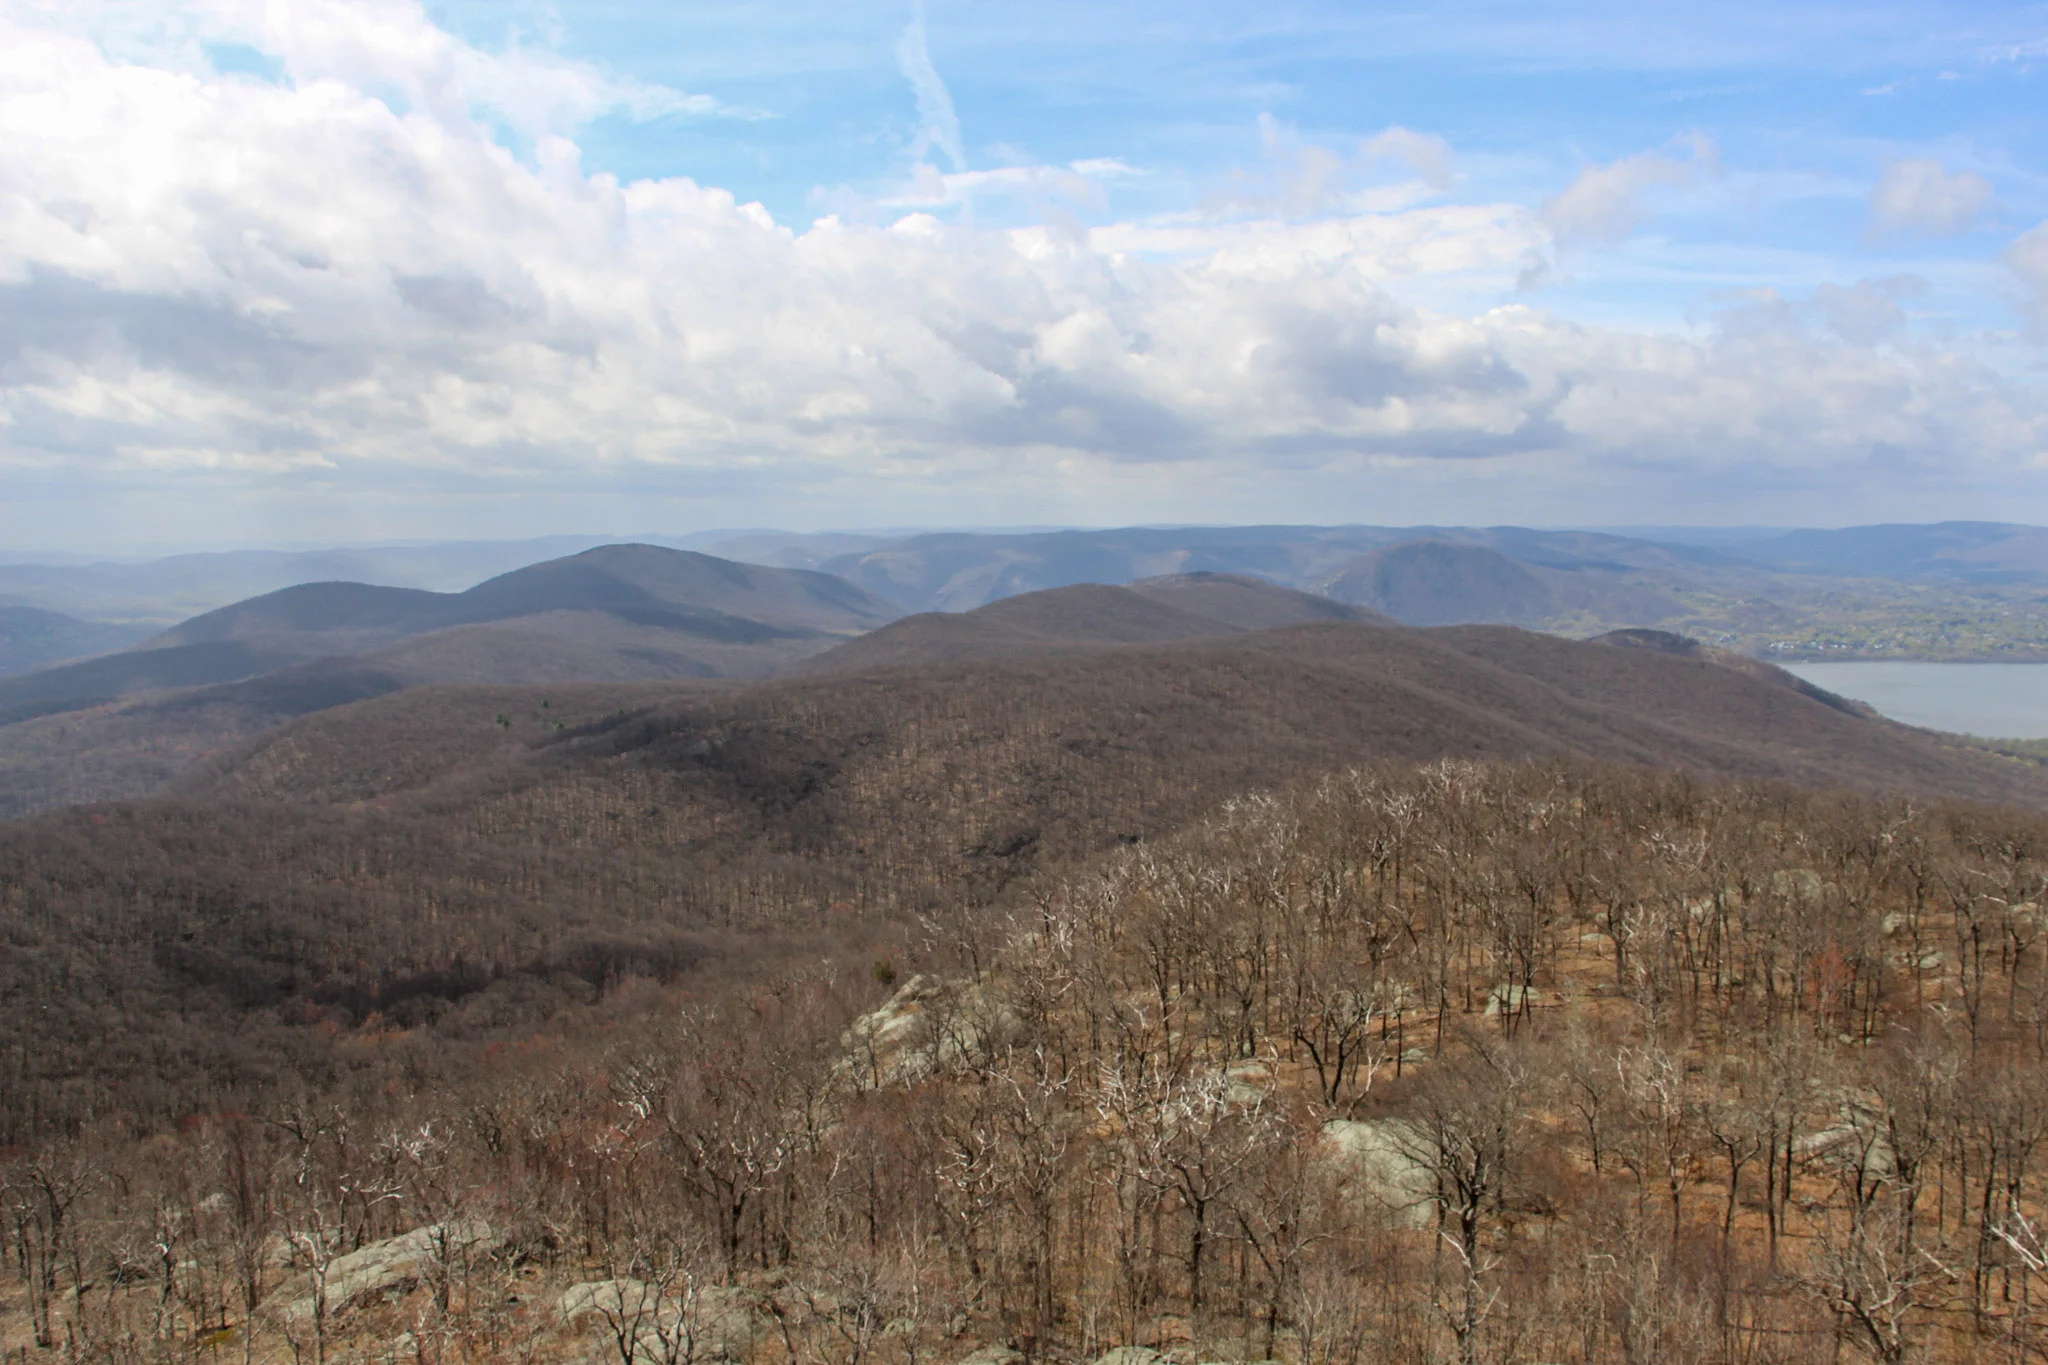
Keep climbing until you reach the flagpole. You will see Pollepel Island with Bannerman’s Castle to your right, along with views of Storm King Mountain straight ahead across the river.


After taking in the views and enjoying a break, continue to follow the white markers as the incline continues. This part is less intense but still some rock scrambling. There is an area in the trail where you can choose to go steeper or take the easier ascent marked with X with an arrow pointing left & right. The easier route was definitely welcomed after the steep climb.

Continue to climb higher and there is another viewpoint with the flagpole far in the distance from above.


Keep climbing until there are no more bluffs and cannot continue further.This is where you head into the forest. The next few miles are much, much easier. You could go back down the way you came but it’s a tough way down and you will be greeted with a traffic jam of many hikers ascending up.

Continue on white markers & ignore the yellow marked trail for now.
There will be a fork eventually. Look for a turn off to the red marked trail (tough to miss red marking on rock). Follow red trail down a gradual descent through woods.

Depending on your pace, the red trail will dead end in about 30-60 minutes where you take left onto yellow trail (Wilkinson Memorial Trail) and keep going downhill and follow all the way to the parking area.


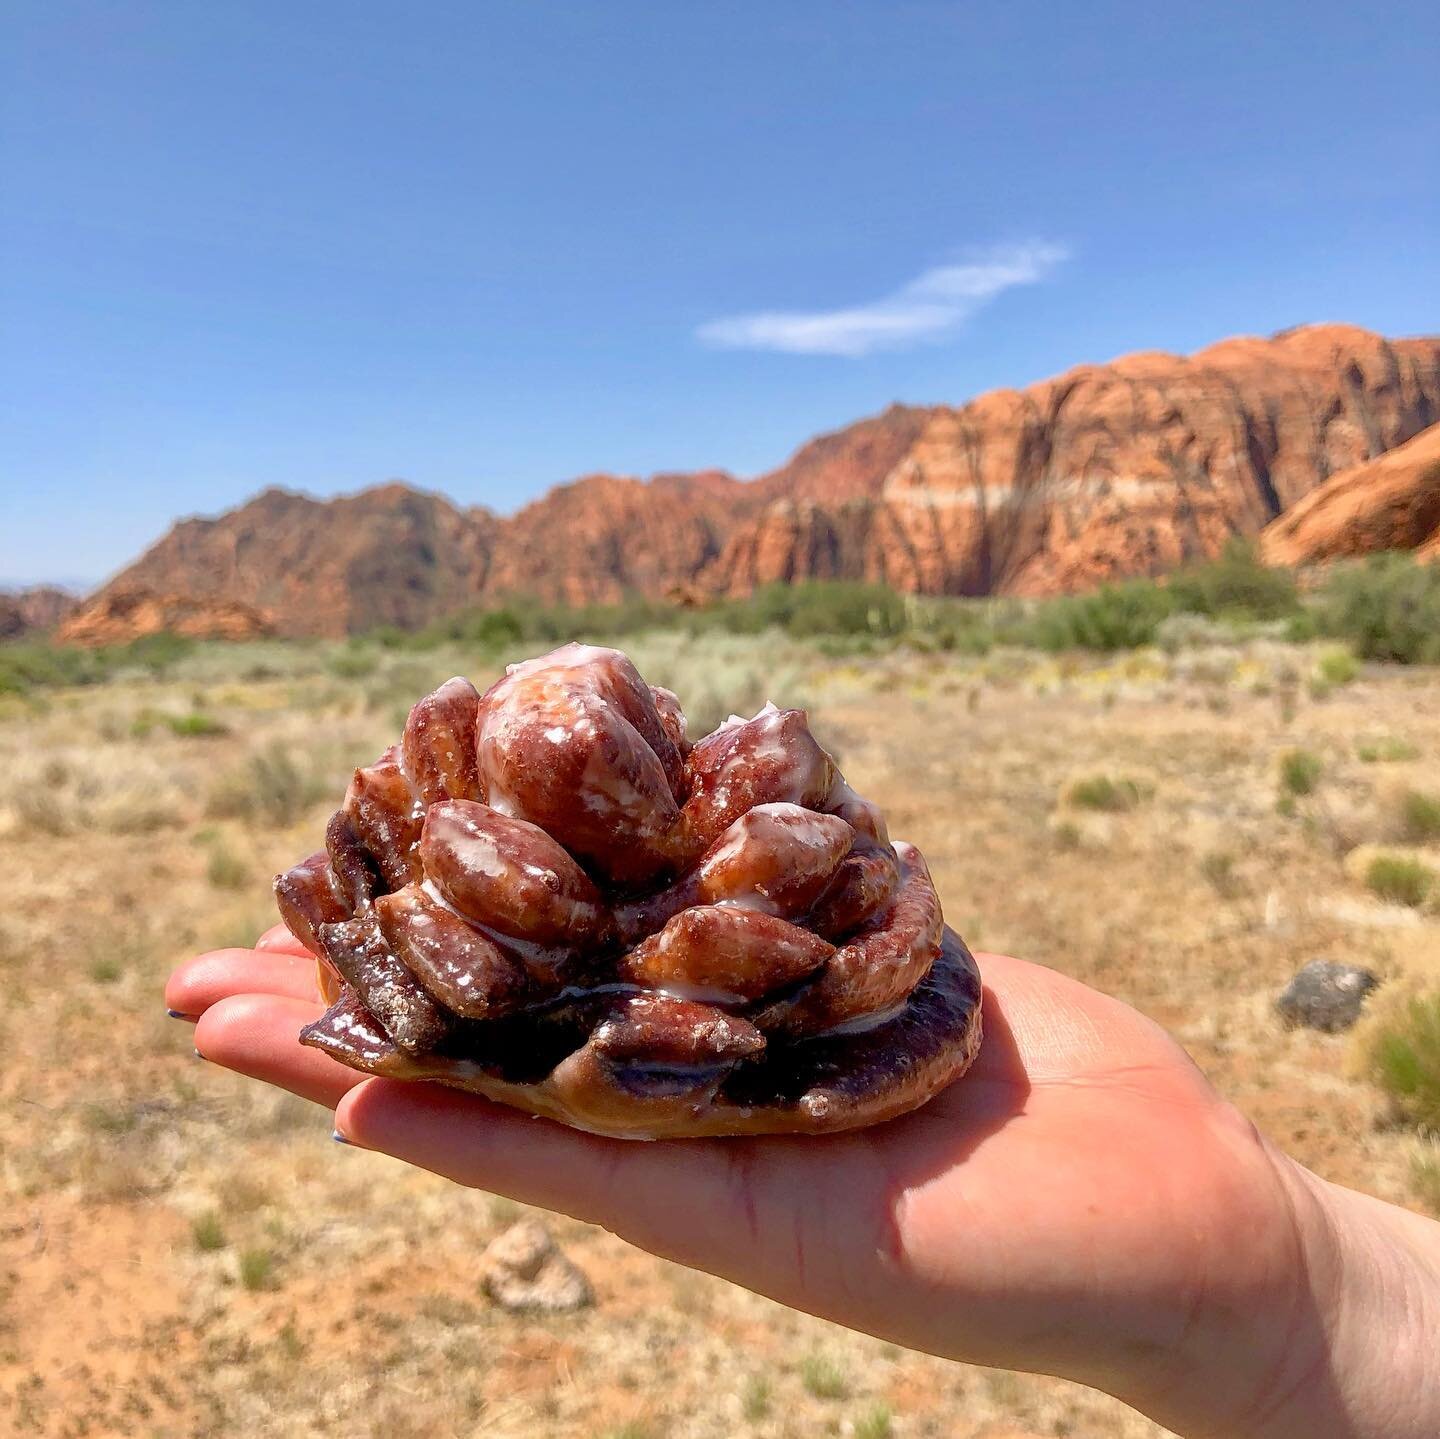
HIKING FOR DONUTS
Hi, I’m Mark. I live in Connecticut. I take new trips every chance I get. A good trip has a great hike, great food, and something fun to do. My goal is to search out new trips and share them to inspire others to try something new and exciting.
If you are looking for posts in a particular place, search City or State here.
SEE OTHER POSTS IN ARCHIVE
Archive
RECOMMENDED POSTS


RECENT POSTS


See the latest on Instagram and follow @HIKINGFORDONUTS


How to Hike The Beehive Trail, The Bowl, & Champlain Mountain, Acadia National Park
Trail Description: This hike climbs The Beehive via cliffs and iron rungs that leads to The Bowl (a pond), and then climbs up to the summit of Champlain Mountain. There are amazing views from the summits and various spots on the trail.
Trail Info:
Where: Bar Harbor, ME, Acadia National Park Distance: 4.9 miles (5-6 hours) Difficulty: Strenuous Trail Type: Loop Features: Views, Mountains, Water, Pond, Cliffs, Summit
How to get there:
Sand Beach Parking lot in Acadia National Park. There are restrooms here. In addition, there is beach access and other hiking trails.
Hiking Tips
If you have a fear of heights, the Beehive Trail is not recommended for you.
If it has rained recently and the trail is very wet, I would recommend not including the steep climb portion of the Beehive Trail on that day.
Be sure to take this loop trail counter-clockwise. You do not want to climb down the irons rungs nor clog up traffic.
This is the one of the most popular hikes. It will be very busy, start early!
The Hike
The Beehive loop hike at Acadia National Park is probably #1 on most tourists' itinerary. This is a short and steep hike with some exhilarating but dangerous sections using iron rungs to climb up the side of the mountain. The hike is not for the faint of heart. The experience alone makes this a bucket list adventure. So, of course, it was one of my top priorities visiting Acadia for the first time. My wife and I went for a few days last fall. Due to time constraints, I needed to ensure I got the best bang for my buck. Luckily, The Beehive trail intersects with the Bowl which connects to the trail that summits Champlain Mountain. Now, you could do all 3 of these separately but this was a no brainer. This allowed my wife and I to see more amazing views in the allotted time we had.
The trailhead is located on the opposite side of the street, about 100 yards across from the Sand Beach parking lot. From the parking lot, start heading on the gravel path to the right of the parking lot entrance as you walk up to Park Loop Road. Cross the road and the trailhead for the Bowl Trail will be right there. Just follow the crowd! The trail is flat but rocky to start. After 0.2m turn right onto the Beehive Trail where Bowl Trail goes straight. Follow the blue blazed trail.
This is where the climbing begins. First are the short staircases. Then, there are a few narrow ledges with sheer drops. Followed by climbing iron rungs used to assist in the ascent up the vertical rocks. All completely exposed. You have some options here if you are not comfortable going up the Beehive Trail using the iron rungs. There is an option to access The Beehive from the backside or skip it entirely and choose to head to The Bowl. I enjoyed this as it was challenging and thrilling. And, the views were awesome. However, it is not to be taken lightly. It is dangerous. Take your time and be thoughtful to your fellow hikers. This part of the hike is relatively short.


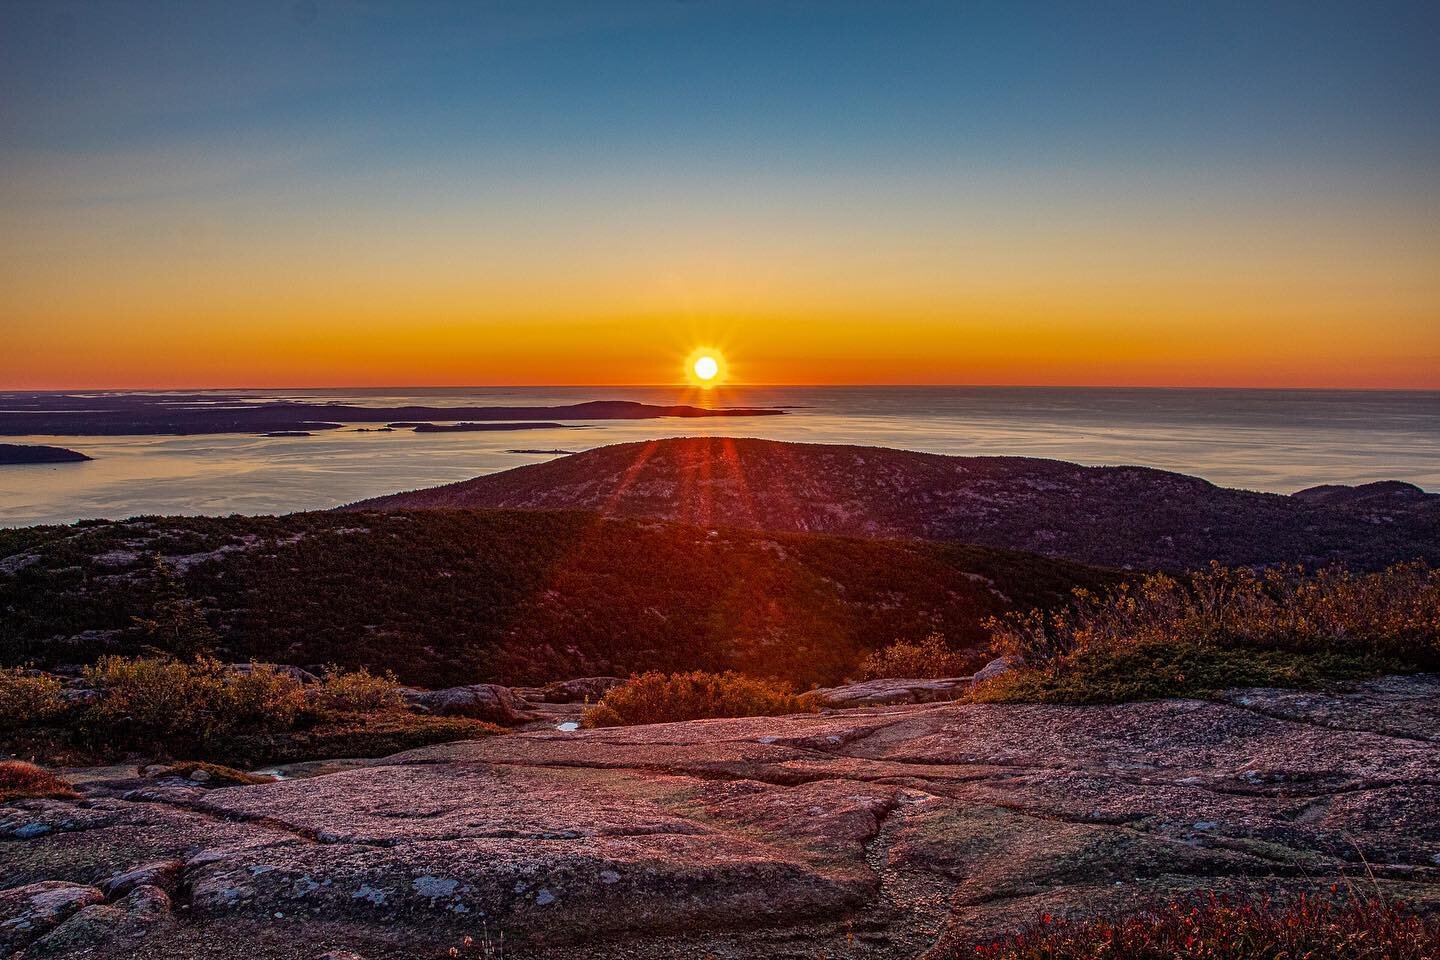
At around 0.6m, we reached the summit of the Beehive Trail and enjoyed some amazing views of Sand Beach and Great Head. The hard work is worth it!
Continuing on the blue blazed trail, go straight through an intersection where a connecting trail leaves left. At 0.9m, this is where we reached the shore of a pond, known as The Bowl.
Follow the path with the wooden boards on the left along the shoreline for 0.1m to split in the trail. The Bowl goes left and Champlain South Ridge Trail will veer to the right. Take the right and follow Champlain South Ridge Trail. The sign indicates 1.6m to Champlain Mountain from here. There is an amazing view of The Bowl as you hike higher up the mountain.
Be weary of the blue markings along the trail and follow the cairns. There are more spectacular views at the summit of Champlain Mountain. This summit is less hectic than the Beehive so this is a good spot to have a snack and relax.


After soaking in the views, retrace your steps down to The Bowl. There are four paths leaving the summit, ensure you are heading the direction you came up. Once you get down to The Bowl intersection, bear right away from the pond and take the rest of the trail back to Park Loop Road for about 0.8m. You will pass two trails on the right leading up to Gorham Mountain and two trails on the left heading to the Beehive. Just keep going straight at all intersections.

This will lead you back to where you started. As mentioned above, we decided to combine all three trails so we can see more. I would highly recommend this particular loop in this fashion. Lots of great views. Amazing hike. The Beehive hype is real. Bucket list checked off.
HIKING FOR DONUTS
Hi, I’m Mark. I live in Connecticut. I take new trips every chance I get. A good trip has a great hike, great food, and something fun to do. My goal is to search out new trips and share them to inspire others to try something new and exciting.
If you are looking for posts in a particular place, search City or State here.
SEE OTHER POSTS IN ARCHIVE
Archive
RECOMMENDED POSTS


RECENT POSTS
See the latest on Instagram and follow @HIKINGFORDONUTS