


Hiking the Breakneck Ridge Trail, New York
Trail Description: The Breakneck Ridge hike is one of the most challenging trails in the Hudson Valley. The mountain is known for rocky terrain, steep rock scrambling, and beautiful views of the Hudson Valley. This trail is immensely popular due to its easy access.
Trail Info:
Where: Cold Spring, NY Distance: 3.7 miles (3.5-4.5 hours) Difficulty: Strenuous Trail Type: Loop Features: Views, River, Mountains, Rock Scrambling
How to get there:
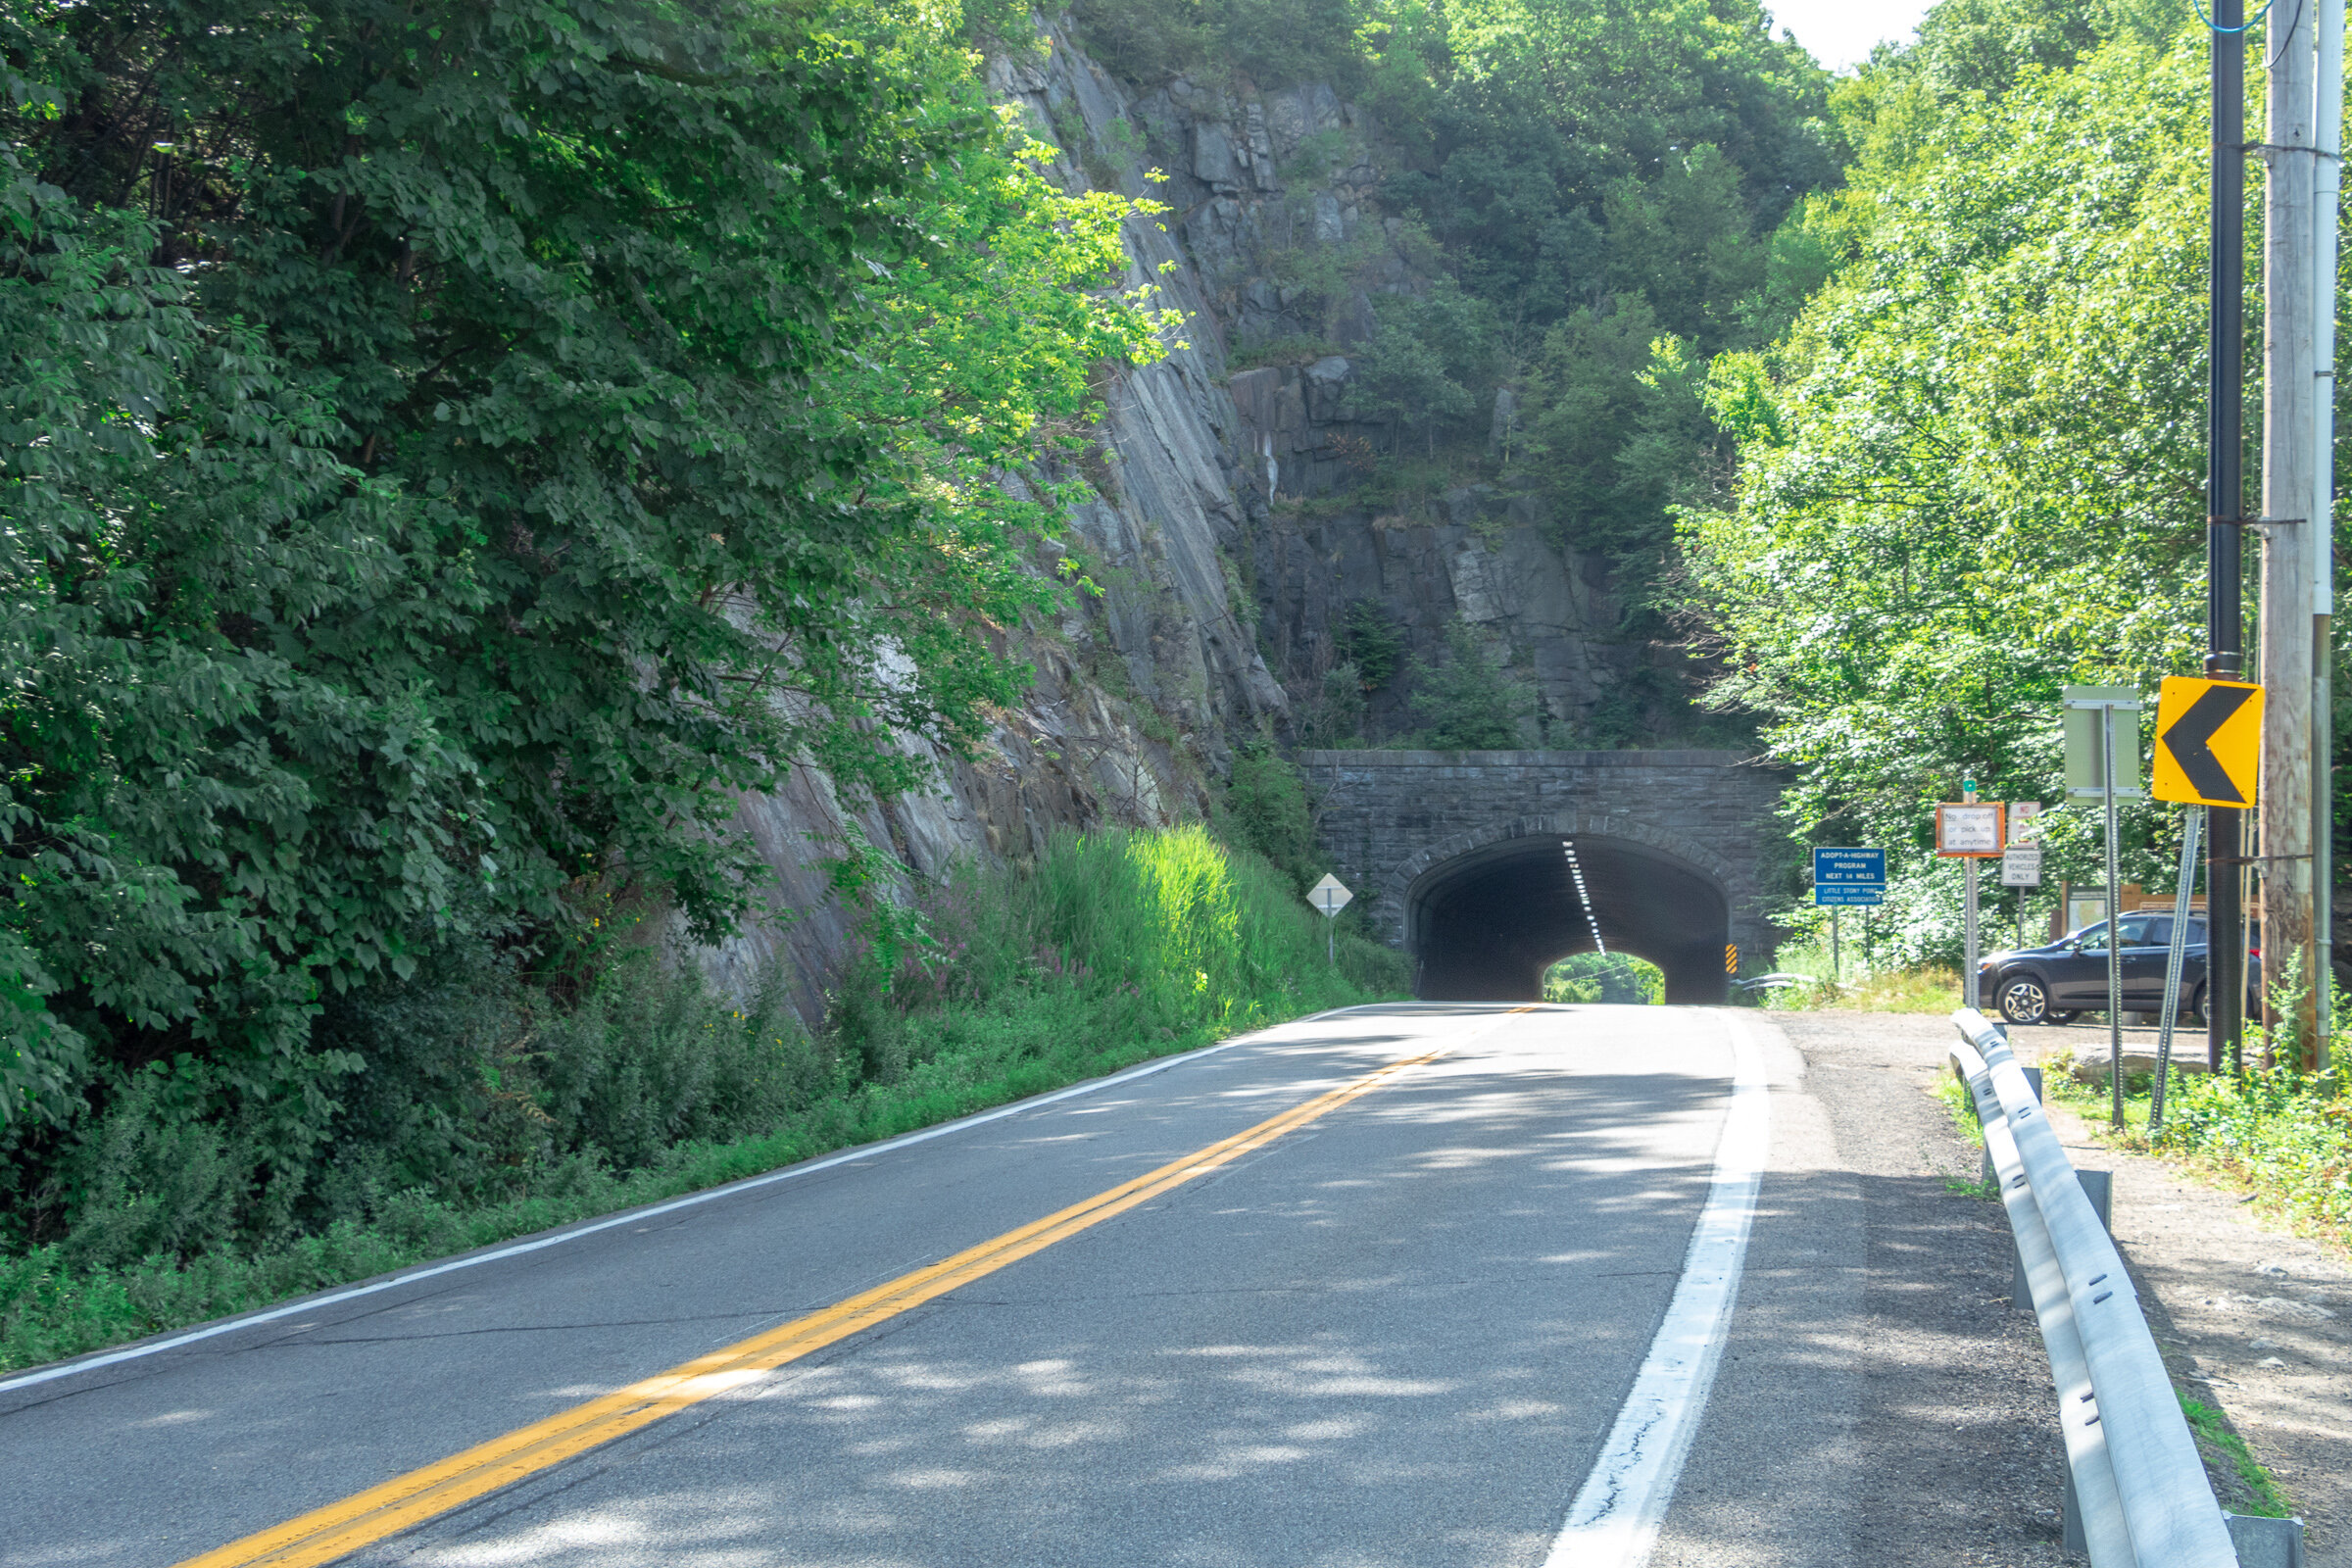
Typing the location “Breakneck Ridge Trailhead” into Google Maps will take you near the parking areas. There are multiple parking spots along State Road 9D, just park where you can north of the tunnel. There is a small lot near the trailhead and a larger lot further down.
For those concerned about parking/driving, this hike is accessible via train. There is a MTA to the Breakneck Ridge train station that is within walking distance to the trail on weekends only.
Hiking Tips
Go on a weekday to avoid the crowds, if possible. Go early on weekends.
Be prepared to rock scramble & use your hands to scale the cliff.
Not dog friendly (unless small dog that you can carry or your dog is a mountain climber)
The Hike
After parking, make sure you are walking along the right hand side of the road. The trailhead starts to the right of the tunnel, where there is trail signage and maps.
There are 3 trail route options for Breakneck Ridge. There is a sign explaining this at the beginning of the trail. The options consist of the short loop (2 hours) ,the regular/classic loop (3 hours), or the trail back to Cold Spring (4 hours). This guide will be the option we took which is the full classic loop.
There is a set of rock stairs that will bring you to the sharp ascent. Follow the white trail markers and start climbing! The terrain on the trail is pretty hard right away. There is a very steep ascent and I needed my hands and knees to get me through this portion of the hike. If you did bring hiking poles, I would suggest securing the poles to your backpack here as they will not be helpful. Depending on your level of climbing up, this can be anywhere from 30 minutes to an hour.

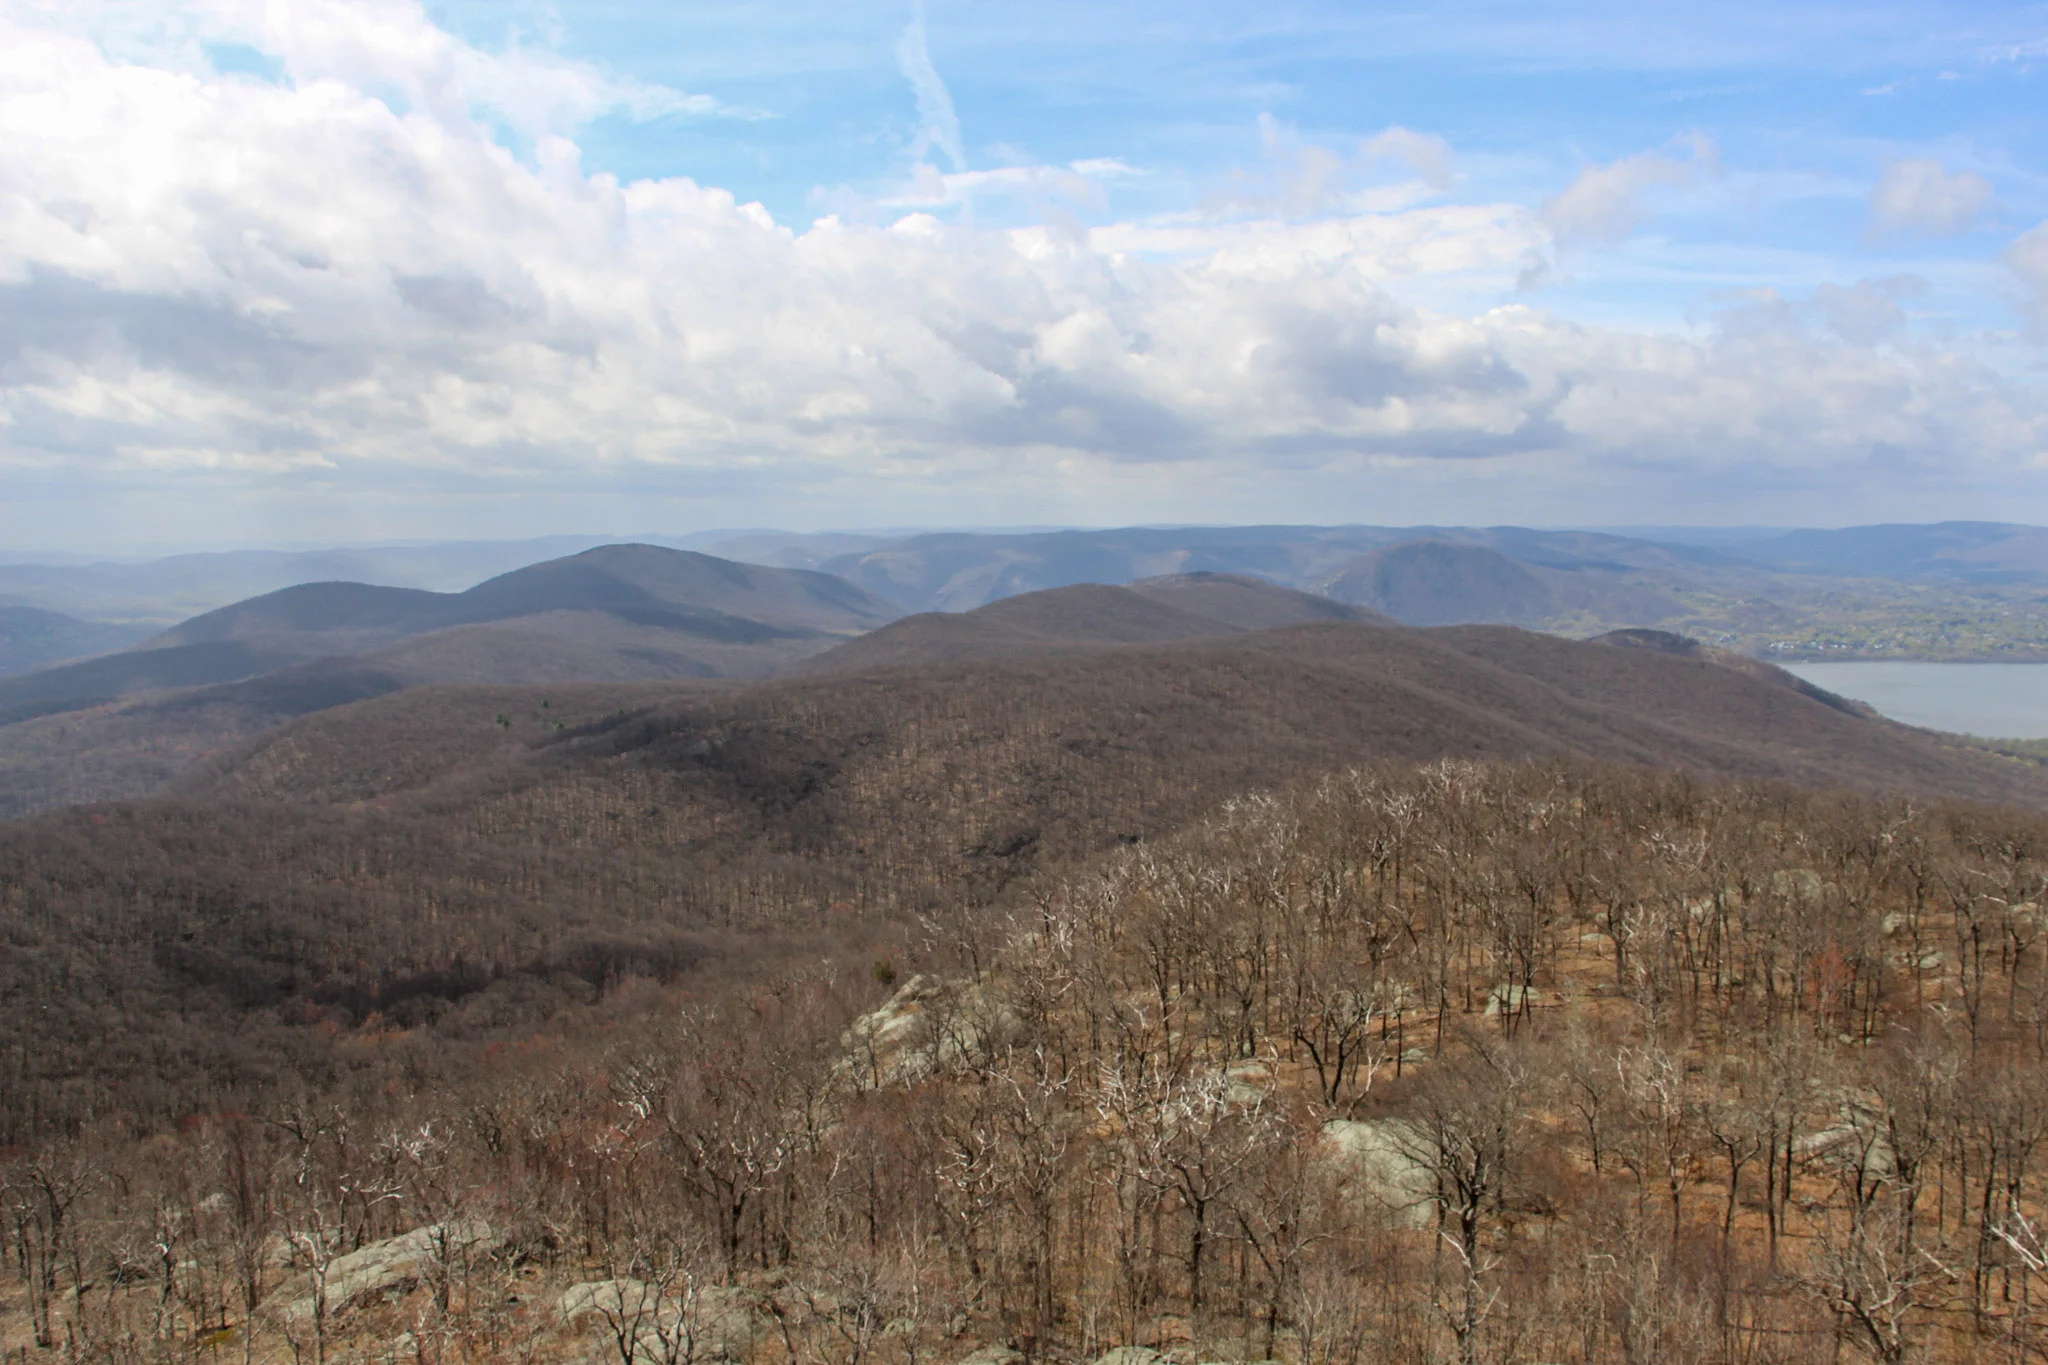
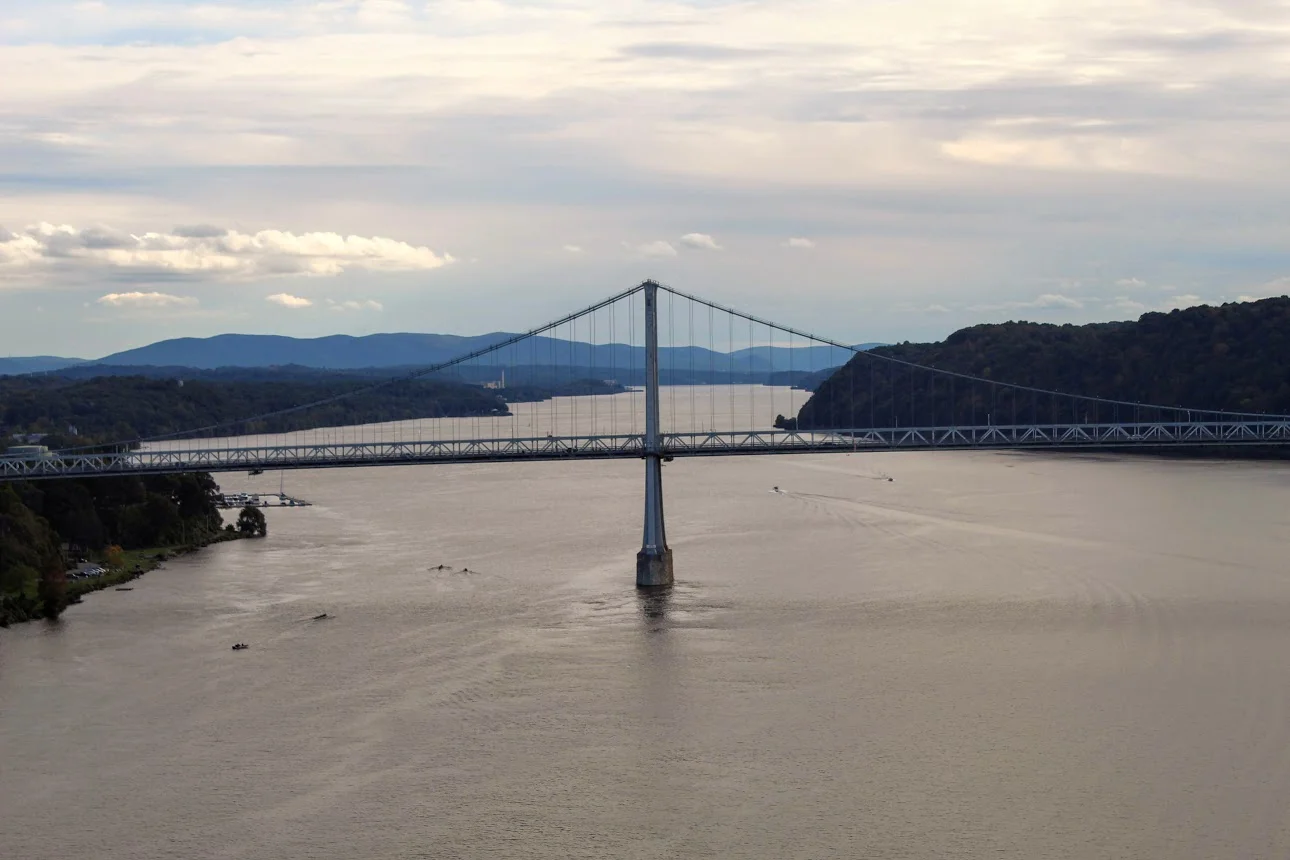
Keep climbing until you reach the flagpole. You will see Pollepel Island with Bannerman’s Castle to your right, along with views of Storm King Mountain straight ahead across the river.


After taking in the views and enjoying a break, continue to follow the white markers as the incline continues. This part is less intense but still some rock scrambling. There is an area in the trail where you can choose to go steeper or take the easier ascent marked with X with an arrow pointing left & right. The easier route was definitely welcomed after the steep climb.

Continue to climb higher and there is another viewpoint with the flagpole far in the distance from above.


Keep climbing until there are no more bluffs and cannot continue further.This is where you head into the forest. The next few miles are much, much easier. You could go back down the way you came but it’s a tough way down and you will be greeted with a traffic jam of many hikers ascending up.

Continue on white markers & ignore the yellow marked trail for now.
There will be a fork eventually. Look for a turn off to the red marked trail (tough to miss red marking on rock). Follow red trail down a gradual descent through woods.

Depending on your pace, the red trail will dead end in about 30-60 minutes where you take left onto yellow trail (Wilkinson Memorial Trail) and keep going downhill and follow all the way to the parking area.


HIKING FOR DONUTS
Hi, I’m Mark. I live in Connecticut. I take new trips every chance I get. A good trip has a great hike, great food, and something fun to do. My goal is to search out new trips and share them to inspire others to try something new and exciting.
If you are looking for posts in a particular place, search City or State here.
SEE OTHER POSTS IN ARCHIVE
Archive
RECOMMENDED POSTS


RECENT POSTS


See the latest on Instagram and follow @HIKINGFORDONUTS


Kaaterskill Falls Trail, The Catskills, New York
Trail Description: The Kaaterskill Falls Trail is short hike to a stunning waterfall in the Catskills.
Trail Info:
Where: Haines Falls, NY Distance: 2.3m (1.5-2 hours) Difficulty: Moderate Trail Type: Out and Back Features: Views, Mountains, Waterfall
How to get there:
Note, you will lose service as you get closer. I put in my GPS:
103 Laurel House Road, Palenville, NY 12463
Depending which direction you are coming from, you will turn onto N Lake Rd off RT 23A and follow up to Laurel House Road. In roughly 2 miles, turn right on Laurel House Road where you will find the upper trail parking lot.
Hiking Tips
Start at the upper parking lot.
Make sure to check out the views from the platform.
Summer water levels may be low and rainy periods may be muddy.
Be safe. Multiple people have got hurt jumping in the falls, or worst, fallen off the top of the fall and died.
The Hike
A trip to the Catskill Mountains in New York has been on my immediate bucket list. The abundance of hikes and mountain peaks to be seen caught my eye. Since this is not a long drive for my fiancé and me, we picked a weekend, laced our boots, and hiked until we couldn’t any longer. The one obvious choice to hike is the ever popular Kaaterskill Falls Trail. Being mid-July and not much rain, the fall wasn’t going to be as cool as in the rain season. But this was the only weekend we could go and it was still worth the hike. I always do my research ahead of time and noticed there were multiple parking lots. The more popular lot seems to be the lower which looked like a train wreck. We drove by it. The parking is miserable with tons of cars in the highway on a narrow strip parked in the road. I would be concerned walking back to my car. The better option is the upper falls lot off Laurel House Road, where there is a platform you can see the falls from above. As long you can there before 10-11am on the weekend, there should be enough parking. The other thing in my mind was the crowd. I suggest doing this hike very early on weekends or if you can on a weekday. The lower falls are popular for swimming in summers. We started this around 9am and it was pretty crowded, especially at the lower trail.


Once we parked in the lot on Laurel House road, there is a gravel path to the kiosk of trail info where the hike begins. From here, we proceeded to take the Yellow Trail on our left. In short time, the Blue Trail will be on the left. We continued on the Yellow Trail to the right heading to upper platform for views of the falls. This portion of trail was developed and improved in 2016 to make it safer for everyone to hike. While this may be manmade, I think that was essential for this trail. If not for all the new steps and paths, people would get hurt and there is way more to offer on this trail for everyone. And, the platform offers a new perspective with remarkable views of Kaaterskill Falls. I am glad I did not start from the lower trail!
After checking out the platform, we retraced our steps back to find the intersection for the Blue Trail. This will lead to a bridge crossing that will lead to another intersection. From here, turn right toward the Lower Falls. This is where difficulty of the trail increases but not too bad. To proceed along to the Lower Falls, we proceeded to head on the Yellow Trail. There will be more signposts to veer onto other trails if you want to adventure but we just wanted to see the falls. As we descended closer to waterfall, you can hear the crowd of people below as you get closer on this hot summer day. There was a side trail venturing to our right where the falls are up close. You could actually get in the water and take a picture under them.


We returned back to the fork and proceeded to descend down the steps to lower part of the waterfall. Once we reached the bottom, you can see both sections of Kaaterskill Falls. We climbed up on some rocks to get closer. And, of course I hiked with a donut. Hence, obligatory donut and waterfall shot. We stopped at a local donut shop about 10 minutes away from
The crowd was a lot to deal with. We headed back retracing our steps back onto the Yellow Trail until we reached the bridge again. Then take the path toward the parking lot. As I mentioned previously, this was non-rain season so the fall was not as robust. However, it is one of the must hike locations in the Catkskills. I ensured my first trip included Kaaterskill Falls.
HIKING FOR DONUTS
Hi, I’m Mark. I live in Connecticut. I take new trips every change I get. A good trip has a great hike, great food, and something fun to do. My goal is to search out new trips and share them to inspire others to try something new and exciting.
If you are looking for posts in a particular place, search City or State here.
SEE OTHER POSTS IN ARCHIVE
Archive
RECOMMENDED POSTS
RECENT POSTS
See the latest on Instagram and follow @HIKINGFORDONUTS

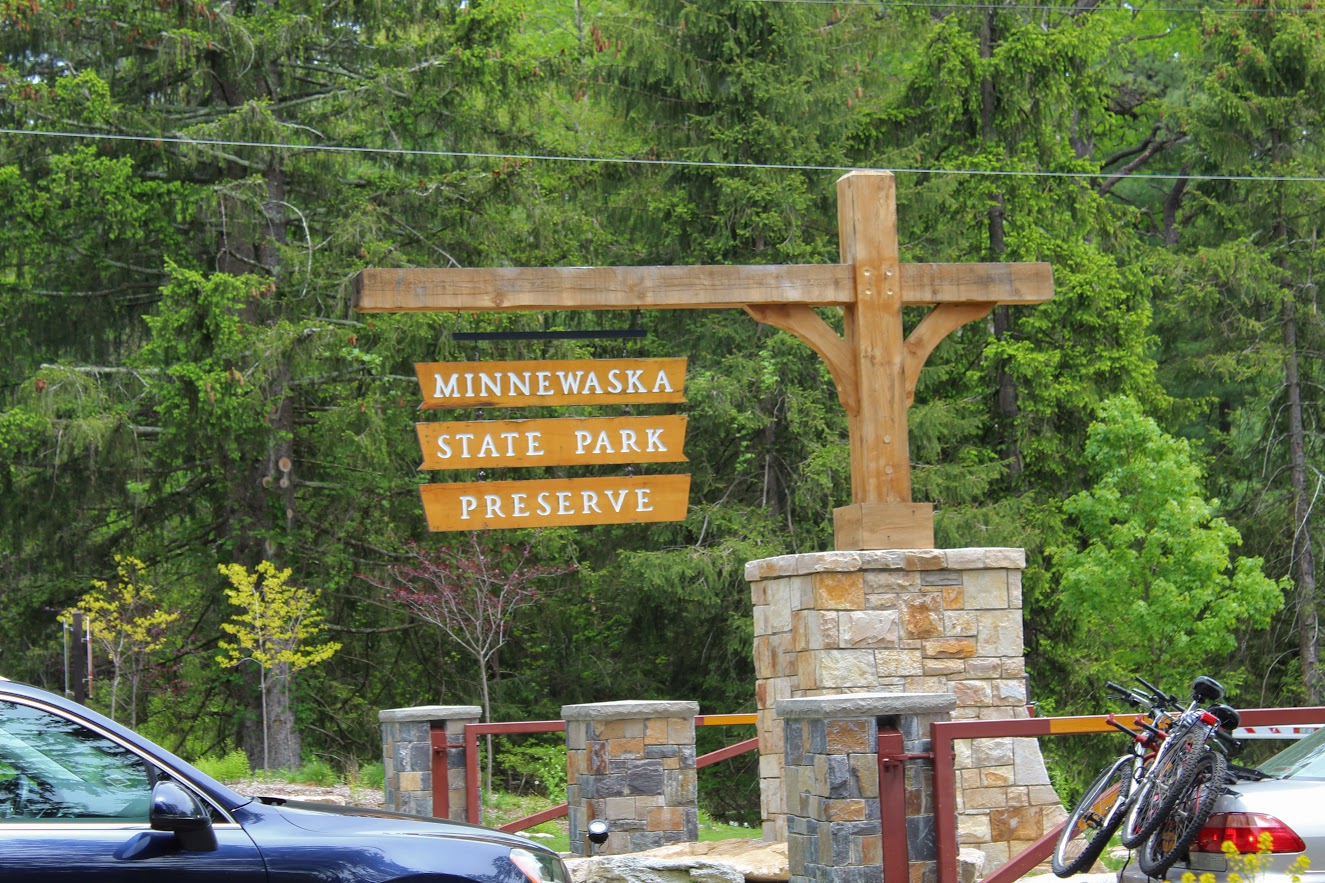
Minnewaska State Park Reserve
Minnewaska State Park Reserve Trail Guide (Kerhonkson, NY)
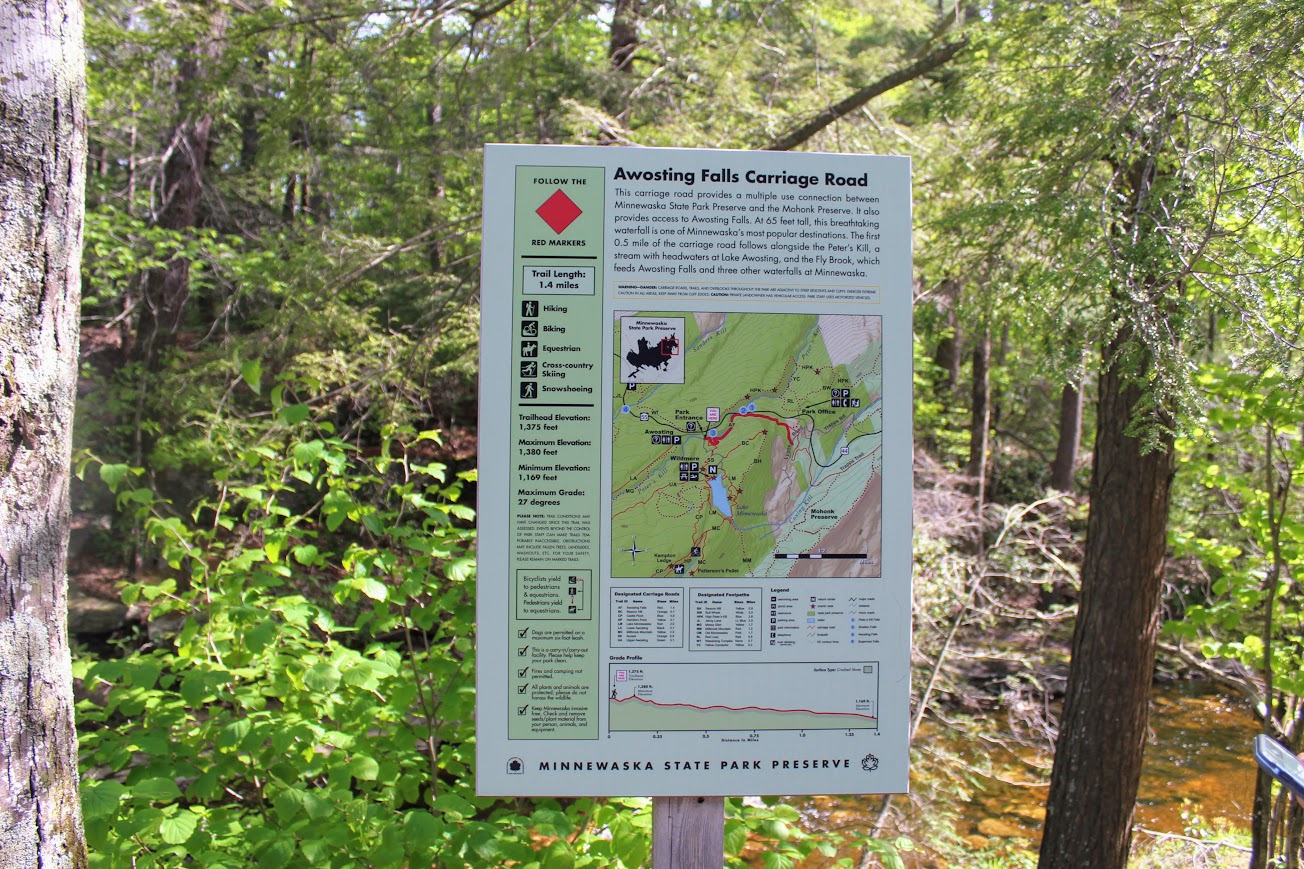
Minnewaska State Park Reserve is located in Kerhonkson, NY on the Shawangunk Ridge. The park is full of numerous awesome hiking trails to spend hours exploring. This post will cover Awosting Falls, Lake Minnewaska, and Kempton Ledge. Great picturesque views through out the hiking trails. A great visit visit to Minnewaska State Park reserve. Hiking for Donuts approved.
Trail Description: Minnewaska State Park Preserve is situated on the Shawangunk Mountain ridge. This park offers a variety of intersecting hiking trails that offer magnificent views. A great day hike consists of capturing Awosting Falls to cliff views off Kempton Ledge and back around Lake Minnewaska. This will offer best landscapes of the park.
Trail Info:
Where: Minnewaska State Park Reserve, Kerhonkson, NY Distance: 5.5 miles (4 hours) Difficulty: Moderate Trail Type: Loop Features: Views, Waterfall, Mountains, Lake, Cliffs, Views
How to get there:
The park is easy to find and it’s a cool drive. The address for the GPS is:
5281 Route 44-55, Kerhonkson, NY 12446
Once entering the park, you will pay the $10 parking fee at the guard shack. For this hike, pull straight ahead into the Awosting Falls parking lot.
Hiking Tips:
Get there early for a less crowded trail. It can be chaos.
There are no signs for the Kempton Ledge but there will be a big opening off the cliff ledge with a big open view. If you keep your eyes out, you won’t pass it.
The trails are well marked but there are areas that are not as obvious. Having a map will be handy.
The Hike
Finally getting around to some hikes I did in the summer! I have seen amazing pictures online of Lake Minnewaska. My girlfriend has told me memories of her hiking in this park and how much there is to offer. On this past Memorial Day Weekend, we decided to head to Minnewaska State Park Reserve in Kerhonkson, NY located on the Shawangunk Ridge. The park is full of many trails and provides some spectacular views of Lake Minnewaska and overlooks the Catskill Mountains. You can spend hours exploring or just come for a quick hike. The one downfall I was warned about it how unbelievably crowded this park can be. And, that was definitely the case. There are many parking lots in walking distance to pretty nice views and picnic table areas hence there will be lots of families. And, the trails are not that difficult. They are mostly carriage roads and can be flat. As one blog I read on this hike stated, you will find more peace and quiet at Walmart. However, the exploring of this park is completely worth it and there are many trails that are less trafficked.

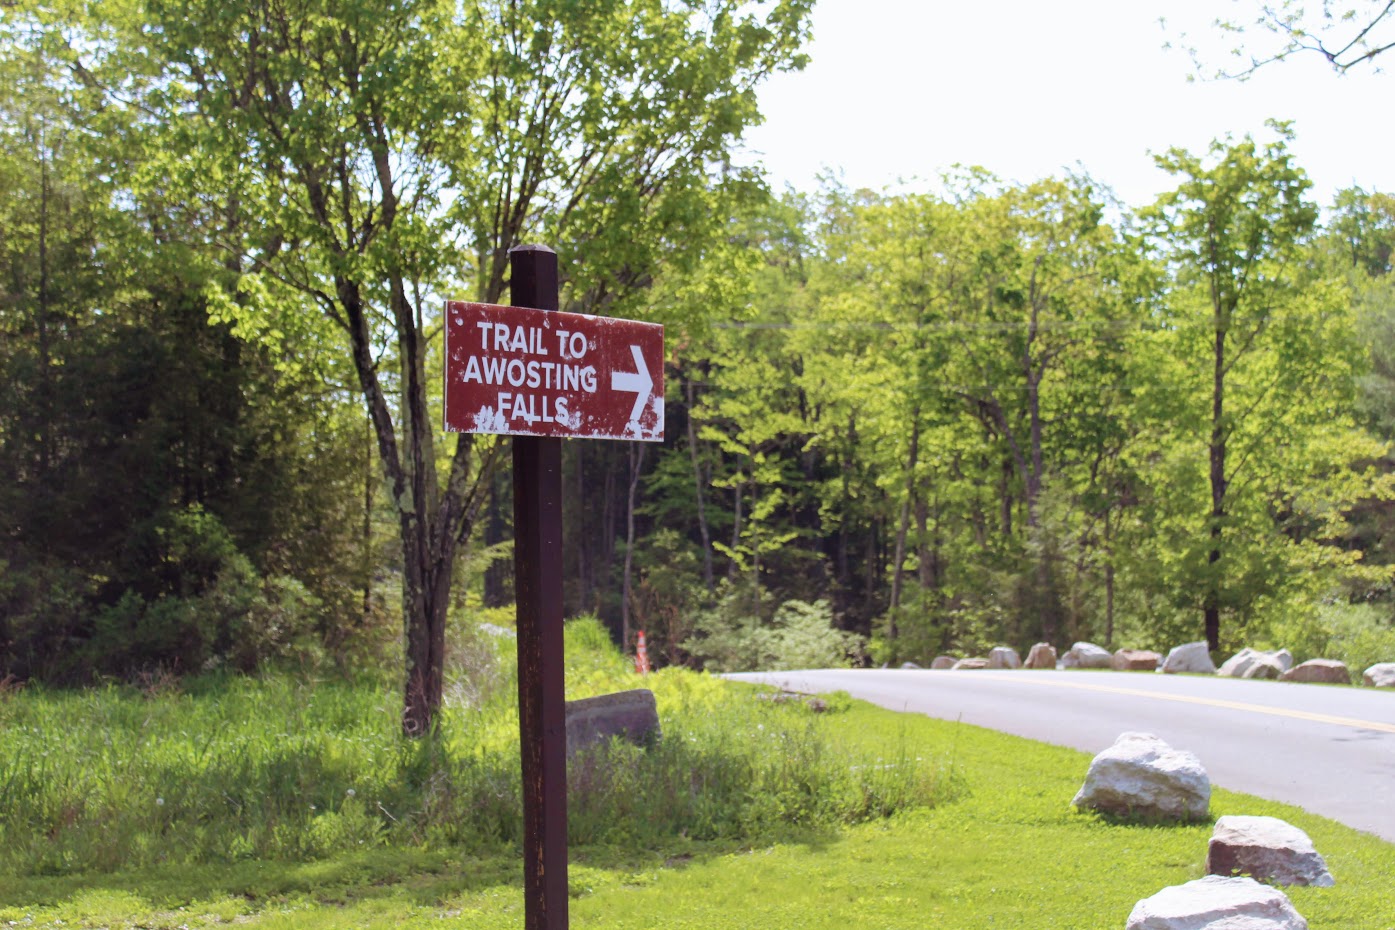
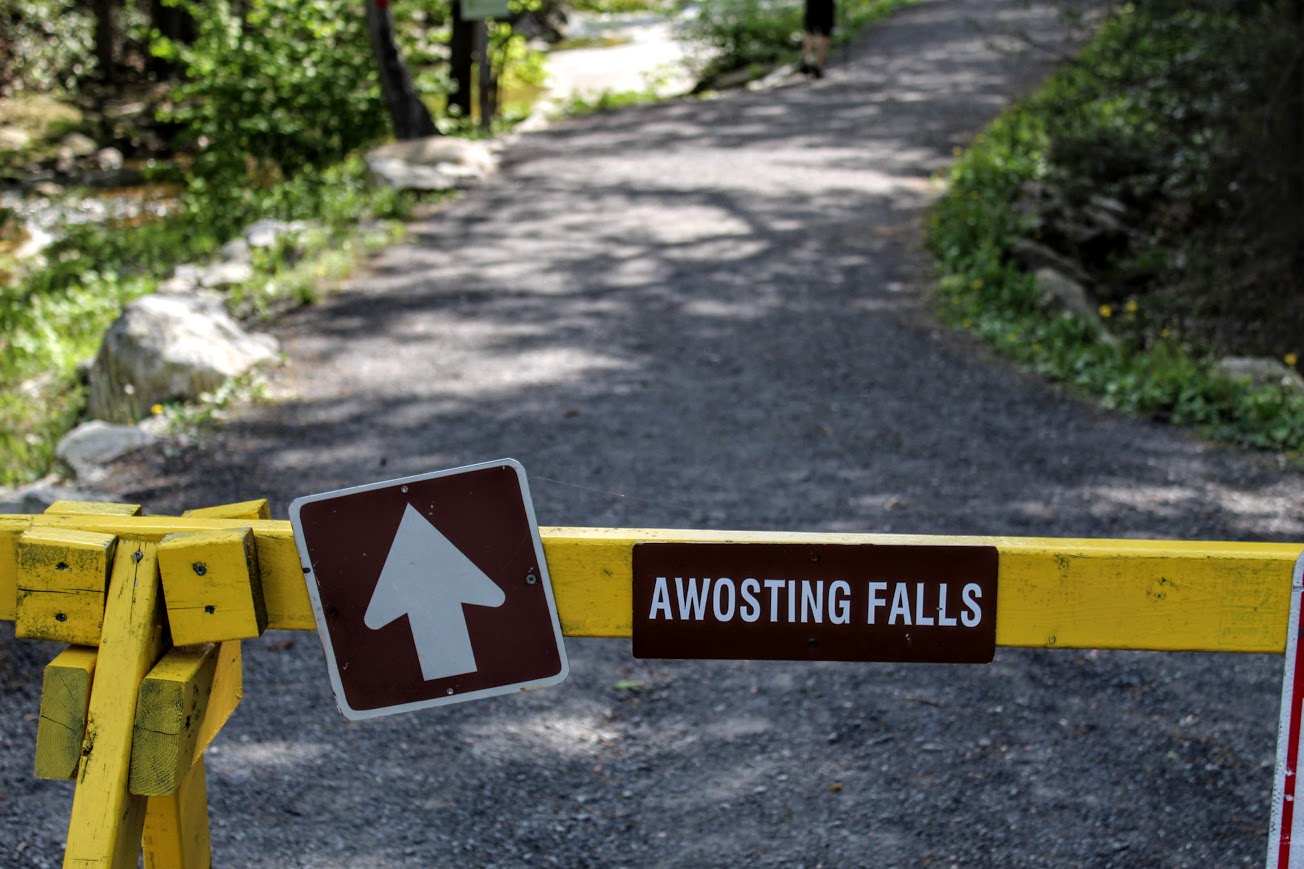
Given the knowledge of the potential crowds, we started our drive toward Minnewaska early and got there as the park opened at 9am. Note, parking will cost $10 inside the park. Not bad in my opinion. Once you enter the park, you will pay at the guard shack. There are many lots to park. Since there weren’t many people there yet, we pulled straight ahead into the Awosting Falls parking lot. The busier it gets, the further you will have to park from the guard shack. Our agenda for this day was to check out Awosting Falls, Kempton Ledge, and finish with trail around Lake Minnewaska. Once parked, we followed the signs to the Awosting Falls Trail.
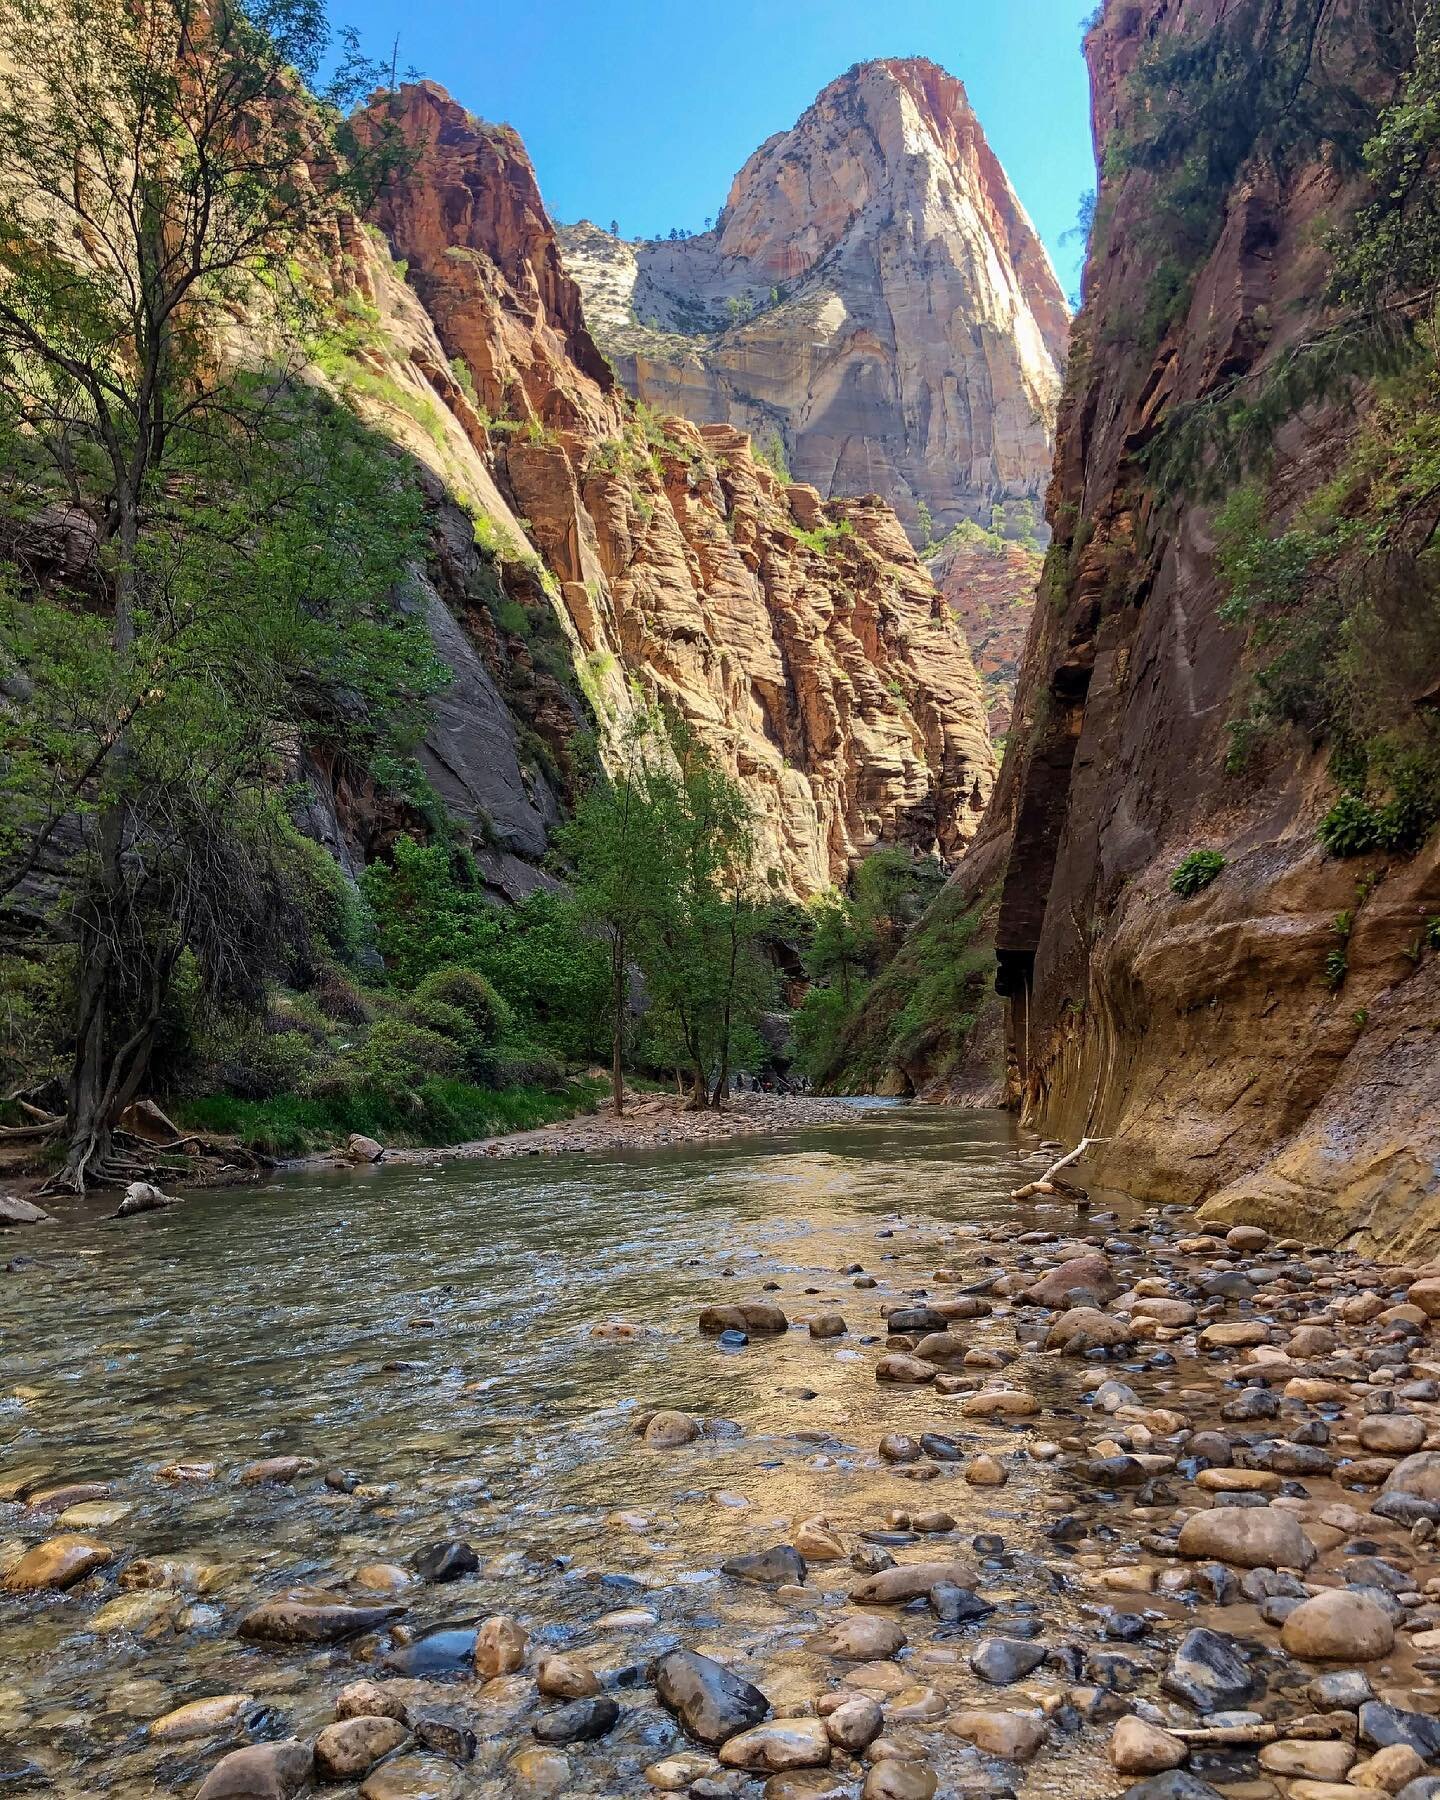
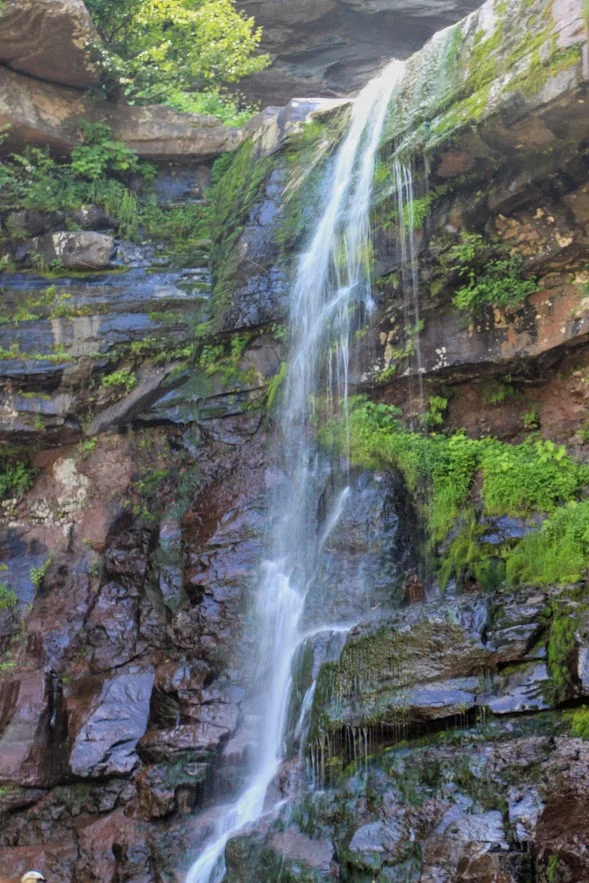
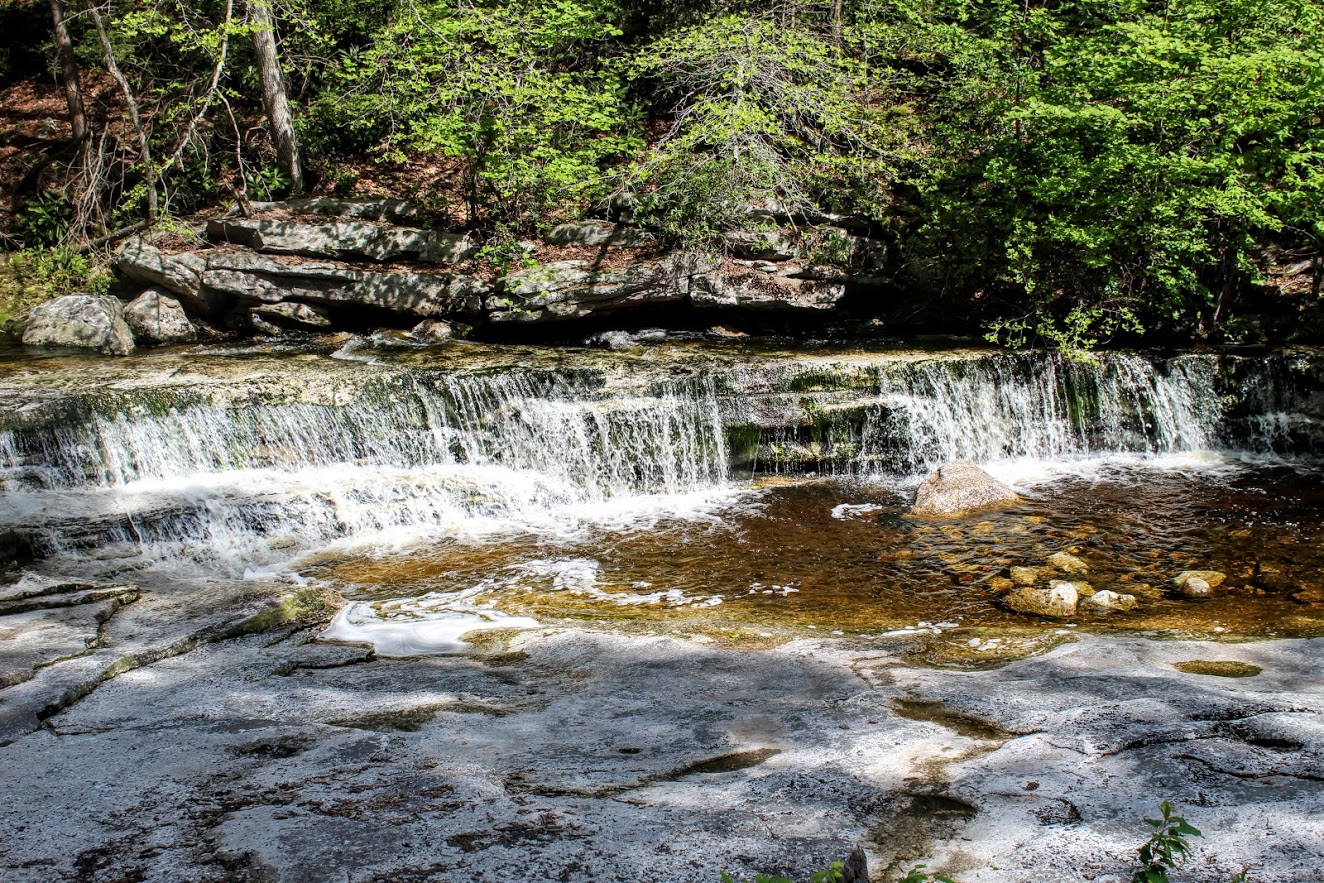
About a half mile from the parking lot, we found ourselves descending 60 feet into a wide open view of the falls. This is actually a decent size waterfall and there are multiple different viewpoints. You can climb the rocks up on the side of it and get close like I did. Meanwhile, Nichole got stuck videoing an engagement proposal. She was like did you see that? Not a chance, there was a waterfall in front of me!


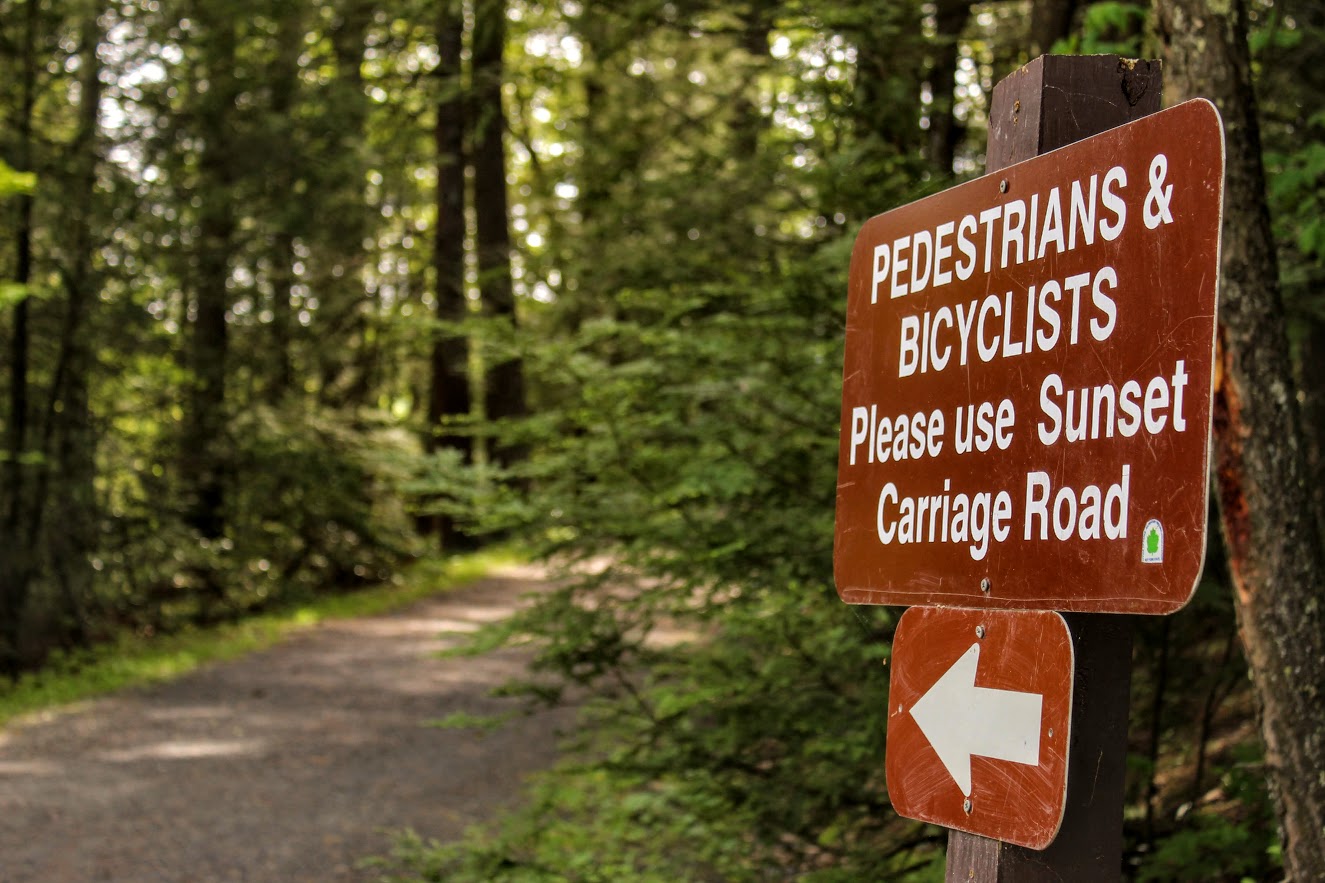
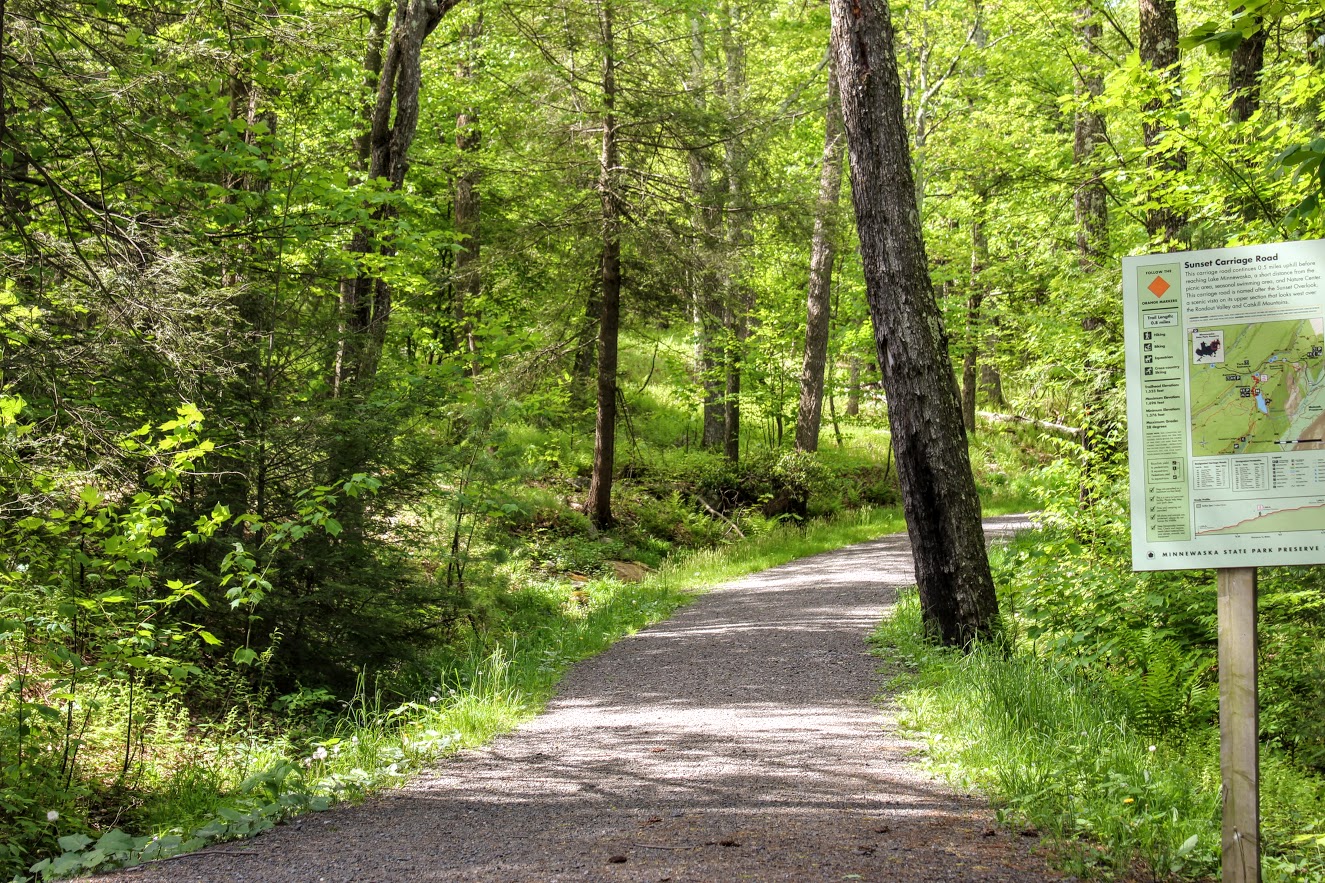
At this time, there was no one really at the falls so I took advantage of it. After taking a half hour of pics, Nichole was ready to get this hike moving along. We headed back the same way we came. We found the orange blazed Sunset Carriageway on our left as we approached the road. We started taking the trail up the switchbacks. As we got closer to Lake Minnewaska, we noticed the parking lot to our left. This is where you would park if you didn’t want to hike the fun way. We kept on the trail and started following the red blazed trail labeled “Minnewaska Lake Loop.” There is a pretty awesome lookout right away of the lake and the cliffs.

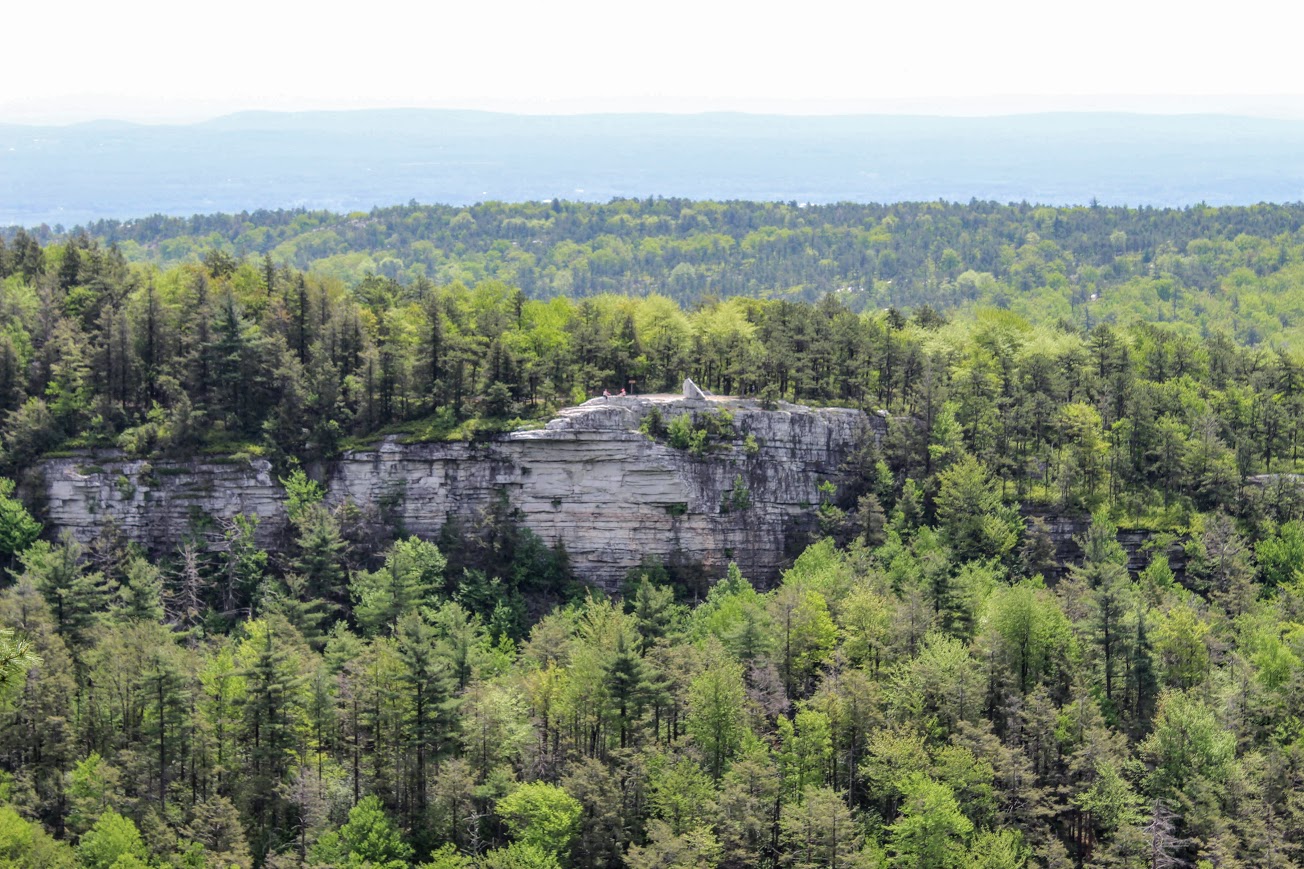
Continuing on the red trail, we passed the swimming beach that gave another gorgeous view of the lake. After that, we came up to the bathroom facility. Then we noticed the sign for the blue blazed Castle Point Carriageway on our right. That is what we needed to get to Kempton Ledge. After about 30 minutes, you will arrive at Kempton Ledge. There is no sign for it but once you see the ledge, you will know. There is an amazing view.


We headed back the way we came and took the first right you can to the Hamilton Carriage Road (will see sign). We kept going straight ignoring the merging trails. Eventually, this road led us back onto the red blazed Lake Minnewaska Loop and right down to the edge of the water. Here you will get great views across the lake. This is where you find all those who parked at the top. This can be a crowded section on a busy day.


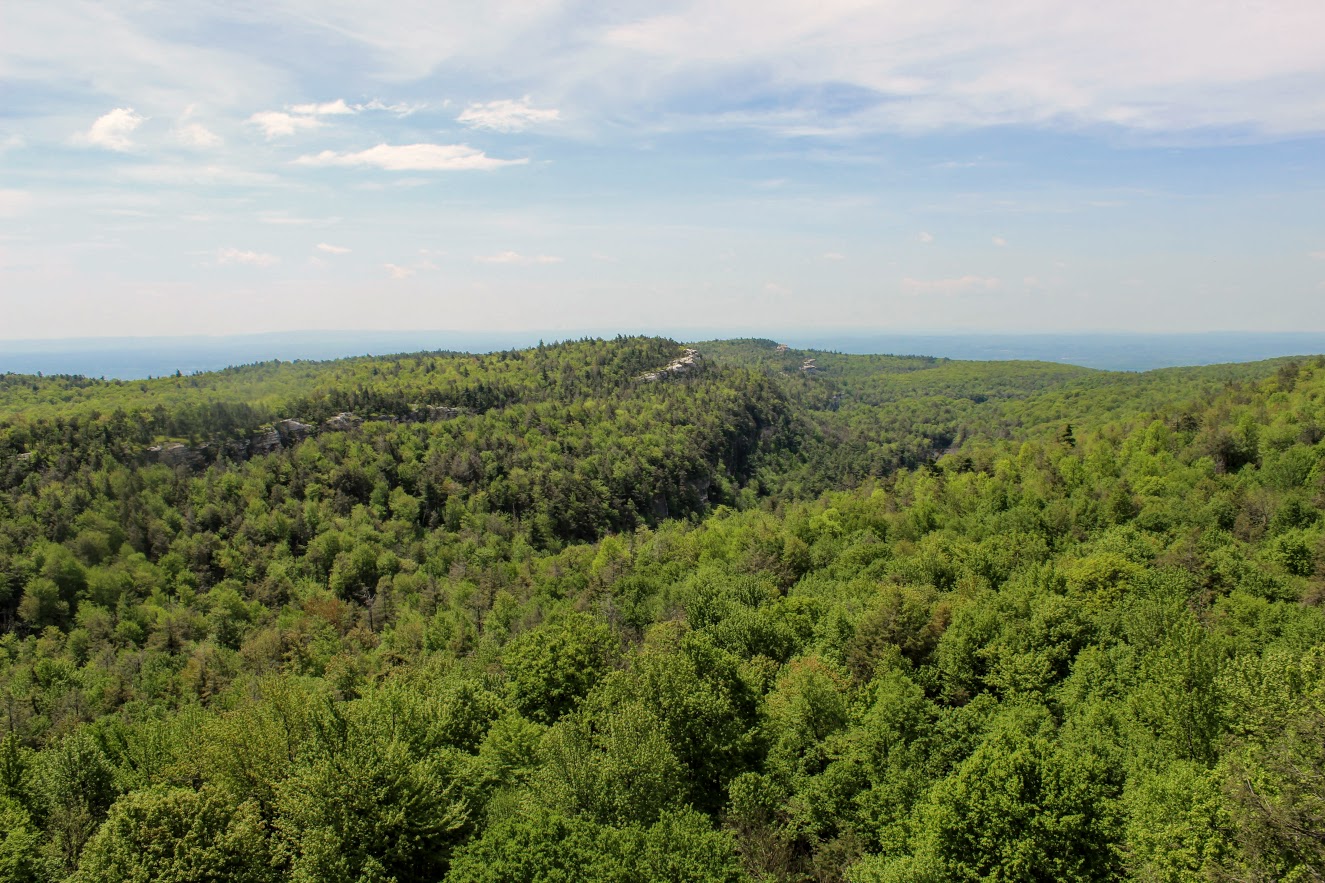
The red trail continues and becomes a little steeper. We noticed a viewpoint to our right that will display the Skytop Tower at Mohonk Mountain House. The skies weren’t as clear as we hoped this day but still a great view. After this, we kept climbing at the fork toward the white cliffs.

There was a wide open picnic area as we approached the top. We walked across the grass toward the cliffs and views of the lake. We decided to take a quick lunch as the views were beautiful. And, there was some solitude at this particular time.


After absorbing the views, we headed back around the lake staying as close to the lake as we could. The trails become less marked around this area. Looking for more red markings, we passed some private property and porto-potties. Taking the middle road to the left of the porto-potties, we walked by an open field of many picnic tables and families. This path gave us one last look of Lake Minnewaska before we reached the parking lot again. The orange trial (Sunset Carriageway) was on our right and we took that the same way we came up down the hill back out to the road. Following the signs to Awosting Falls parking lot, we made our way back to the car.


I had a blast on this hike. Minnewaska State Park Reserve has so much to offer. You can choose your trail and go as far as you like. There are so many awesome views to see. Yes, it can be crowded but I would just plan accordingly. I suggest going early because we didn’t hit the crowds much. And, you will know which trails will have more traffic, closer to the lake and the waterfall. The hiking paths are really wide and flat. Our hike on this day was just around 5.5 miles. This took us about 4 hours but I also was a photo whore so you can knock off 30-45 min from that. I would say it was easy to moderate only because of the mileage. I look forward to coming back to this park. Afterwards, we drove into the downtown area of New Paltz, NY that was about 10 minutes away from the park. And there were cool shops, restaurants, donuts, and a brewery. That is what I’m talking about! Hopefully I will be exploring more of what the Hudson Valley has to offer.


HIKING FOR DONUTS
A blog for the outdoors foodie enthusiast
Hi, I’m Mark. I live in Connecticut. I take new trips every chance I get. A good trip has a great hike, great food, and something fun to do. My goal is to search out new trips and share them to inspire others to try something new and exciting.
If you are looking for posts in a particular place, search by city or state here.
EXPLORE OTHER POSTS IN THE ARCHIVE
Archive
RECOMMENDED POSTS
MOST RECENT POSTS
See where I have been recently on Instagram. Follow @HIKINGFORDONUTS
Ninham Mountain Fire Tower Hike
Ninham Mountain Fire Tower Trail Guide (Carmel Hamlet, NY)
Hiking Ninham Mountain Fire Tower in NY. Another great Hudson Valley, NY hike. Easy hike, beautiful views.
Trail Description: Ninham Mountain Fire Tower is a short hike that provides an amazing 360 view of rolling hills, lakes, and reservoirs from the top. A glimpse of the Catskills can be visible with clear skies.
Trail Info:
Where: Ninham Mountain Fire Tower, Kent, NY Distance: 1.3 miles (1 hour) Difficulty: Easy Trail Type: Out and Back Features: Fire Tower, Lake, Views, Rolling Hills, Reservoir
How to get there:
As always, do your research on hikes. I read that finding the trail parking was an issue for some hikers. Luckily, I saw that and made sure we had the right directions. We found it pretty easy. It is in the middle of nowhere. The GPS I would enter is Mount Nimham Ct, Carmel Hamlet, NY 10512. This took us on the Taconic State Parkway. Once we were on Gypsy Trail Road, we made another right onto Mt. Nimham Ct. You will see a sign for Ninham Mountain Multiple Use Area. Follow this all the way down until you see the parking lot.
Hiking Tips
Finding the parking lot can be tricky.
The old stone chambers are directly across the parking area. This may be covered by bushes.
The Hike
Traveling through the Hudson Valley area once again, I was in search of a shorter hike. Always need to walk off the beer and donuts from weekend activities. I have a huge list of hikes to do in the area, but my girlfriend and I had some time constraints driving back to CT. Thankful for other hiking bloggers, I came across Ninham Mountain Fire Tower in Kent, NY. The hike was more of a walk with an incline, but the views were fantastic from the fire tower.
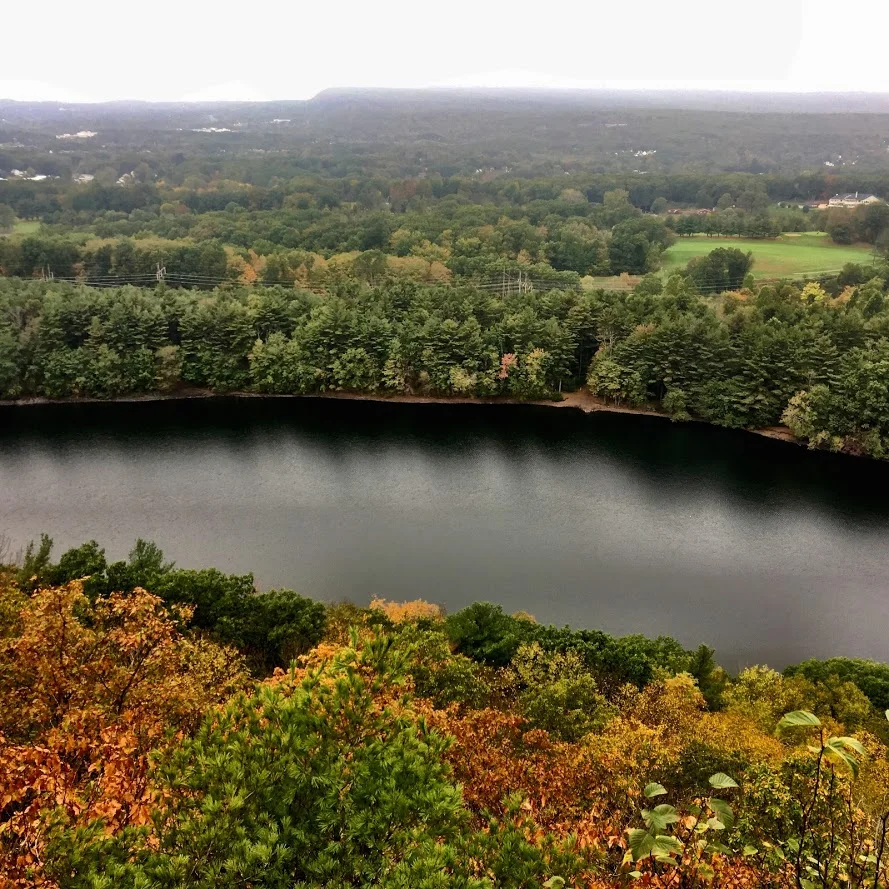
Wonder Lake.
Look for these signs at the entrance.
Where the Trail head starts. Parking area is to your left.
The trail head will start behind the gate. Before you even start, don’t miss the old stone chambers directly across the parking lot behind you like we did. We didn’t notice until we were ready to leave. The only reason we had these on our mind was that we read this area was full of paranormal activity. I took my pictures and walked away. I’m no ghost hunter.
Old stone chamber.
Now, onto the hike. Just continue up the gravel road. The trail is uphill but it’s not bad at all. Nothing too difficult but still a good workout. This seemed to be a popular trail for mountain bikers as well. It took us about 15-20 minutes to reach the fire tower.
pretty easy gravel road.
all the way up.
Ninham Mountain FIre Tower
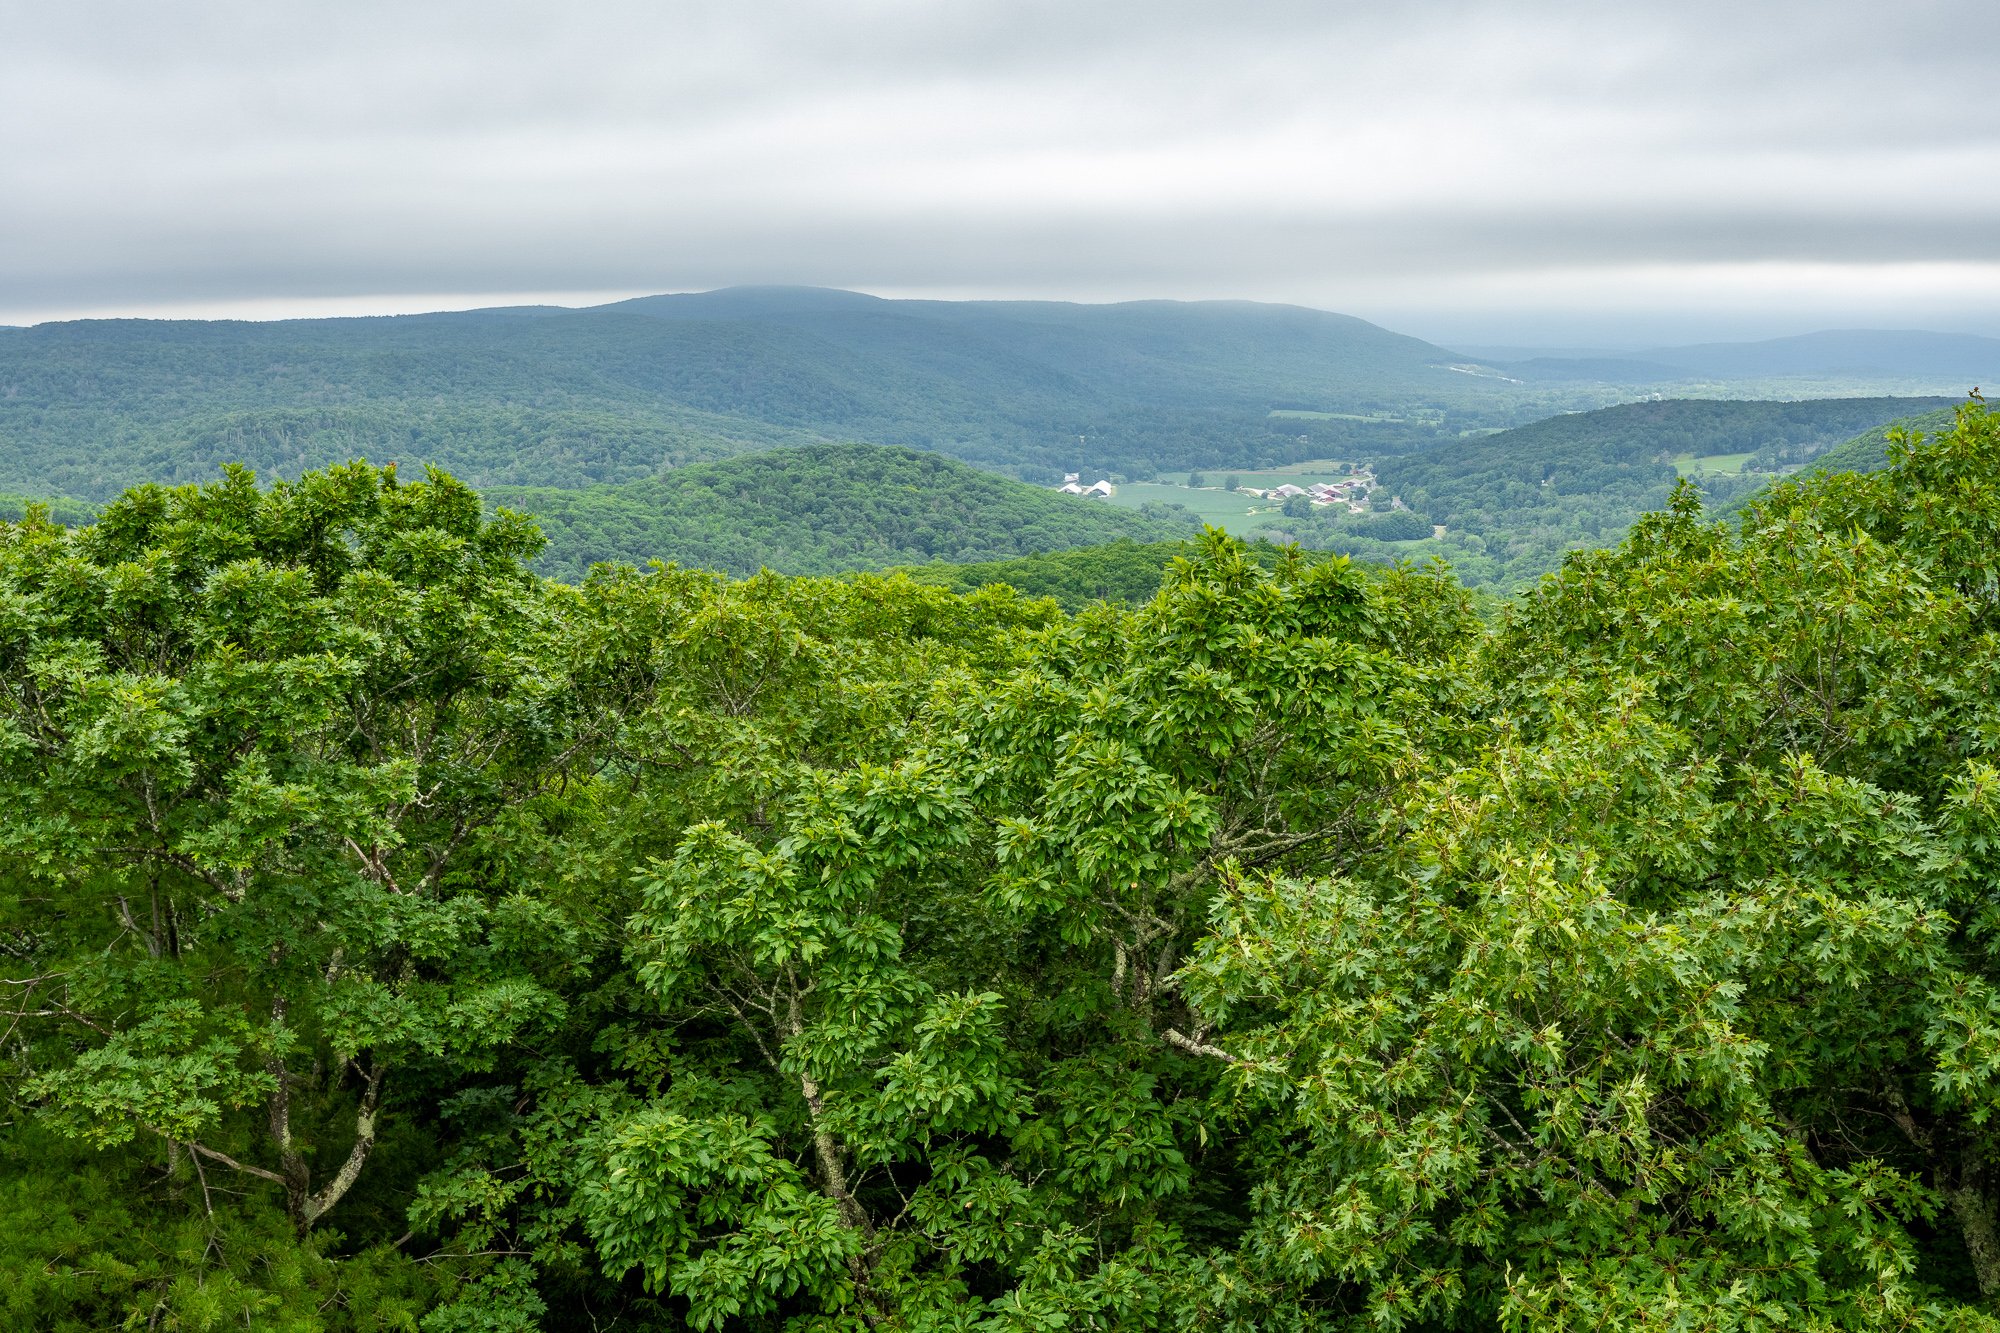
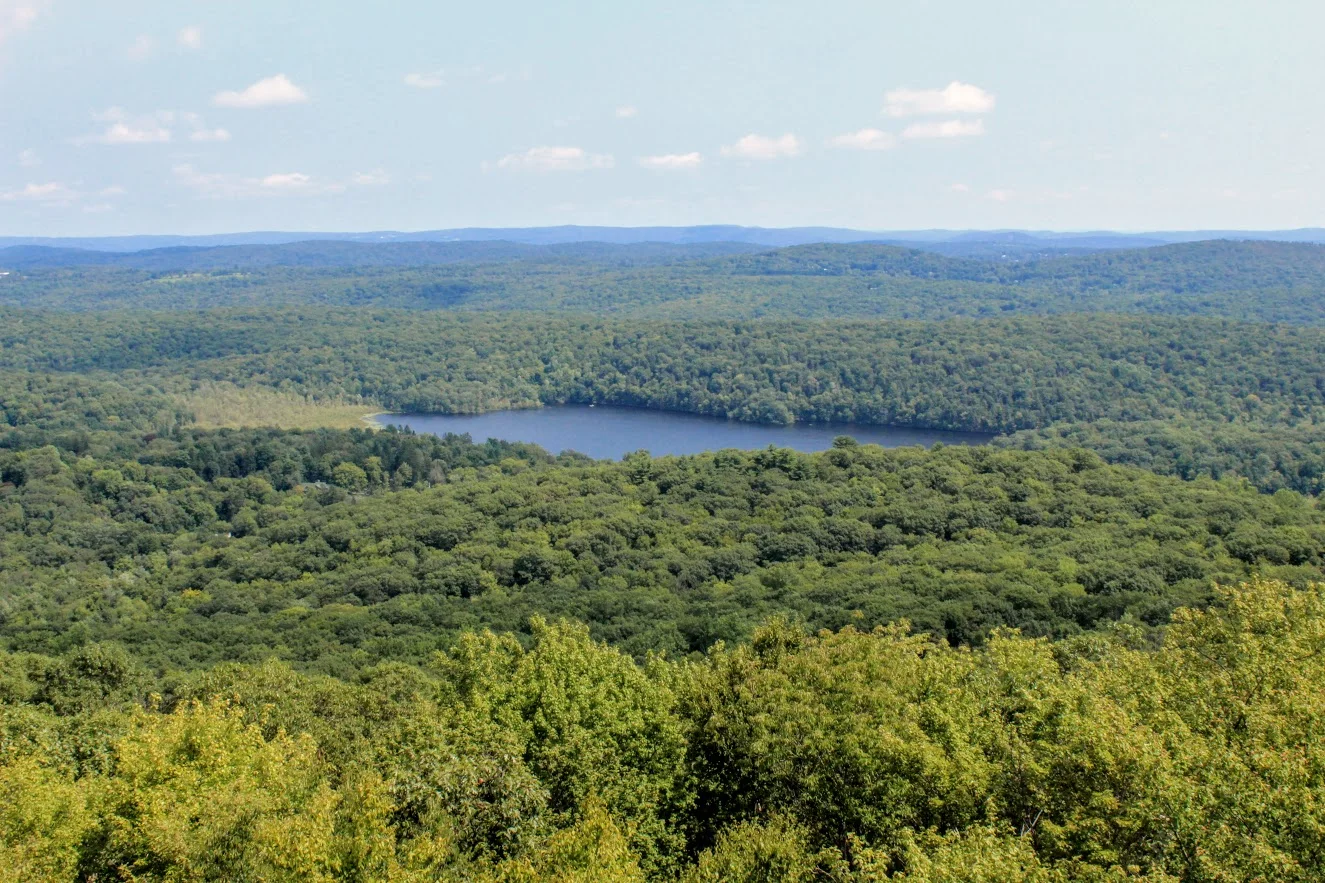
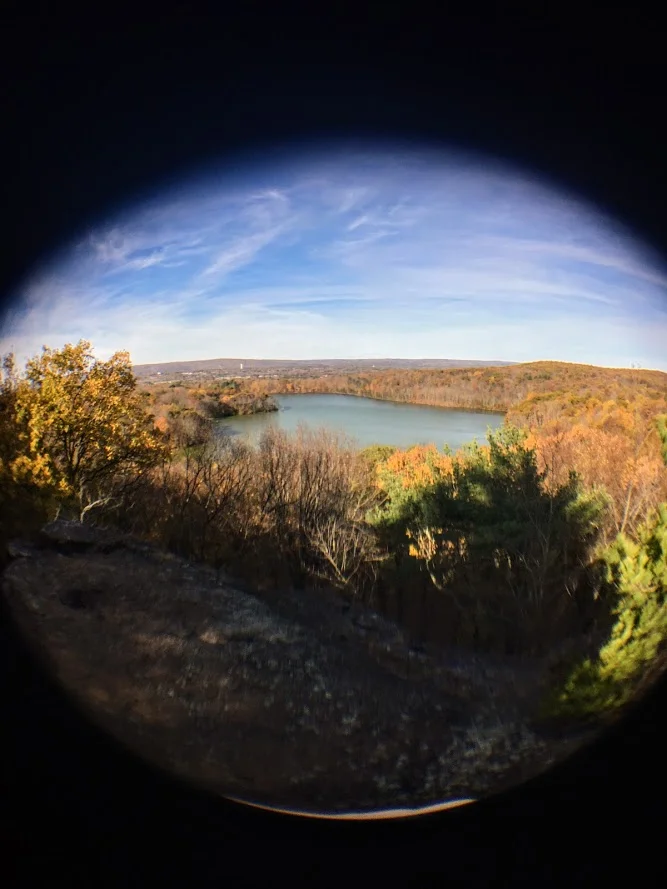
The 360-degree view at the top of the tower was amazing. It was beautiful weather and a clearly visible day. You will see rolling hills, lakes, and reservoirs. The Catskills are also visible in the distance. After you have soaked it all in, you will come back down and walk the same path to your car. Pretty quick and easy. There are some trails you will see off the path but I can’t speak to those.
clear skies and rolling hills.
the money view.

Rolling hills a little closer.
Little overcast on this side of the tower.
Round trip and going up & down the fire tower, this is a total of 1.3 miles. This took us less than a hour. I am glad I came across this spot in my research. If you want the most bang for your buck, this jaunt checks all the boxes including a spectacular view.
HIking for donuts models.

HIKING FOR DONUTS
A blog for the outdoors foodie enthusiast
Hi, I’m Mark. I live in Connecticut. I take new trips every chance I get. A good trip has a great hike, great food, and something fun to do. My goal is to search out new trips and share them to inspire others to try something new and exciting.
If you are looking for posts in a particular place, search by city or state here.
EXPLORE OTHER POSTS IN THE ARCHIVE
Archive
RECOMMENDED POSTS
MOST RECENT POSTS
See where I have been recently on Instagram. Follow @HIKINGFORDONUTS
Elephant Rocks State Park
Elephant Rock State Park
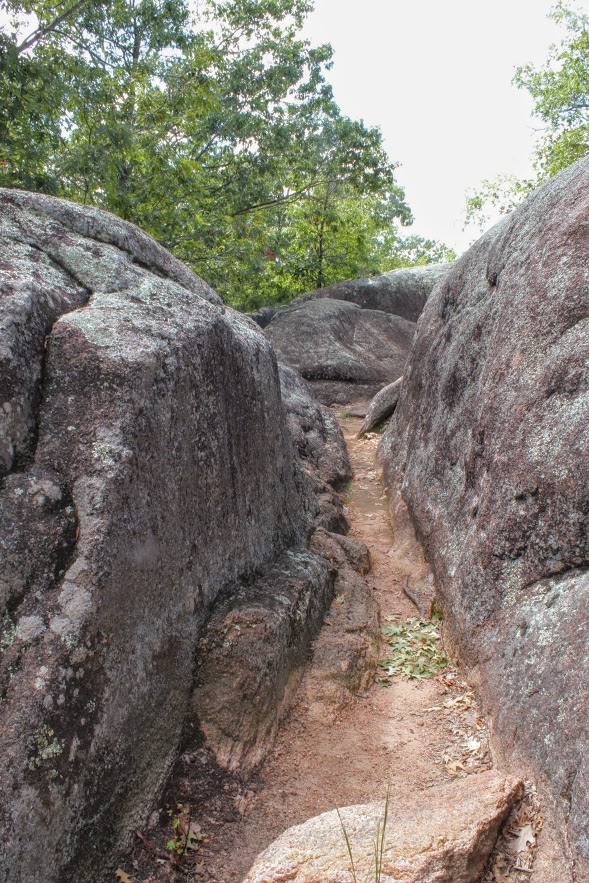
Trail Description: Located in Southeast Missouri, Elephants Rocks State Park has a unique attraction. The trail will lead you to large granite boulders which resemble a train of pink circus elephants.
Trail Info:
Where: Elephant Rocks State Park, Belleview, MO Distance: 1.4 miles (1 hour or until you are done exploring) Difficulty: Easy Trail Type: Out and Back Features: Boulders, Water, Quarry
How to get there:
The park was easy to find via GPS. However, you may lose cell signal nearby so make sure your map is up already. Here’s the address to put in your GPS:
7406 MO-21, Belleview, MO 63623
Hiking Tips:
This is a very popular destination. Prepare for crowds.
The Engine House Ruins Trail is less crowded and worth hiking.
The Hike
My trip to Missouri continued to mystify my original thoughts of the state. Prior to my visit to St. Louis, I stumbled upon online Elephant Rocks State Park. The main attraction for this park is there is the line of giant, 1.5 billion year old granite boulders that stand end-to-end, like a train of circus elephants. The pics looked intriguing online.This is a 2 hour drive south from St. Louis. I wasn’t sure if it was worth the drive. However, it just so happens, I chose another hike nearby and figured why not throw this in afterwards. Smart decision, always go all in on exploring in new areas. This park did not disappoint me.
Park entrance sign.
Elephant Rocks State Park is located in the St. Francois Mountains in Belleview, Missouri. The park was easy to find via GPS. Being labor day weekend, the park was packed. There is ample parking for lots of people. Picnic tables are scattered before the trail begins. There are bathroom facilities. Families can have picnics, enjoy the outside, and take their kids for some fun exploring the boulders. This is definitely a tourist hotspot.
Parking area , Boulders, And aMerica.
There are two trails to explore through the park. The main trail is called the Braille Trail. This is a self-guiding trail that winds among the rocks and takes you throughout the park. This is paved and accessible for people with disabilities, physical or visual. At different areas of the trail, we noticed interpretive signage with information of the landscape and the history of the park. The trail is one mile and marked as red. There are various viewpoints and we kept walking off the trail to explore more of the boulders.
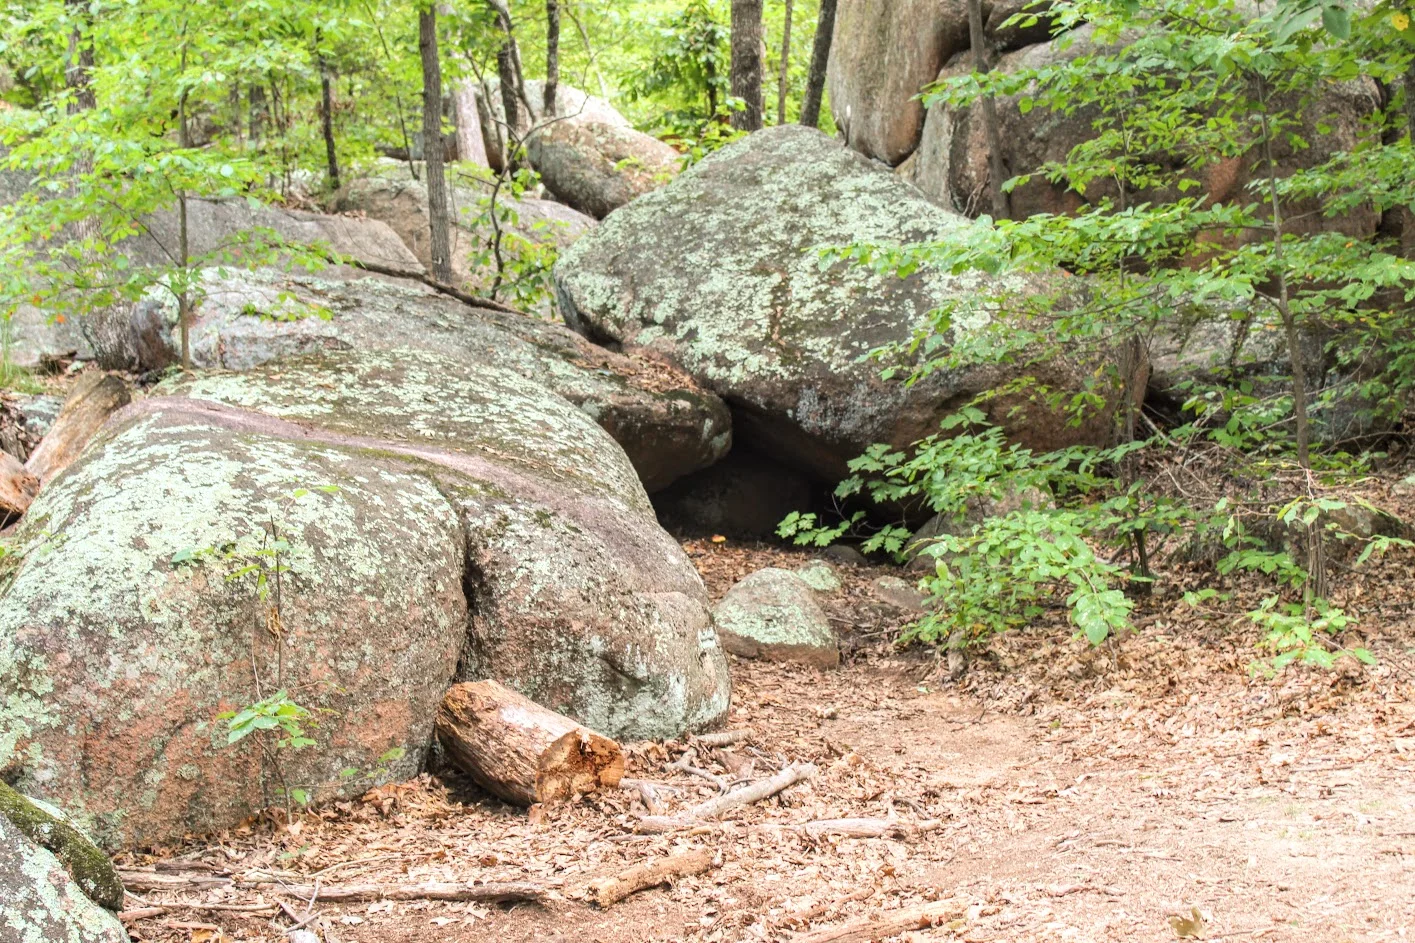


Once we reached the old engine ruin house, we noticed the blue marker trail to our left for the Engine House Ruins Trail. The terrain is more rugged but still easy. This added another 0.4 miles, which leads around the back side of the old quarry that connected us back to the Braille Trail. We followed the blue arrows on the trees and did our thing. There is some fun climbing that can be done on this section. Along with views beyond the bluff. Not many people tend to add this section of the hike so it was a nice break from the crowd.
old engine ruin house


pretty cool, this is in the middle of the park.
views from the top.
taking it all in. the best part.
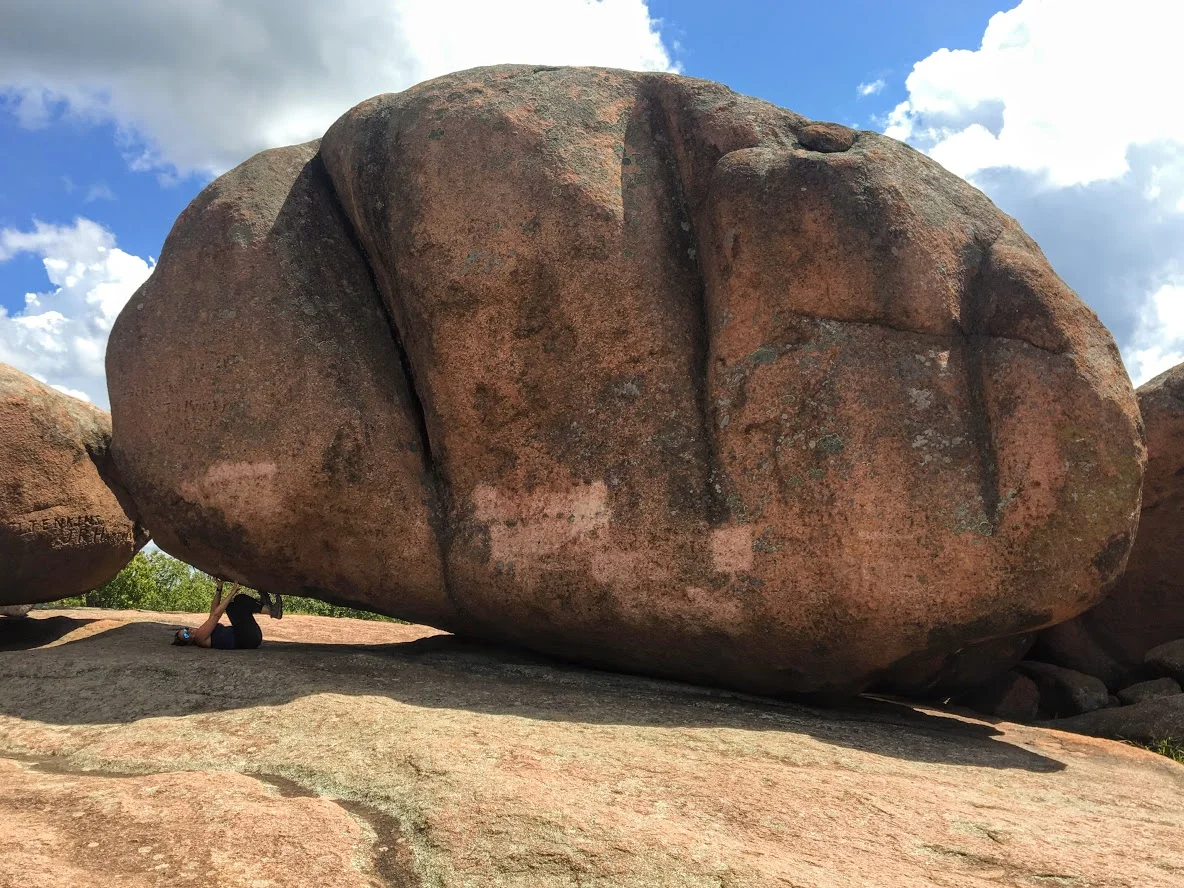
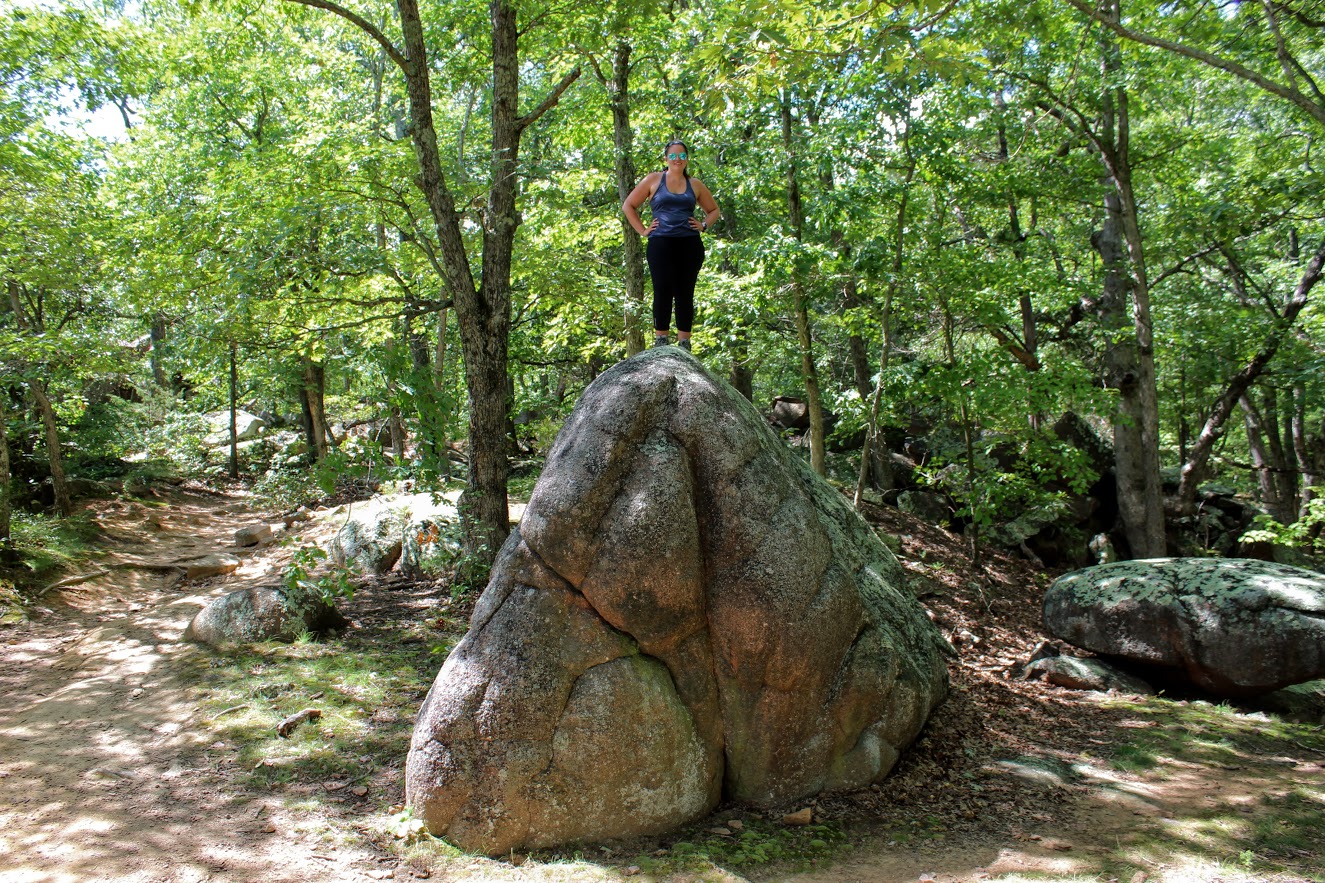
After connecting back to the Braille Trail, we slithered through the rocks and made our way to the giant boulders. Once I got the full view, I understood where the name of the park was derived. I could see the elephant like figure. Due to the crowd, it was tough to capture how breathtaking it was in person. Everyone was climbing between the boulder and snapping selfies. Children are fascinated by the size of the boulders as they enjoyed climbing. I found myself scaling the boulders and didn’t want to leave!


Trying to get a good picture amongst the crowd.
The elephant’s trunk rock.
rocks.
more exploring.
We ended up spending about an hour and half enjoying the park. That is about all you need. Very easy, go at your own pace and enjoy type of hike. And, if you want, you can throw in some climbing. When I booked a trip to St. Louis, did I anticipate incredible landscapes and geological boulders in the heart of Missouri? Heck no. But I am sure glad I got to experience them. The fun part about traveling is finding gems like Elephant Rock State Park.
Wow so strong!
Well….hello there. Just doin’ some climbing.

HIKING FOR DONUTS
A blog for the outdoors foodie enthusiast
Hi, I’m Mark. I live in Connecticut. I take new trips every chance I get. A good trip has a great hike, great food, and something fun to do. My goal is to search out new trips and share them to inspire others to try something new and exciting.
If you are looking for posts in a particular place, search by city or state here.
EXPLORE OTHER POSTS IN THE ARCHIVE
Archive
RECOMMENDED POSTS
MOST RECENT POSTS
See where I have been recently on Instagram. Follow @HIKINGFORDONUTS
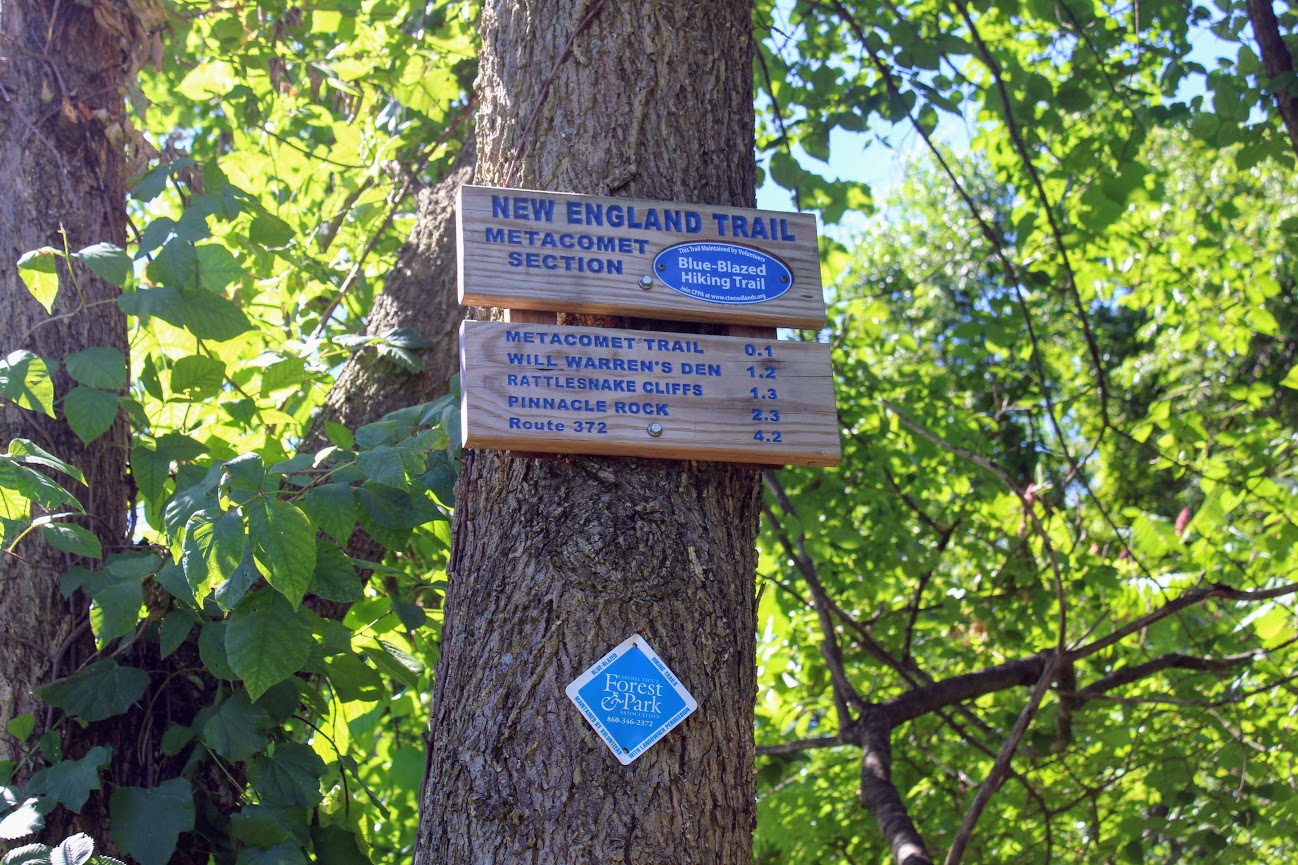
Rattlesnake Mountain to Pinnacle Rock via Metacomet Trail, Farmington, CT
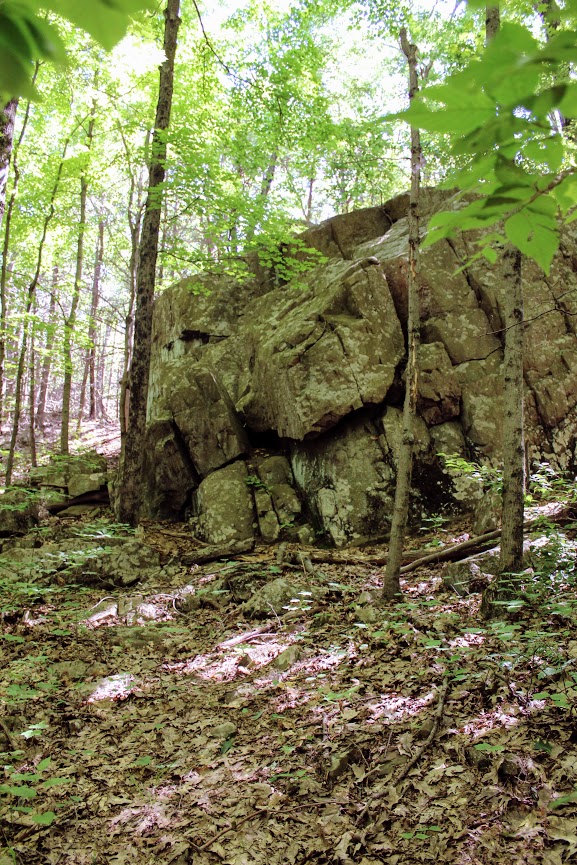
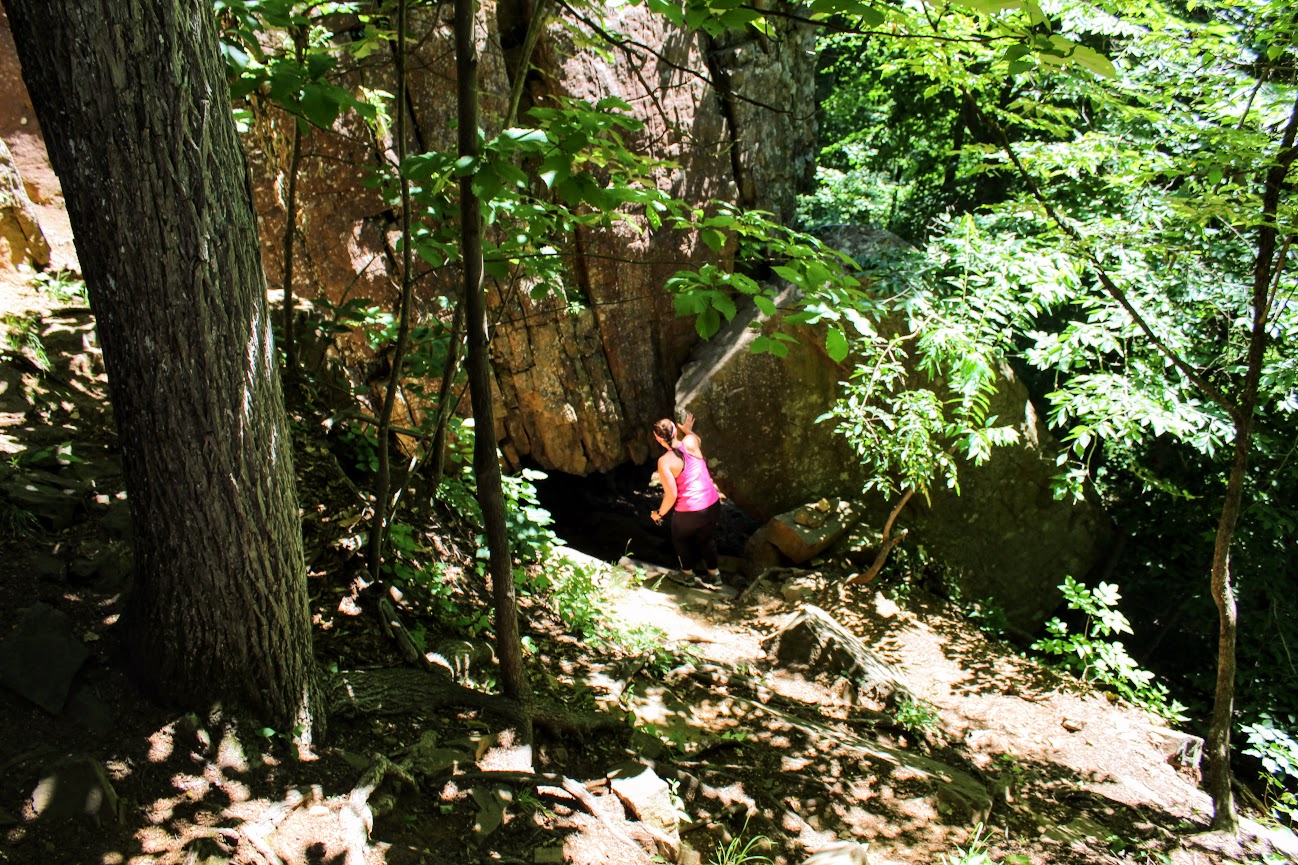
We headed on the trail to our left toward the Rattlesnake Cliffs. The trail starts out flat then begins to switchback up the side of the mountain. After a half mile in, the trail will ascend uphill and the terrain is rockier. We passed lots of large rock boulders as we got closer to the cliffs. This particular trail was very well-marked. We eventually came across the boulder rock cave known as Will Warren’s Den, which I later found out was a historical site.
Looking for a good hike in Connecticut? Well, I stumbled upon a hidden gem right under my nose. Rattlesnake Mountain to Pinnacle Rock trails are located in Farmington, CT and crosses over to Plainville, CT. This is part of the New England/Metacomet Trail. Finding the parking area can be tricky. There are 2 areas where you could start. Blue trail markers can be accessed from Pinnacle Street in Plainville. The GPS wasn’t picking this option up so my girlfriend and I chose to drive on RT 6 in Farmington. There is a small parking area on your right where the trail starts. If you GPS 200 Colt Hwy Farmington, CT 06032, that should find it.


Parking area off route 6.
From here, you can hike to the Rattlesnake Cliffs, which is a 2.6m out and back loop. Or you can continue to hike another 2 miles out and back to Pinnacle Rock. Thus, it will be 4.6m total for this hike.
HIKING FOR DONUTS
A blog for the outdoors foodie enthusiast
Hi, I’m Mark. I live in Connecticut. I take new trips every chance I get. A good trip has a great hike, great food, and something fun to do. My goal is to search new trips and share them to inspire others to try something new and exciting.
If you are looking for posts in a particular place, search by City or State here.
Explore other posts in the archive.
Archive
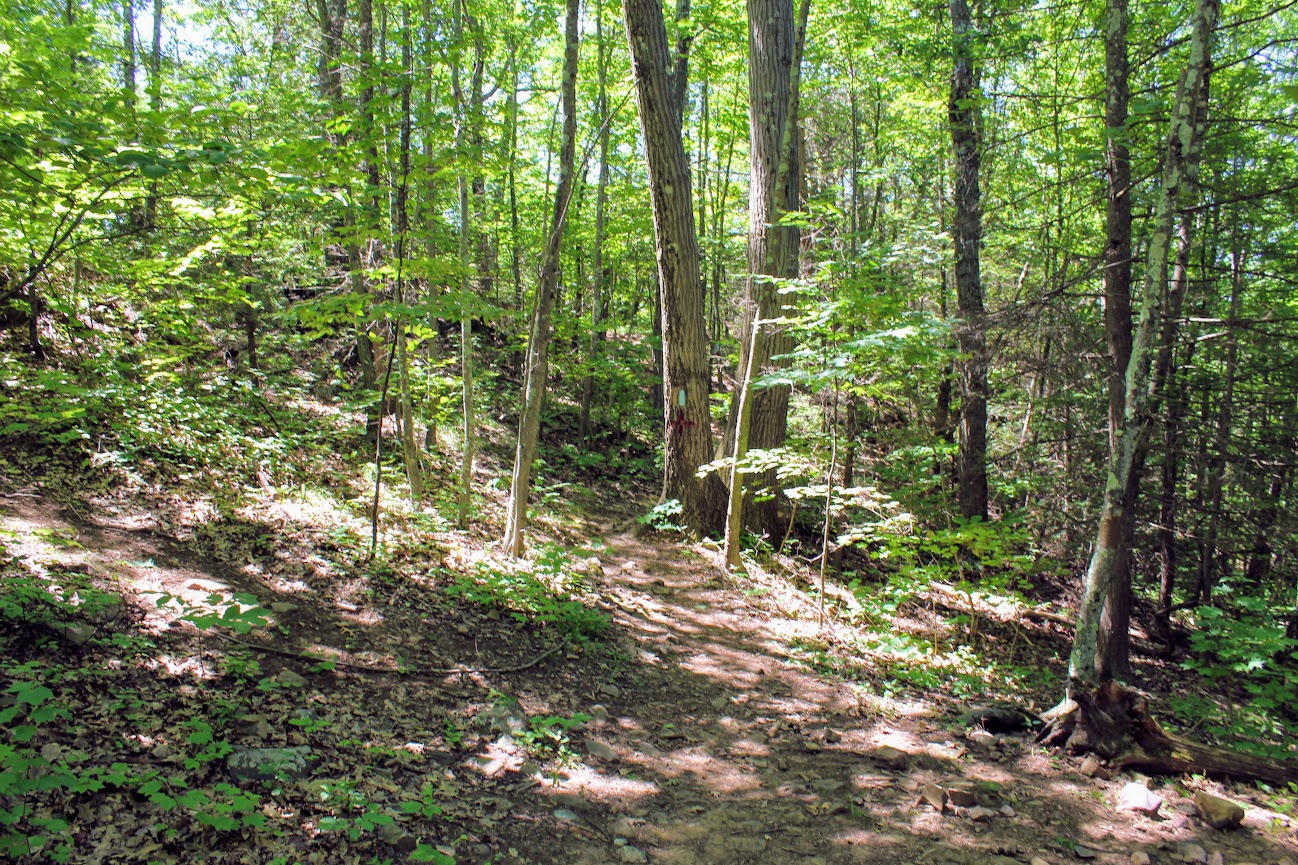
Start of trail
Once parked, we headed on the trail to our left toward the Rattlesnake Cliffs. The trail starts out flat then begins to switchback up the side of the mountain. After a half mile in, the trail will ascend uphill and the terrain is rockier. We passed lots of large rock boulders as we got closer to the cliffs. This particular trail was very well-marked. We eventually came across the boulder rock cave known as Will Warren’s Den, which I later found out was a historical site.
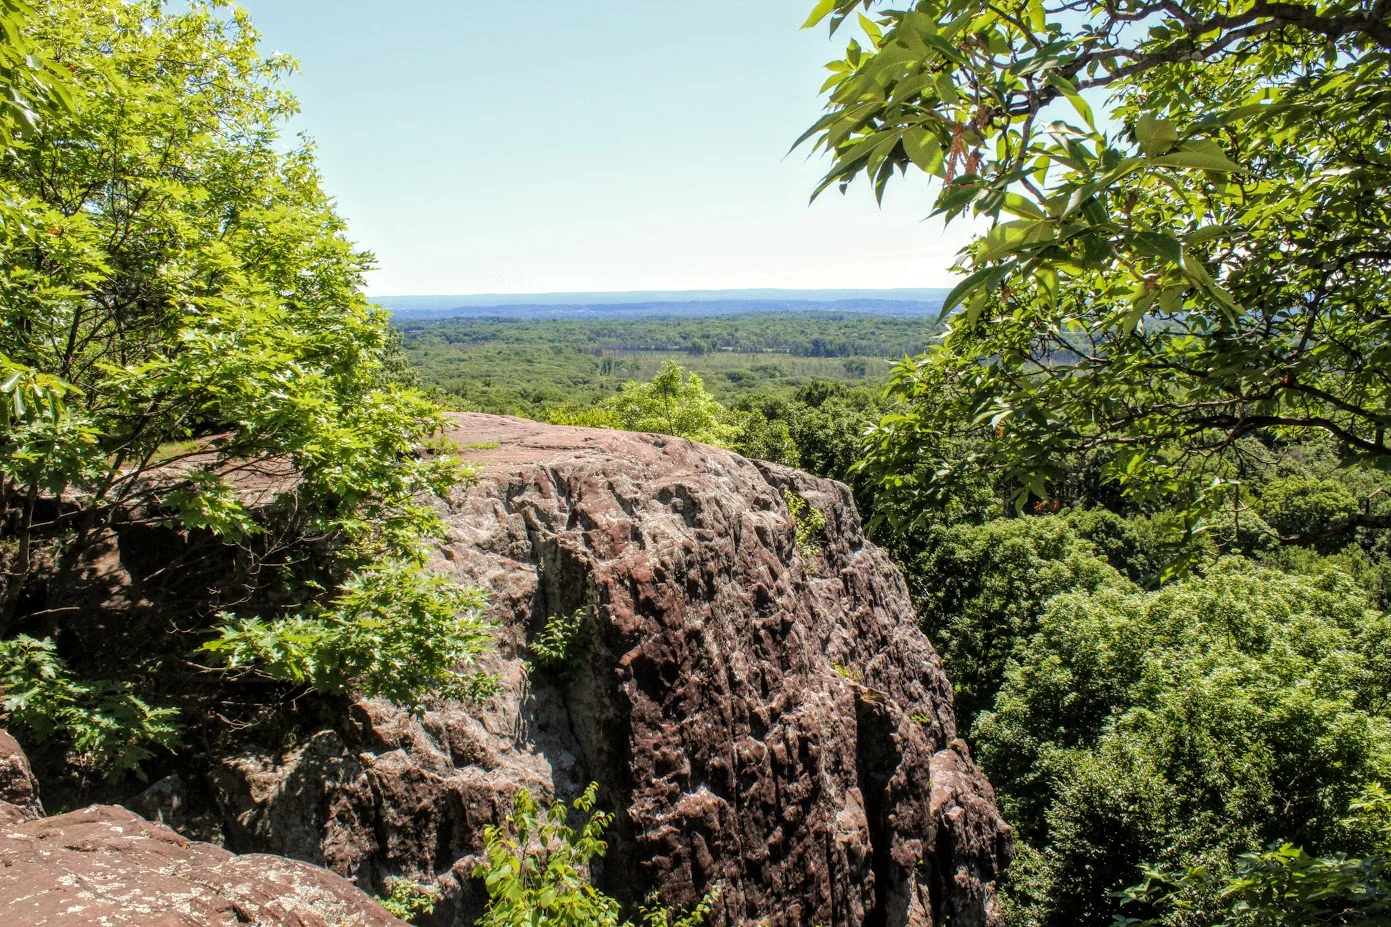
Not long after this, we reached the Rattlesnake Cliffs. Wow, what a spectacular view. I was absolutely stunned. On our left, we could see as far as the city of Hartford. And the sky was clear, so we could visibly see the biggest buildings in downtown Hartford. On our right, we could see the East and West Peak at Hubbard Park in Meriden and the Pinnacle Rock in Plainville. Great views all around. How did I not know this view existed? If this was all we did, I would have still ranked this hike very high on my list of CT hikes.

Views from Rattlesnake Cliffs.

hartford views to the left from the cliffs.

On your RIght from the cliffs.....

PANO VIEW FROM RATTLESNAKE MOUNTAIN CLIFFS.
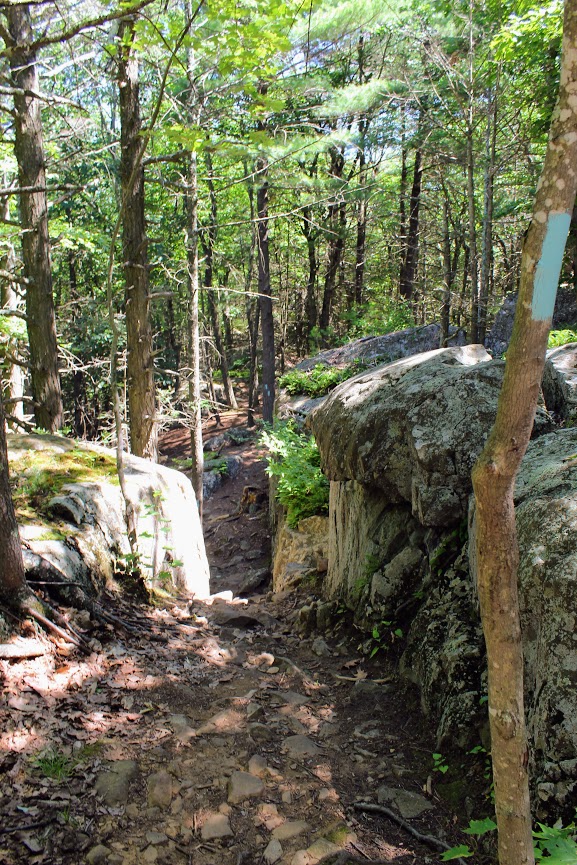
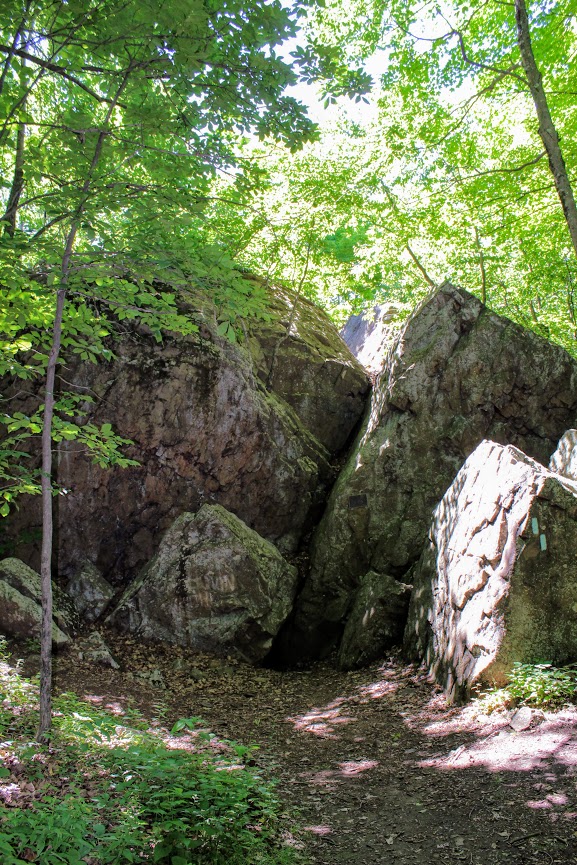
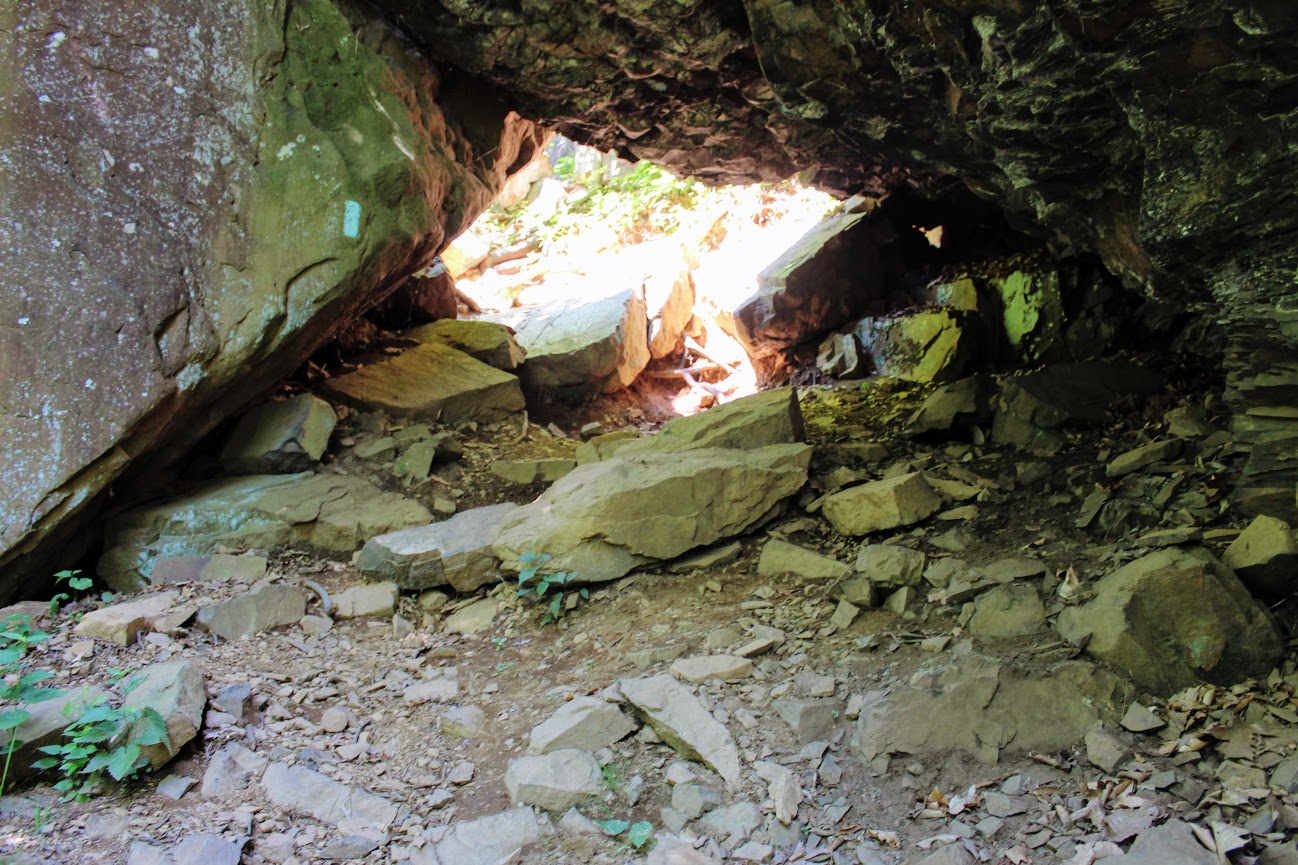
We hopped back on the blue trail down Pinnacle Rock and started making a steep descent. We witnessed other hikers take a wrong turn here by going straight down. We were able to stay on track. We continued hiking along the bottom of Rattlesnake Mountain and noticed a small tunnel formed by the rocks. We decided to climb through and found ourselves blue markers on the other side. Note, this is how you to get to Pinnacle Rock. There is a quite a bit of climbing on and over rocks for this section.
And, this trail is not as well-marked. There were areas we lost the blue markers. Sometimes the blue marker was faded on rocks and we didn’t notice until we got closer. If you do not come across blue after 5 min or so, I suggest turning around.

If you can't find blue markers, they may be on the rocks.
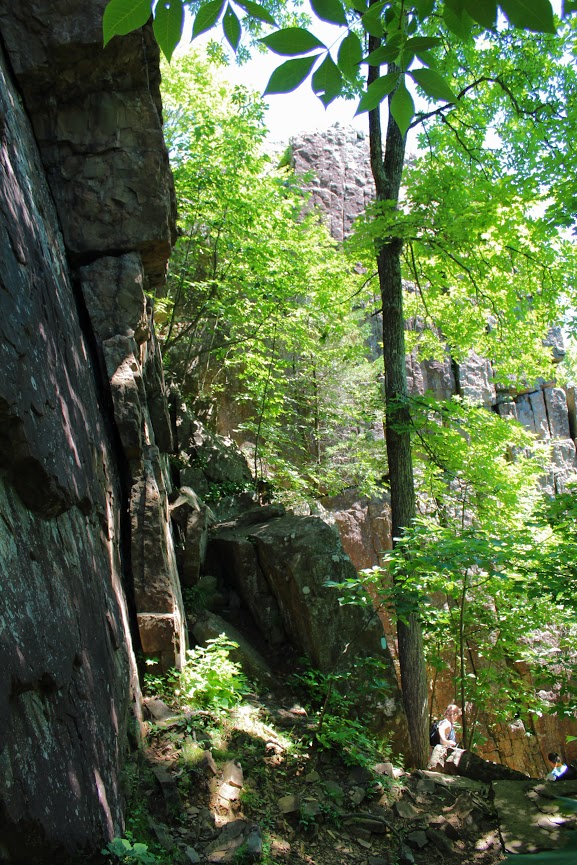
We reached the bottom and crossed an area under power lines that led us climbing up to the other side. We reached a dirt paved road and we saw a tree marked with blue and red. This took us to the final section before we reached Pinnacle Rock. You will be going uphill and start climbing the rock on your right to the peak of Pinnacle Rock.
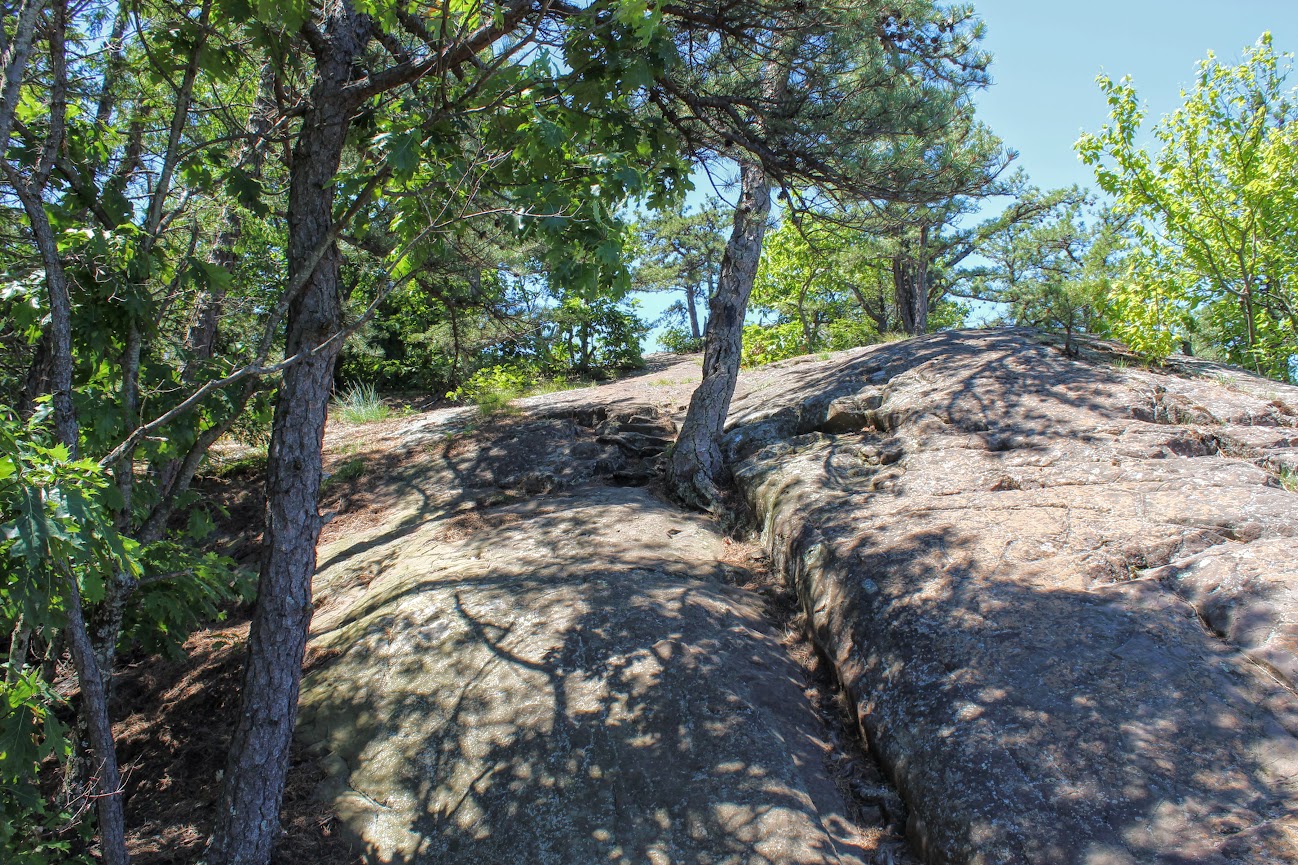
The view of Pinnacle Rock is nice. But Rattlesnake Mountain has a higher wow factor. The view from Pinnacle Rock is not as appealing as you will see mostly homes. This is a big rock climber’s paradise and I did see a few people doing so. I will hike all day. But climbing isn’t for me.
RECOMMENDED POSTS

RECENT POSTS
See where I’ve been recently on Instagram, follow @HIKINGFORDONUTS

Crazy guy climbing up pinnacle rock.

VIew from the pinnacle Rock summit.

Top of pinnacle Rock with railings and rock seating to enjoy the views.
We headed back the same way we came. Took another peek from the Rattlesnake Cliffs before we headed back to the car. Such a great view. That is one of best views in CT. I was very impressed by this hike. This is easily one of my favorites now. It is very challenging. I would say it’s a moderate hike. Lots of different terrain and some climbing. Round trip is 4.6 miles but I feel like it’s closer to 5 miles. Definitely suggest hiking boots and a pack for this one. This took us about 3 hours. This is one New Englanders should add to their hiking list!
The review:
Rattlesnake MT to Pinnancle rock (farmington, CT), ~4.6m: 4.5 out of 5.